After I picked my jaw up off the floor my head started spinning, this posed a few dilemmas for me:
1. I love Claudio’s designs, this will be my design
2. Part of my attraction to Claudio’s knives is his handle work
3. I am going to screw up a beautiful Stainless SanMai Blade
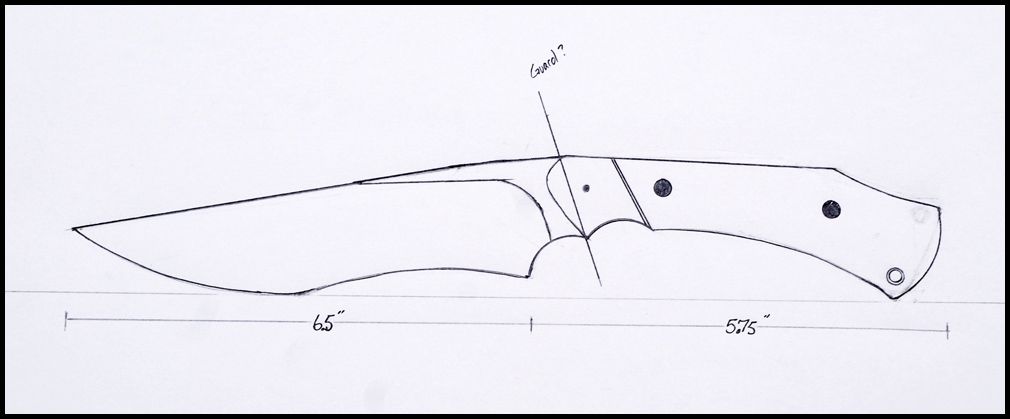
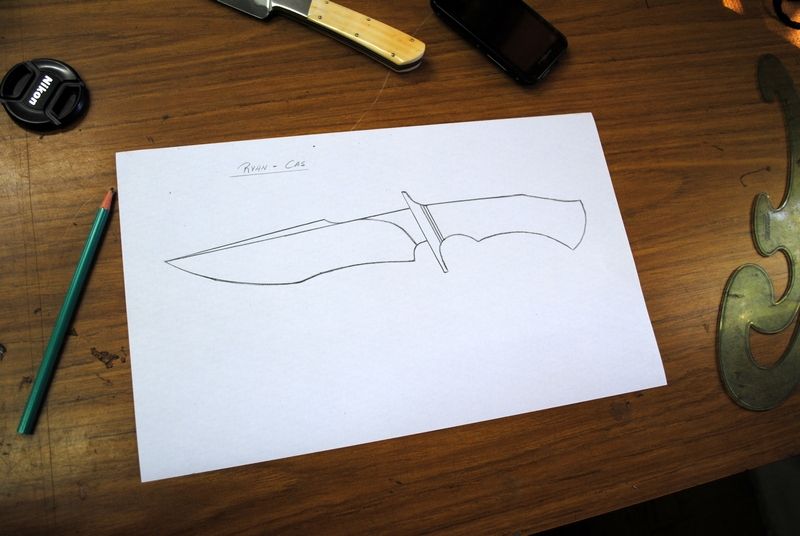
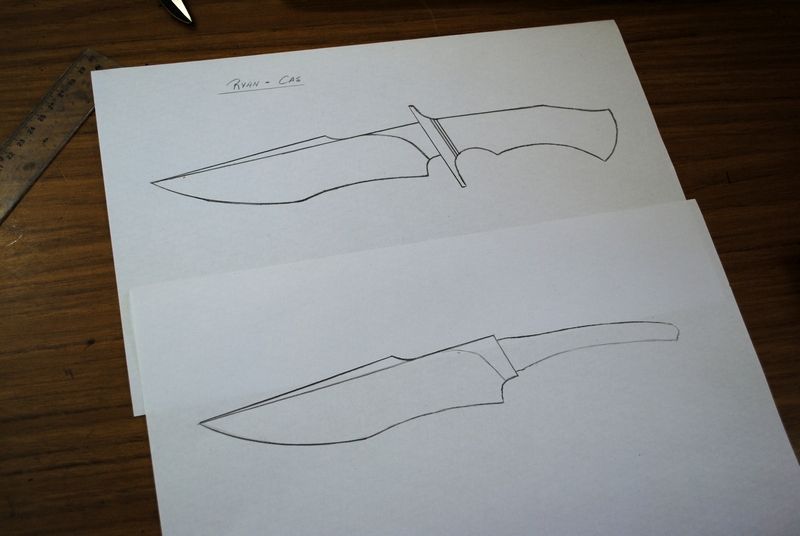
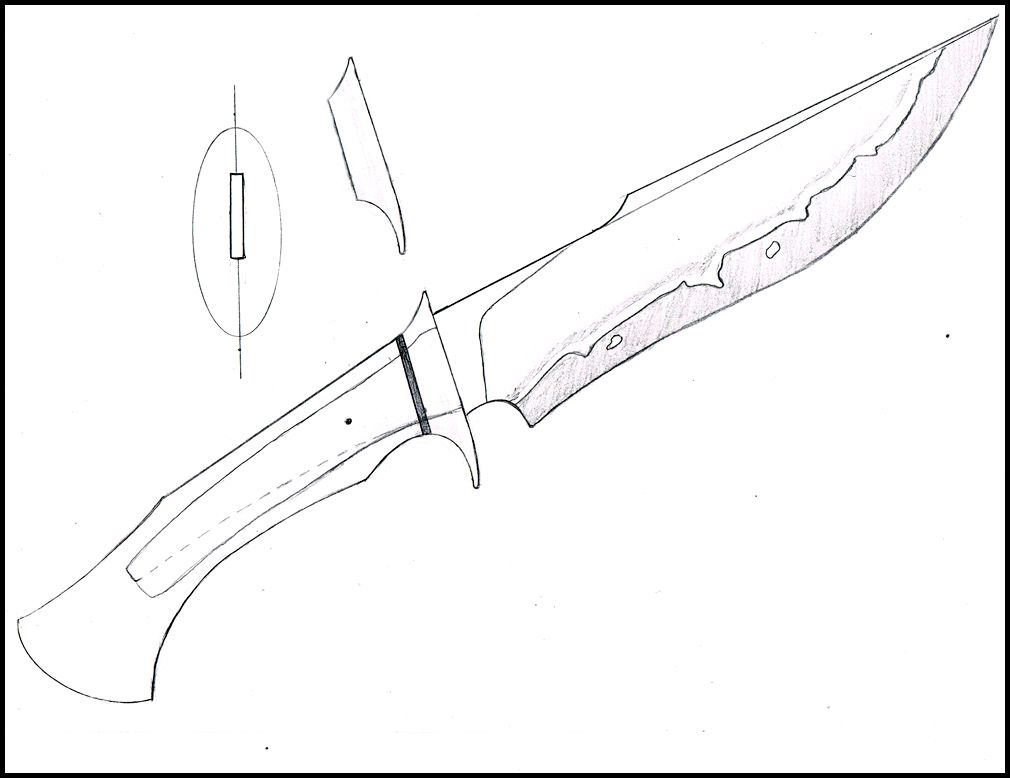
As some of you know, I avoid guards and hidden tangs like the plague. Not because I don’t like them (They are actually my favorite knives as a collector). I started putting pencil to paper, trying to make a guard less fighter that would do Claudio’s steel justice. This is what I came up with:
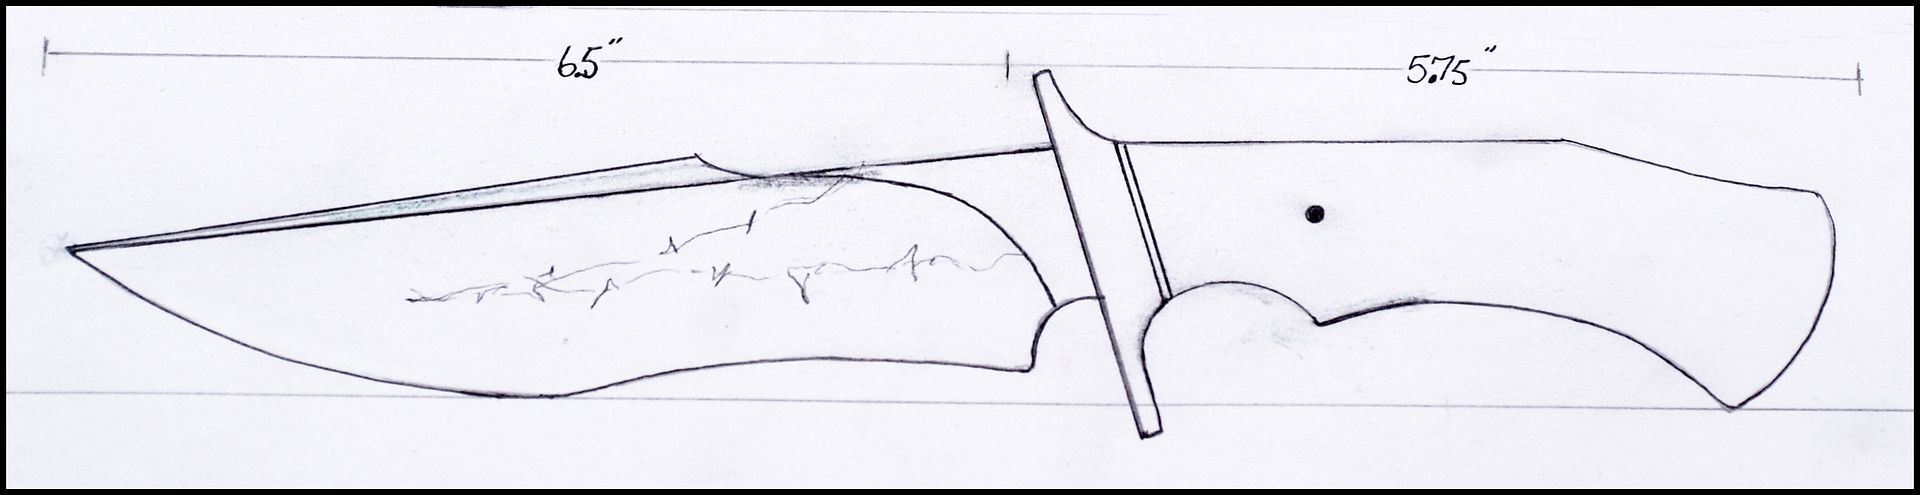
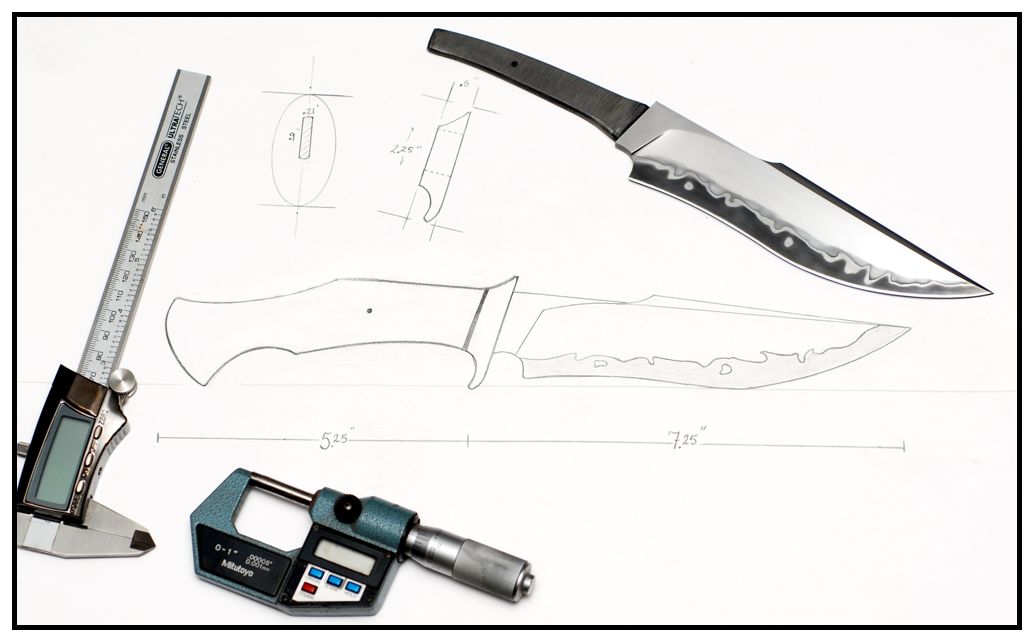
The design just wasn’t working, and definitely did not have that CAS feel. I was afraid it needed a guard. I am lucky enough to have a few trusted sources to bounce ideas and designs off for quality constructive feedback. I will post their suggestions but not their names to protect the innocent. They can chime in if they so choose.
Critique #1: (Nick Wheeler)
“Great design, I really like it!

I scribbled some ideas... I think I changed everything just a little. Not because I didn't like what you had, rather because when you change one thing it usually forces you to change something else a little to go with it.
I think the heart of your design is totally still there, just with some subtle changes to allow for a guard. And don't let guards hold you back, I know you can do them!”
 Critique #2 (Lorien Arnold)
“if you wanna get taken seriously, you had better man up and get your guard
on. I think this would be the perfect knife to start on.
Great design too!”
*** CLAUDIO GETS TO WORK ON MY DESIGN ***
Here he has the materials Cleaned up and ready to weld. 2 stainless (Outside) and 1 High Carbon (Core)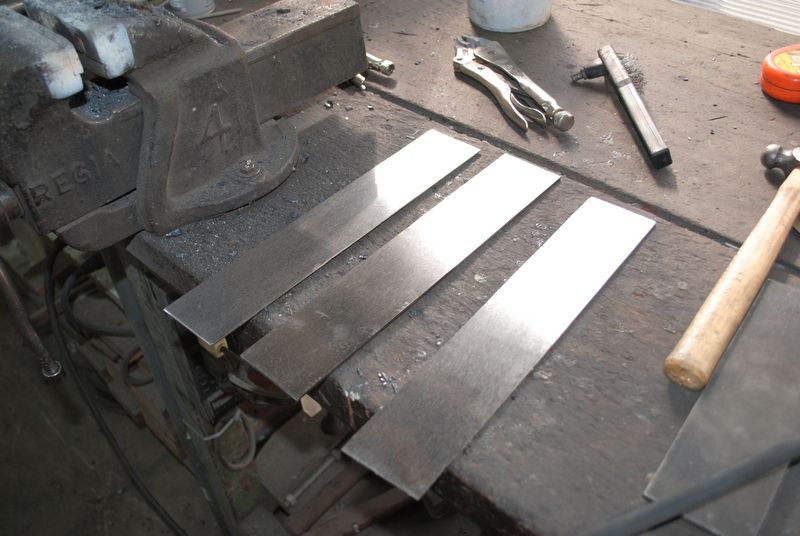
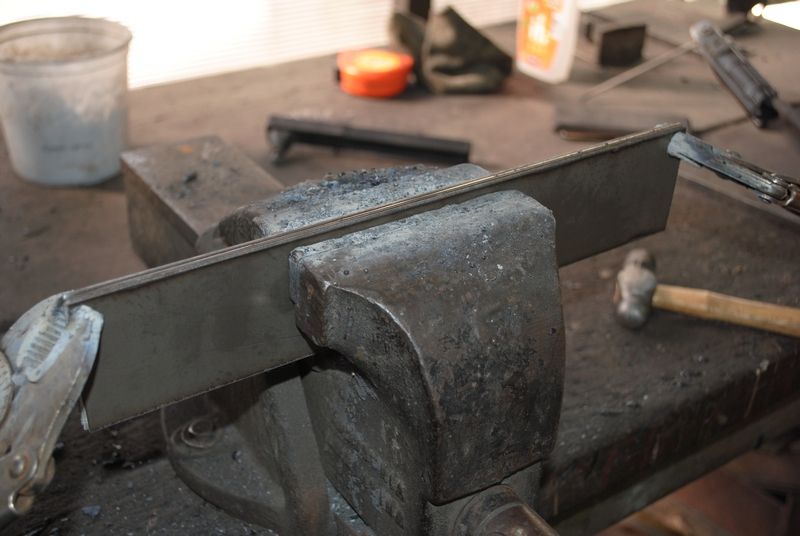
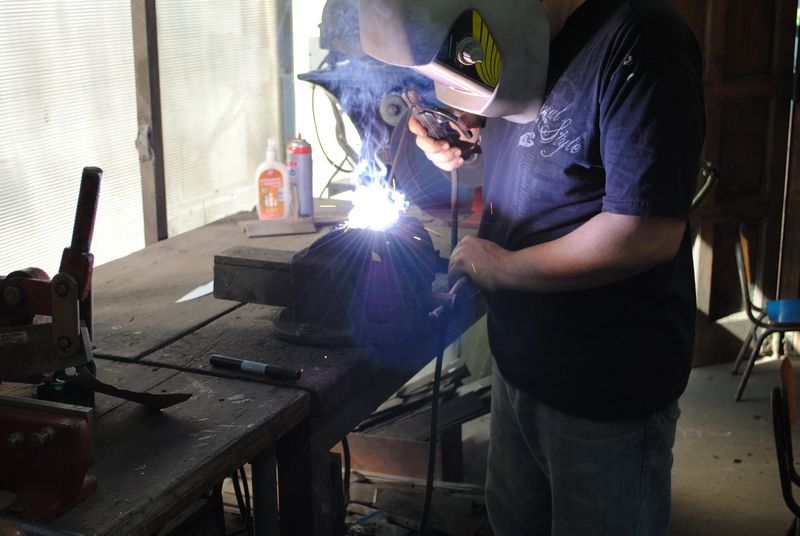
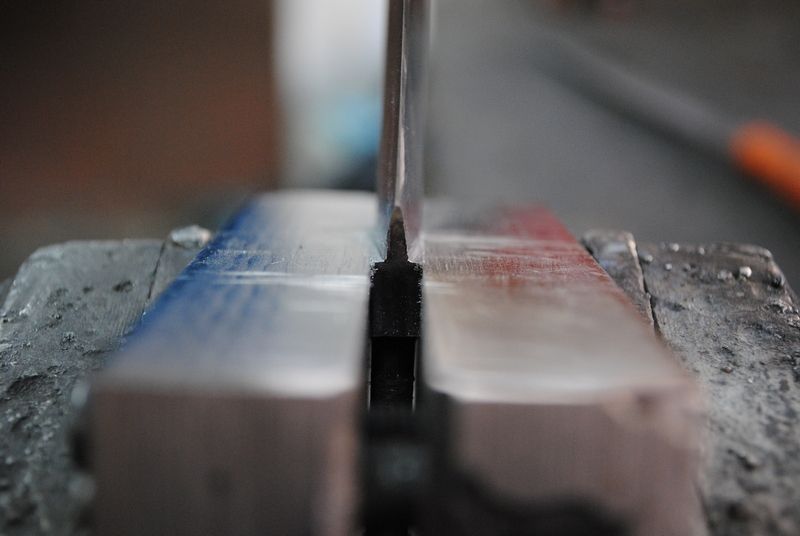
Materials in the vice ready for the Weld.
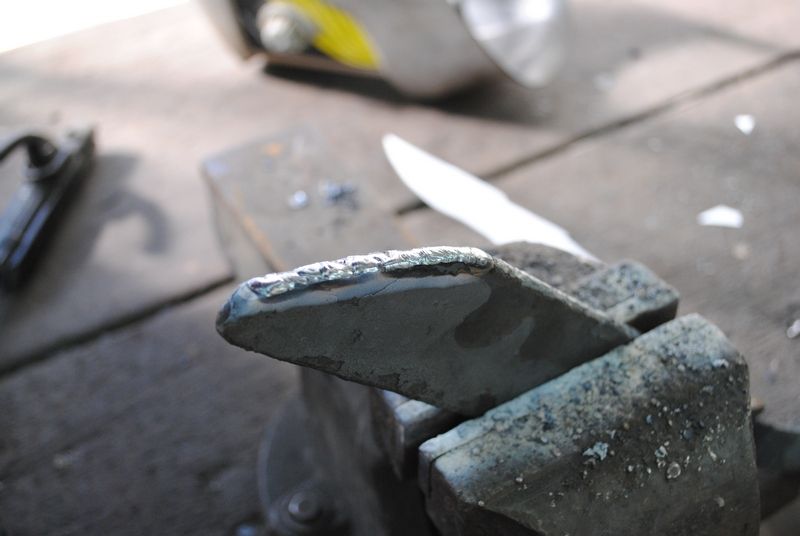
Here the materials are welded, The Bead is run the length of the billet to make a perfect seal. This prevents oxygen from entering between the materials, Oxygen/Air will prevent the materials from forge welding.

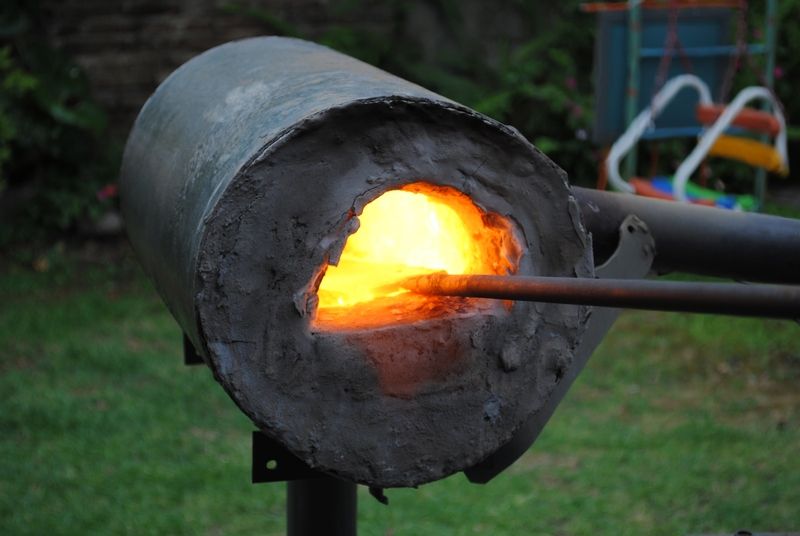
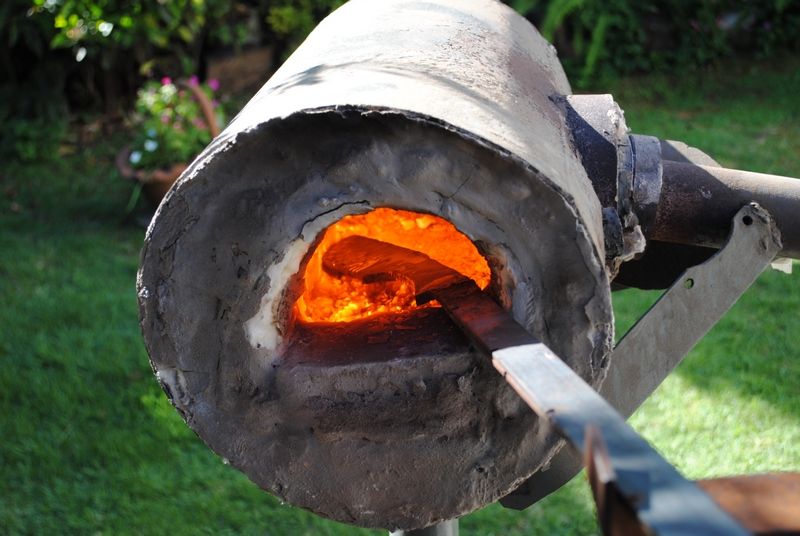
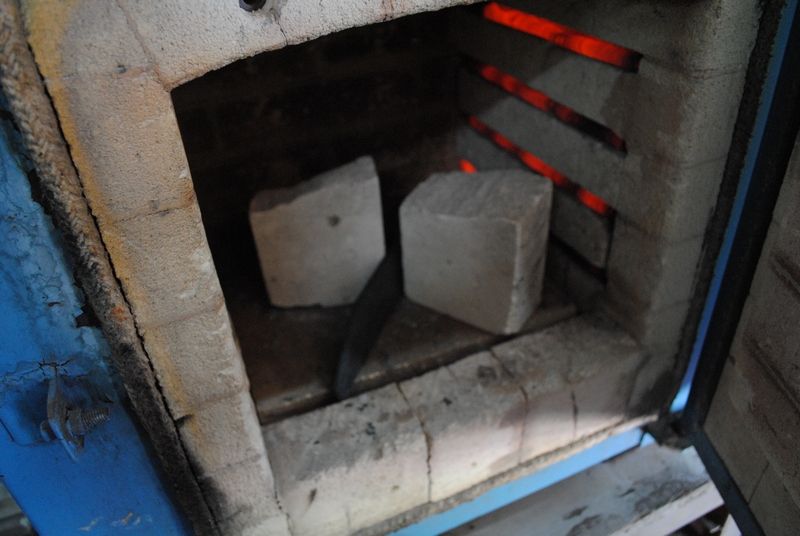
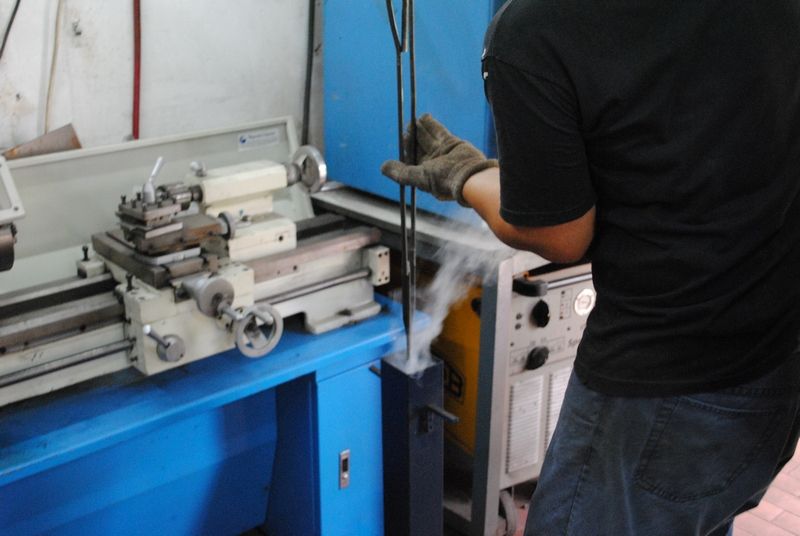
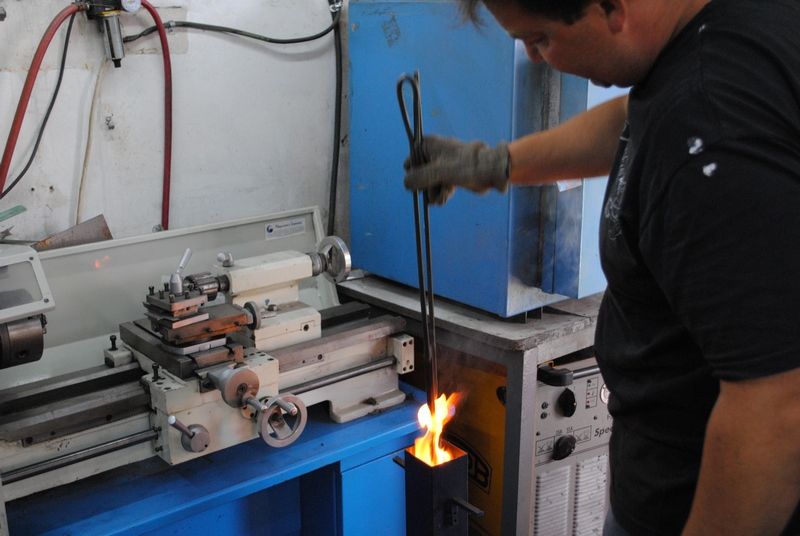
Into the forge brought up to temp
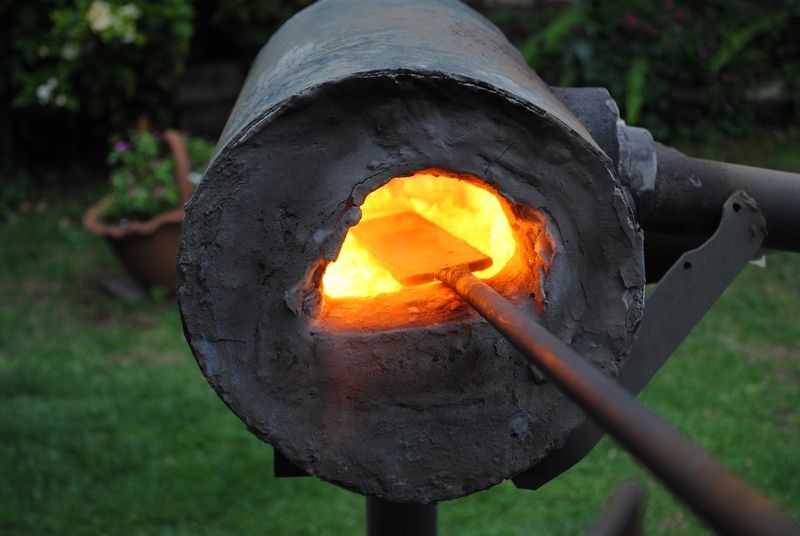
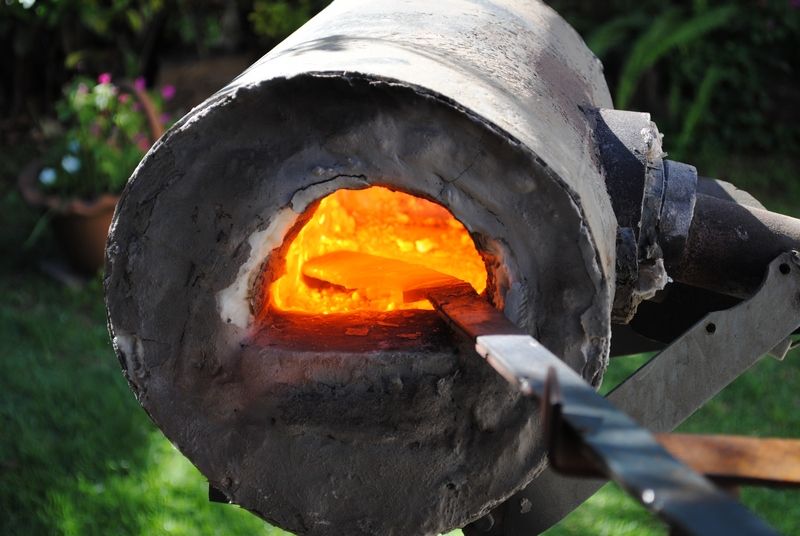
Claudio lets the materials soak at welding temp.
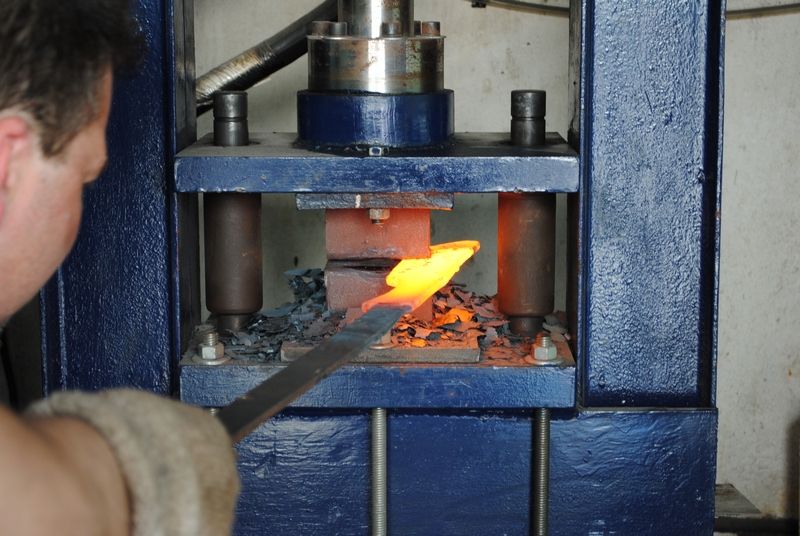
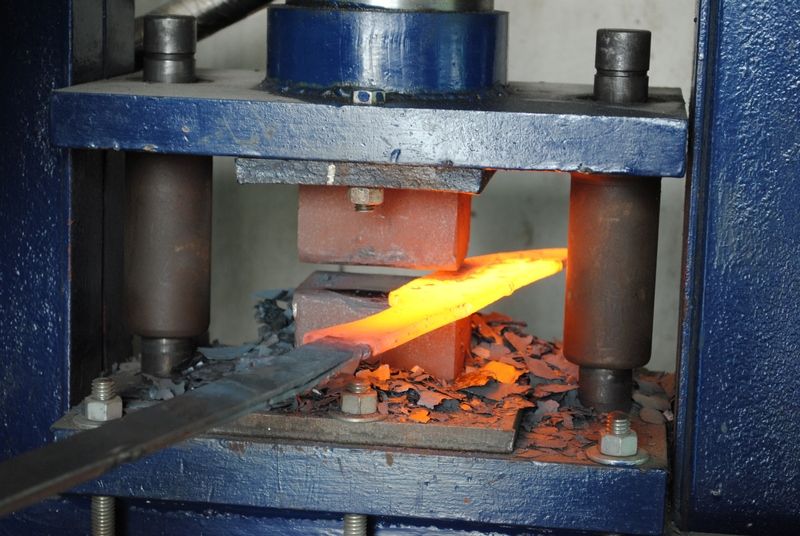
after the soak it goes to the press working the materials together carefully.
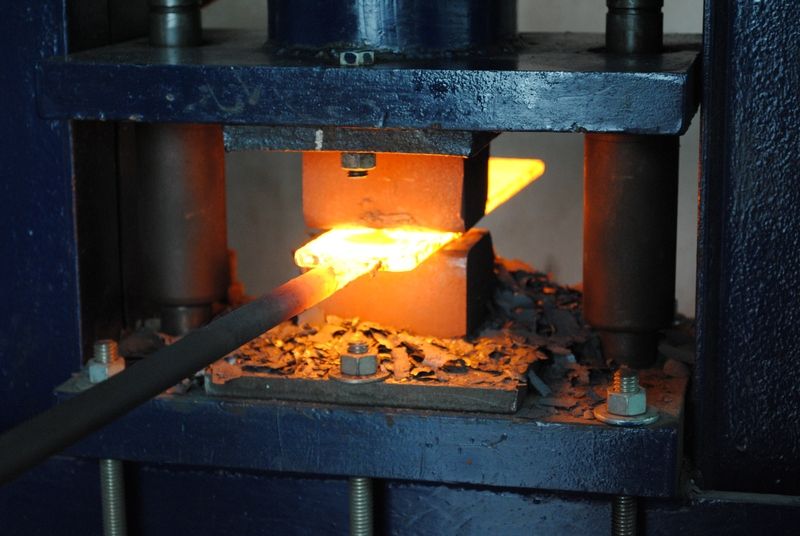
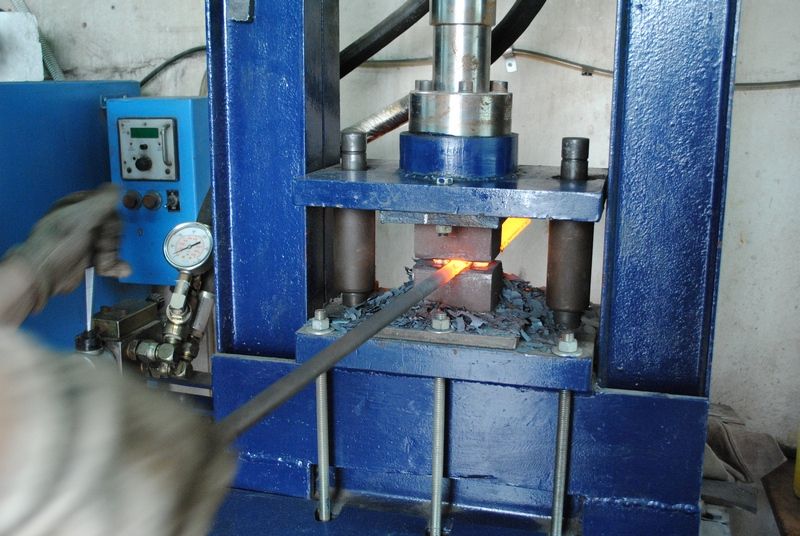
He repeats the Forge soak and press multiple times.
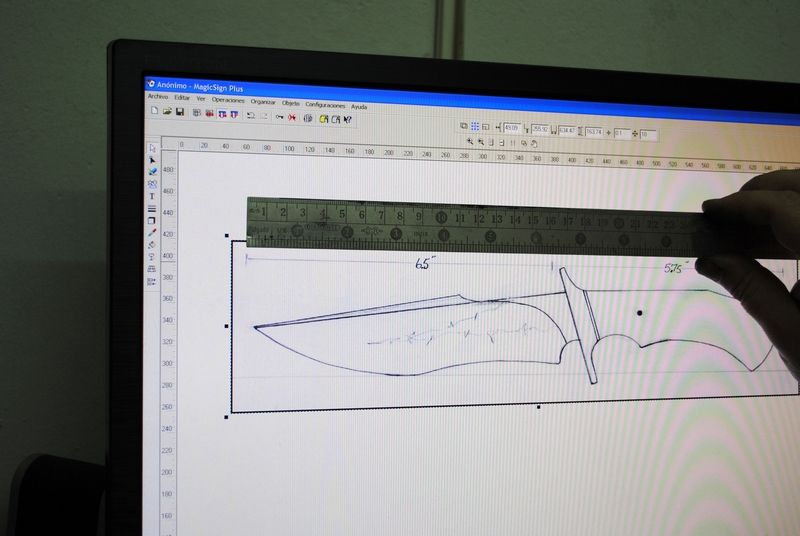
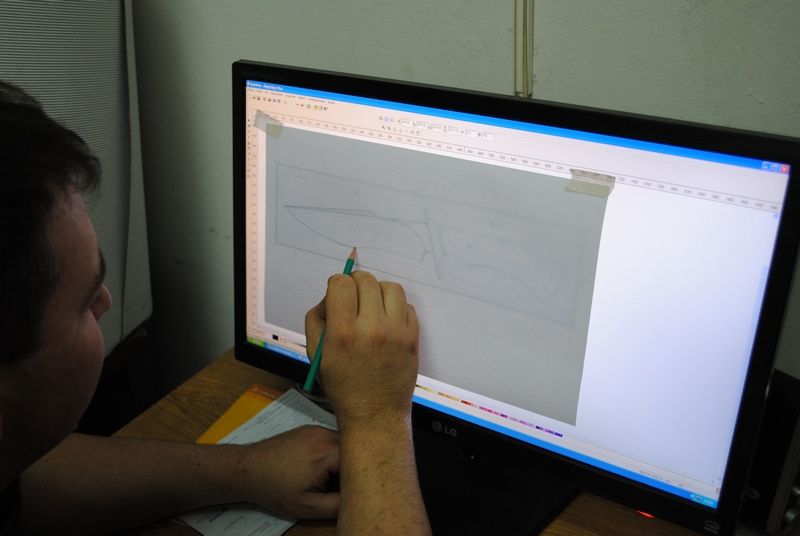
Since Claudio lives in Argentina It is easiest for me to Email him the drawing with Scale markings for him to transfer onto paper to work from
Claudio welds the ground area together to prevent the layers from separating when he works on it
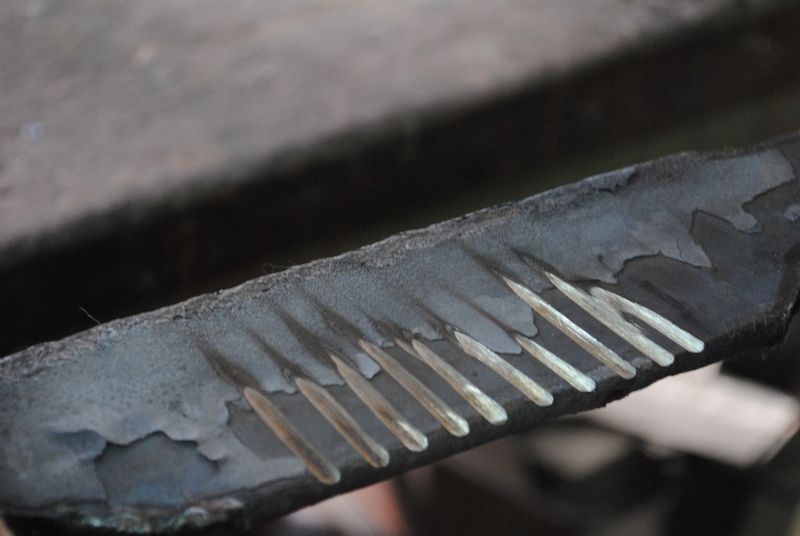
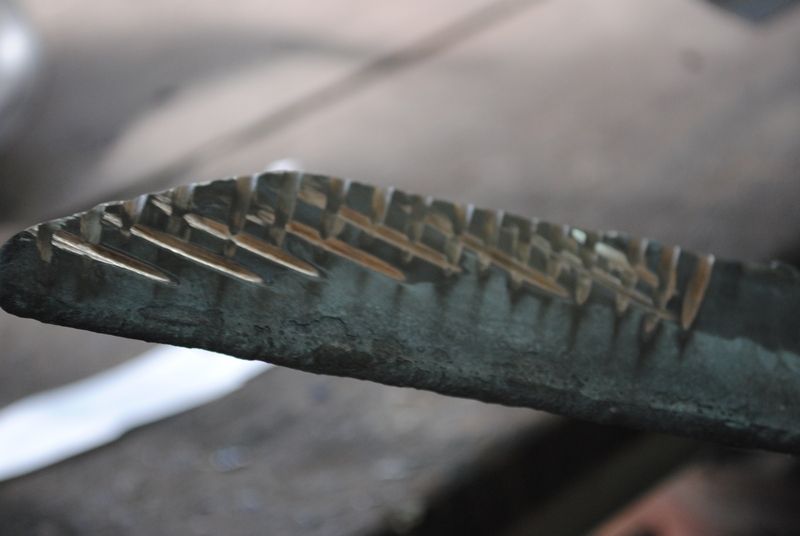
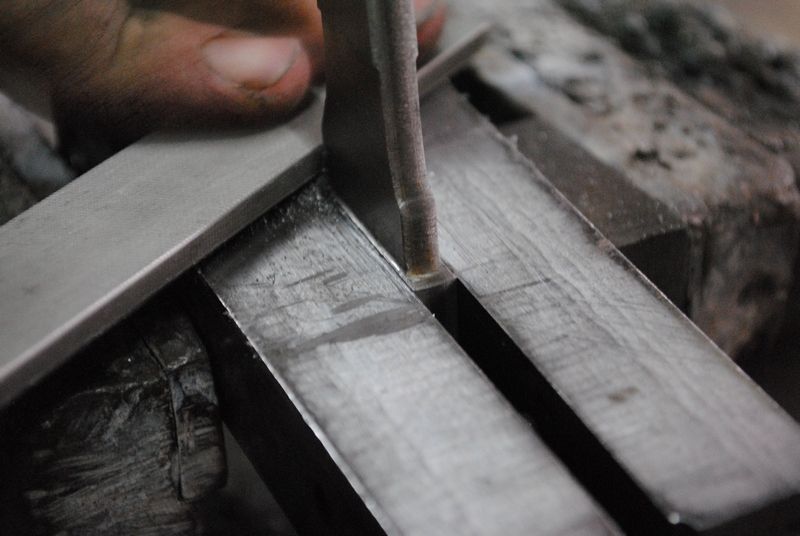
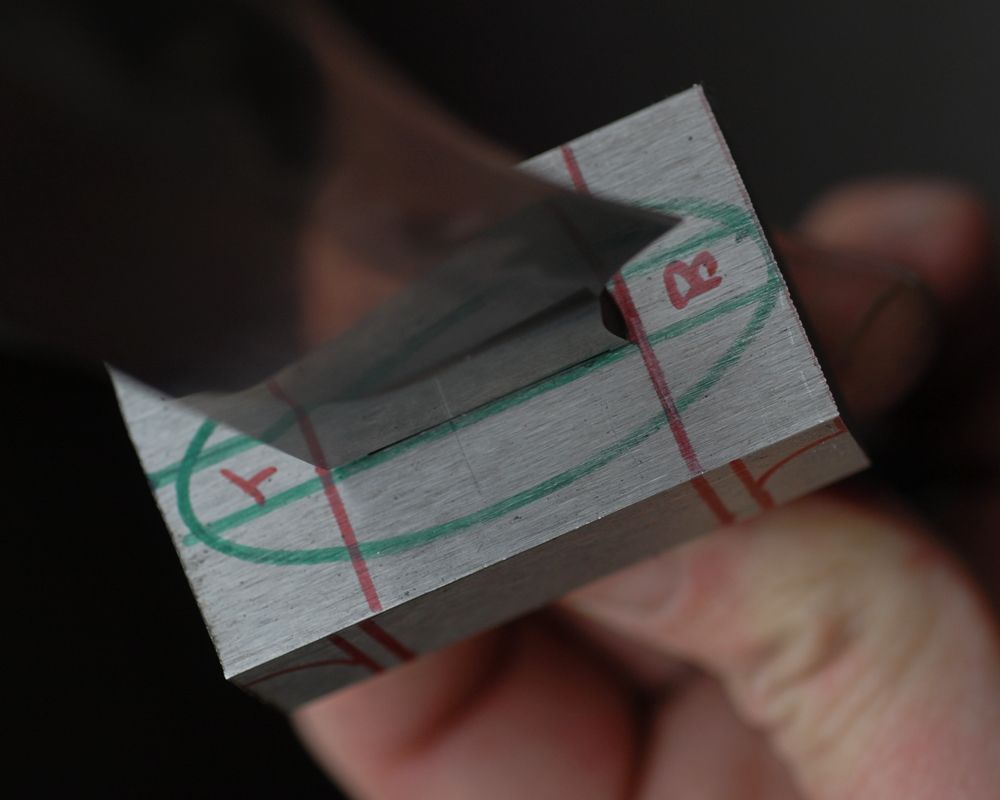
Here he scores through the layers to disrupt the pattern so that there is some activity in the final layers
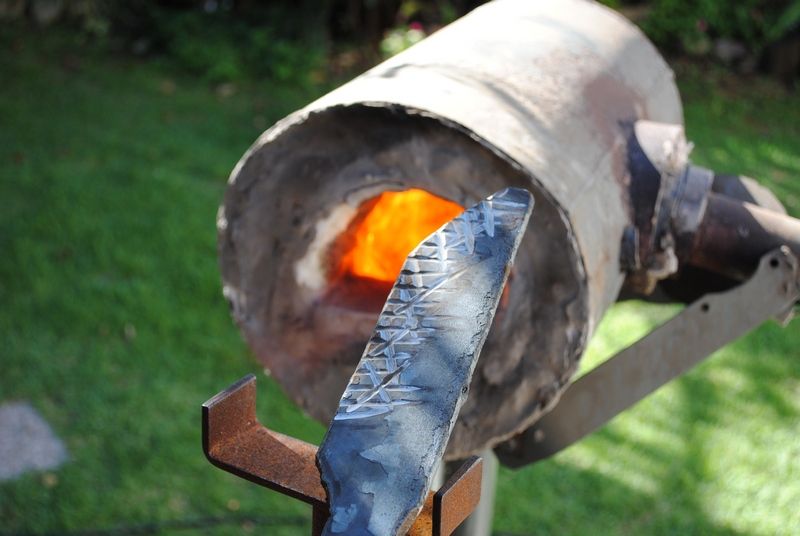

This photo Claudio Normalizes & Anneals the forged to shape blade
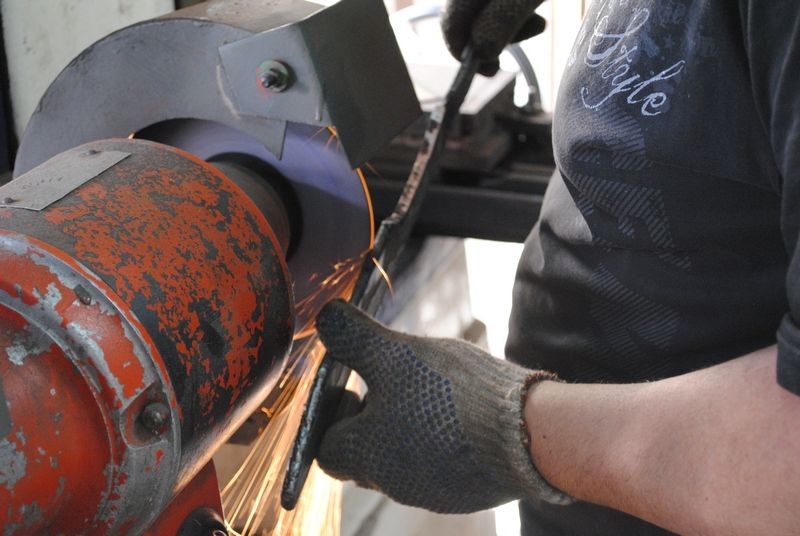
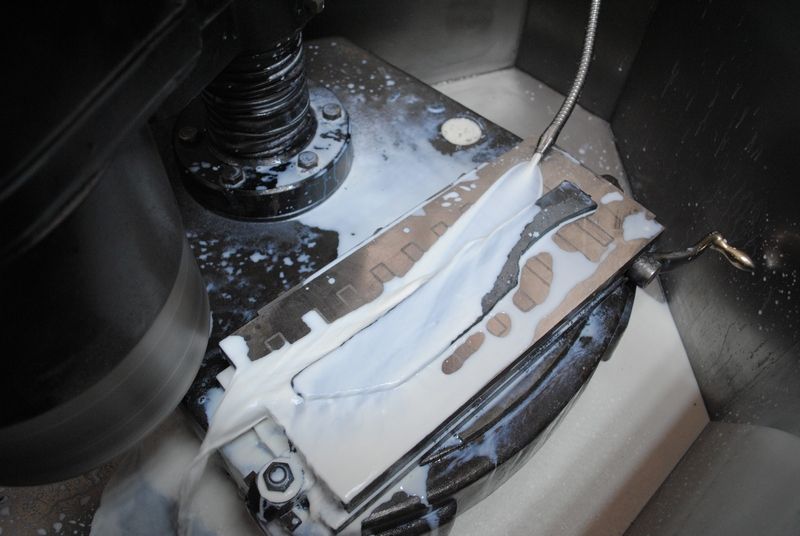
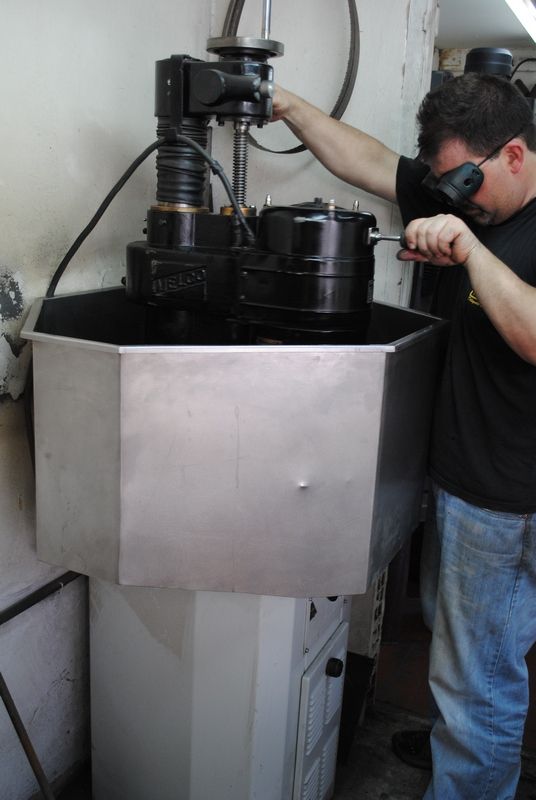
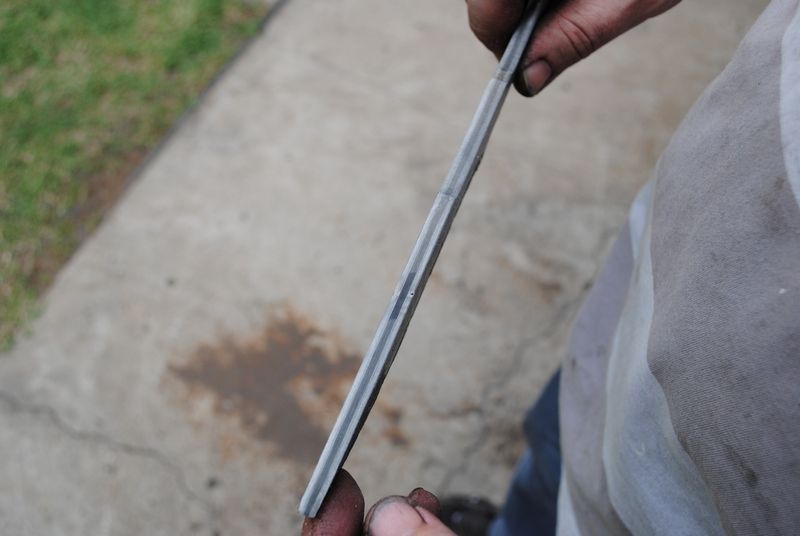
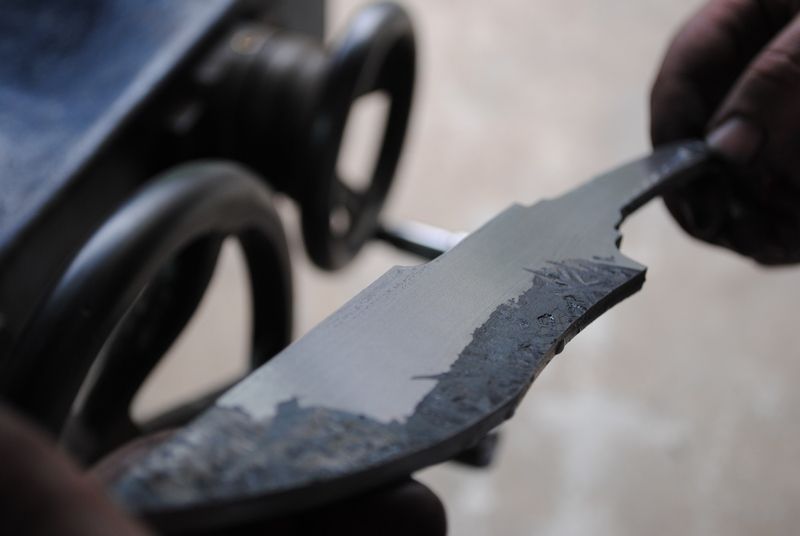
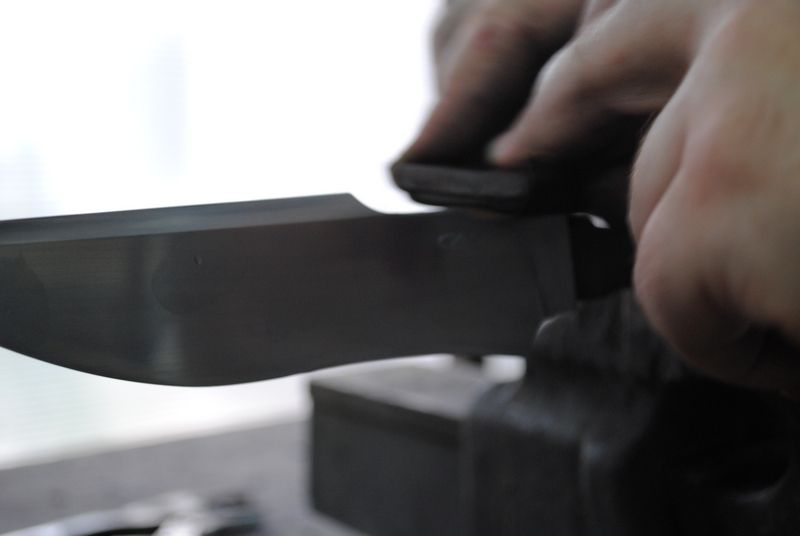
Into the surface grinder, you can see where the blade has been tapered towards the cutting edge and tip. Very nice Equipment My friend!
Here Claudio traces the template onto the rough forged blade
He then profiles to shape
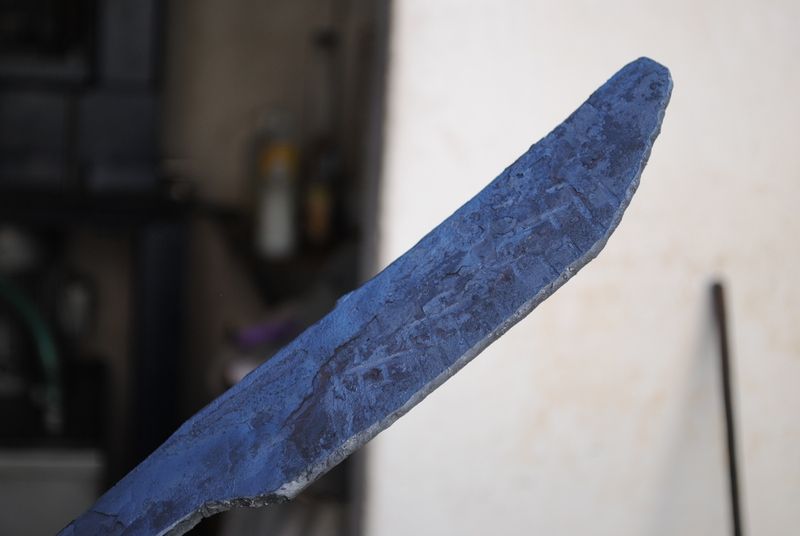
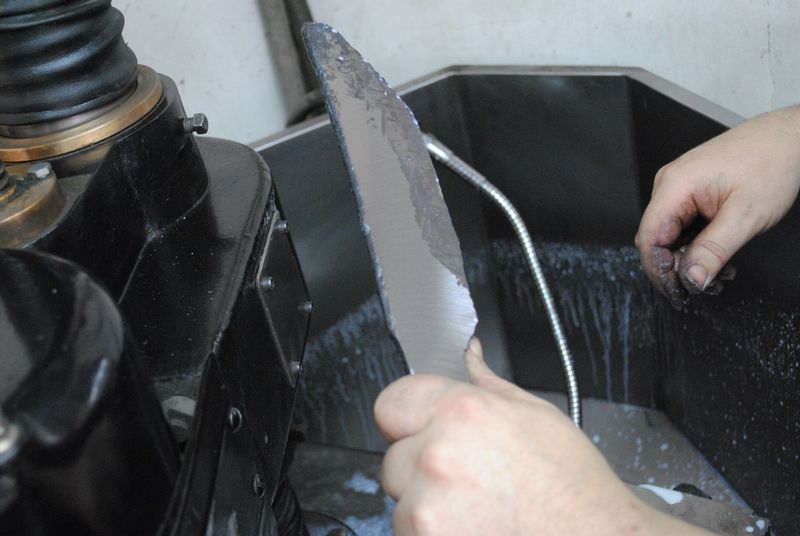
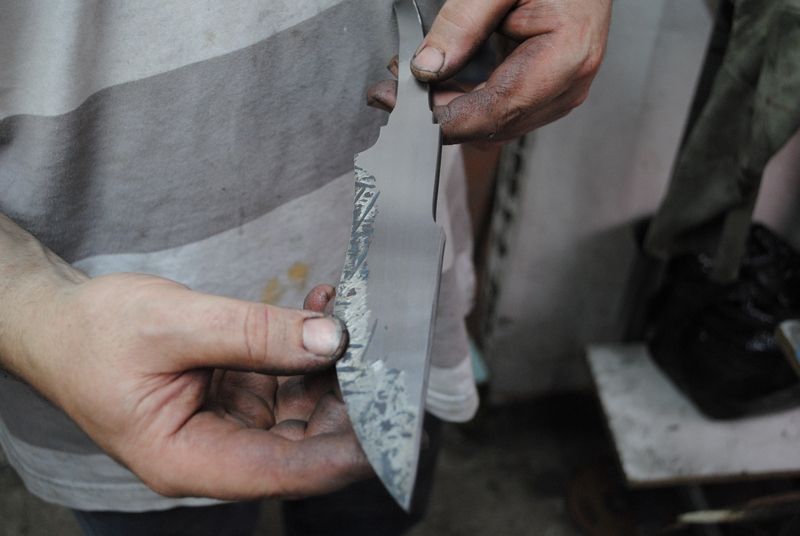
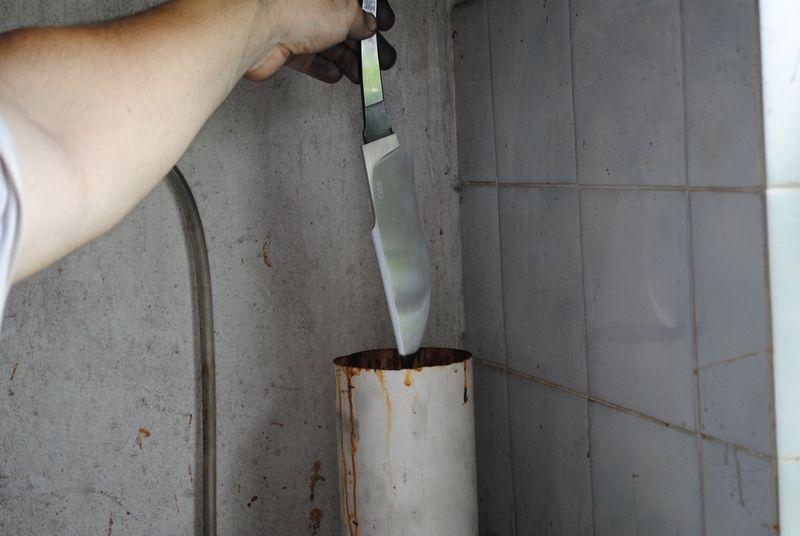
Into the Etching tube
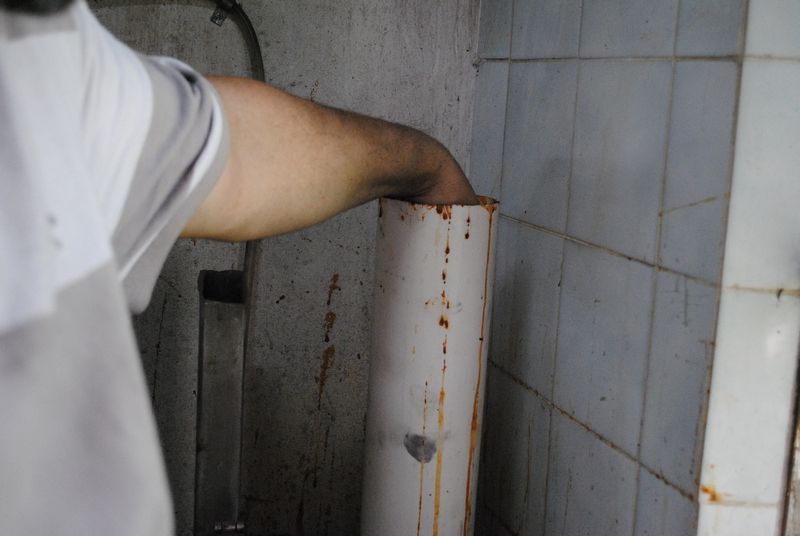
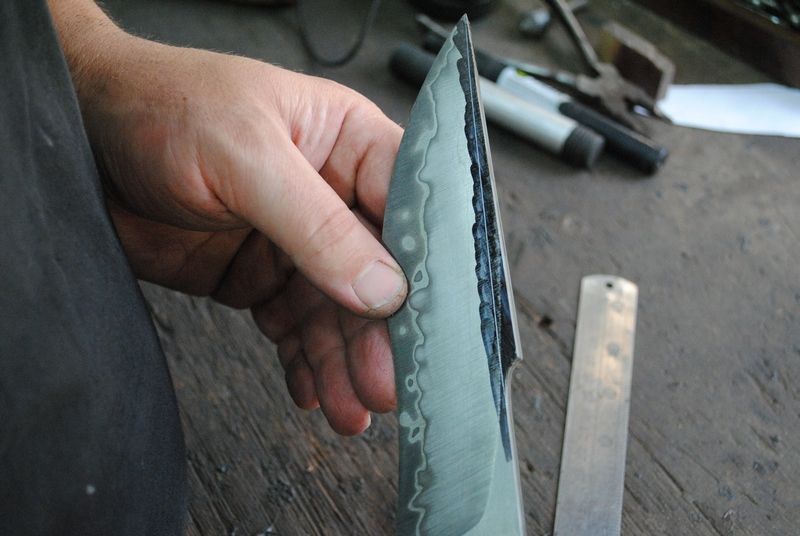
Here you can see the High Carbon Core in the center
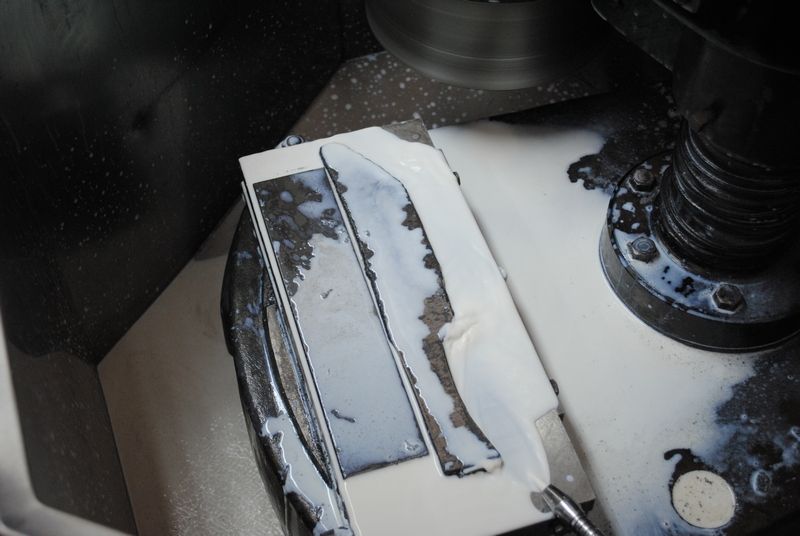
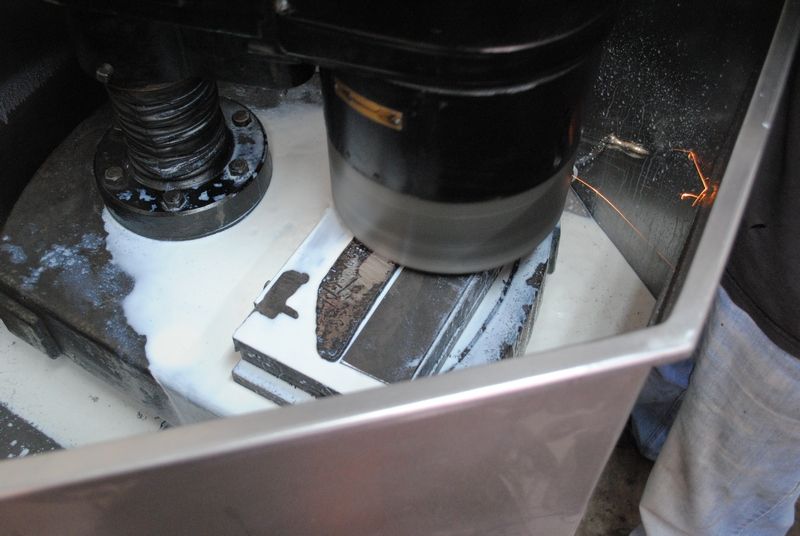
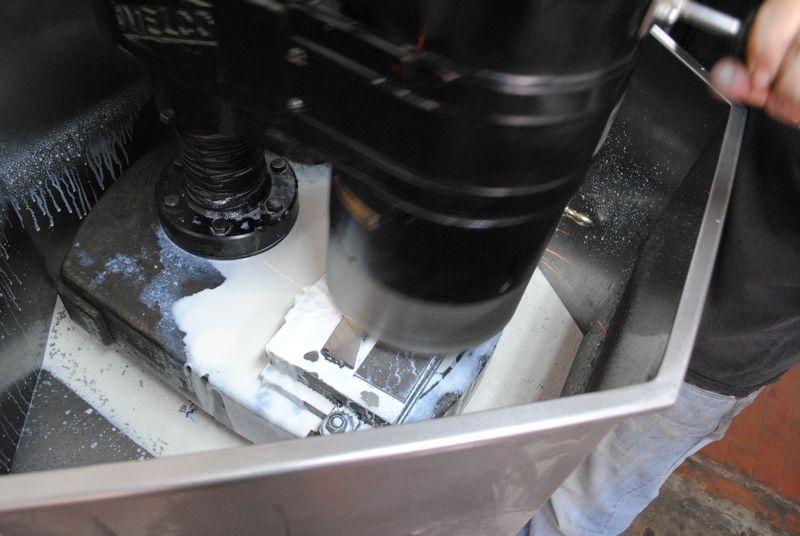
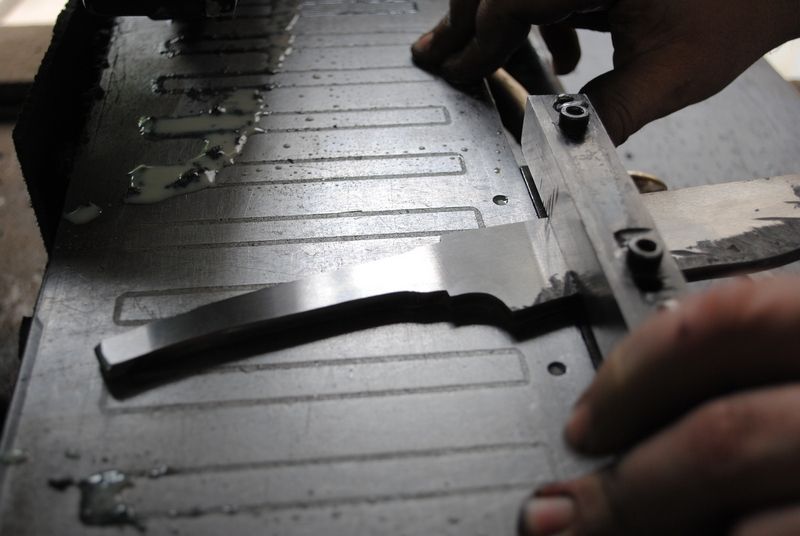
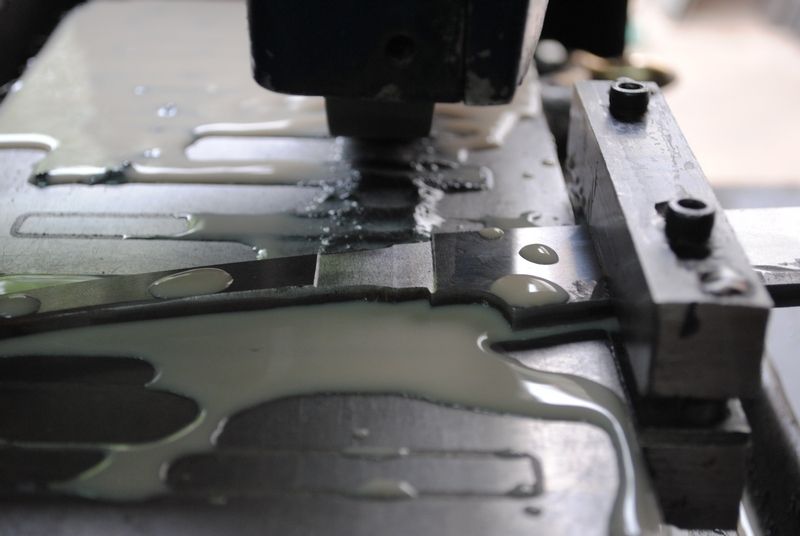
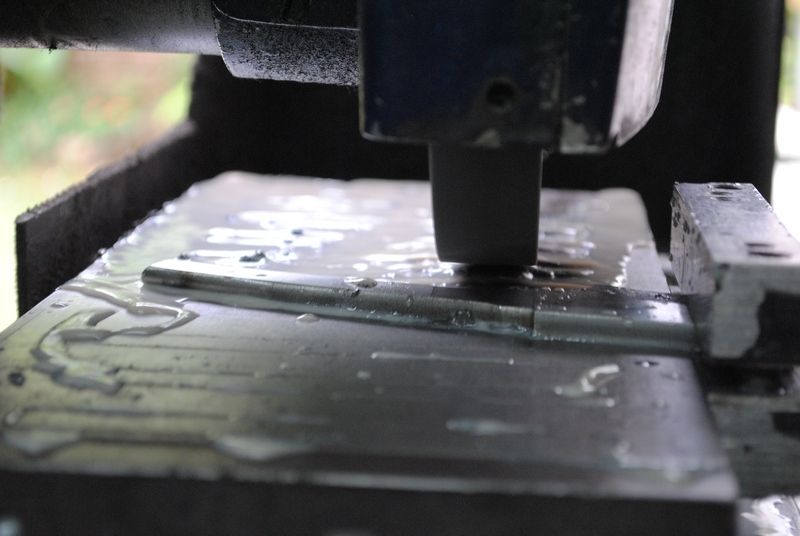
Onto a different Surface grinder (Trying to show off Mr. Sobral?)
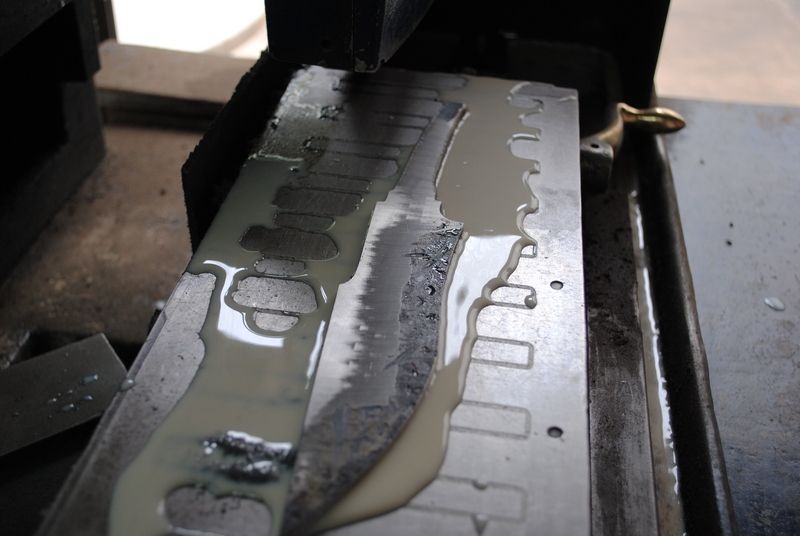
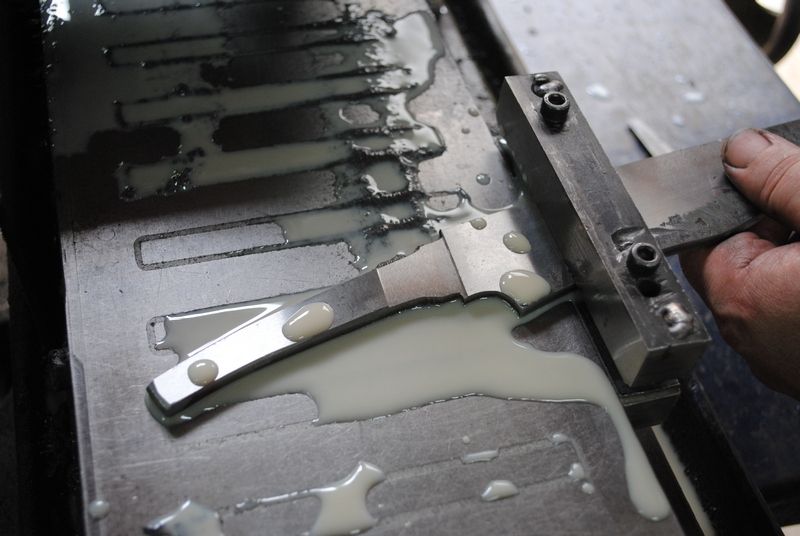
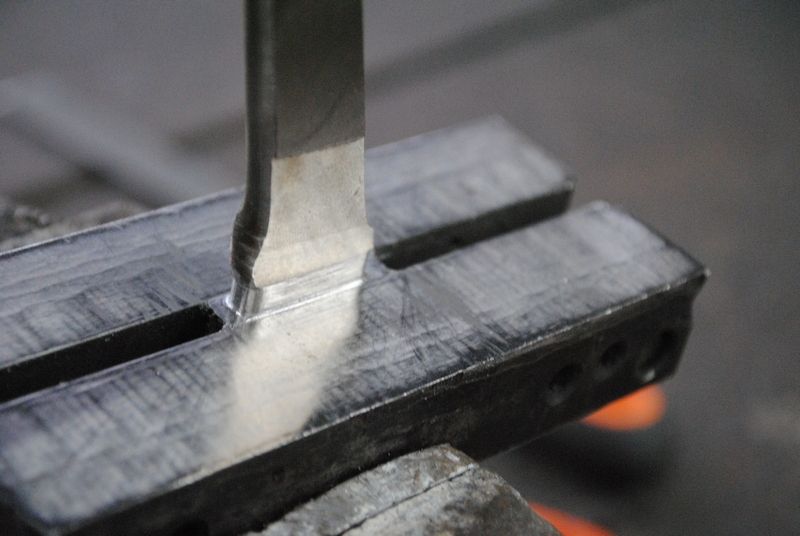
Here he uses another surface grinder to make the shoulders for the guard. Claudio does his guards a little different than I have in the past. He puts shoulders around the entire stick tang, not just on the top and bottom. If I had 2 (possibly more) Surface grinders I might do the same thing!
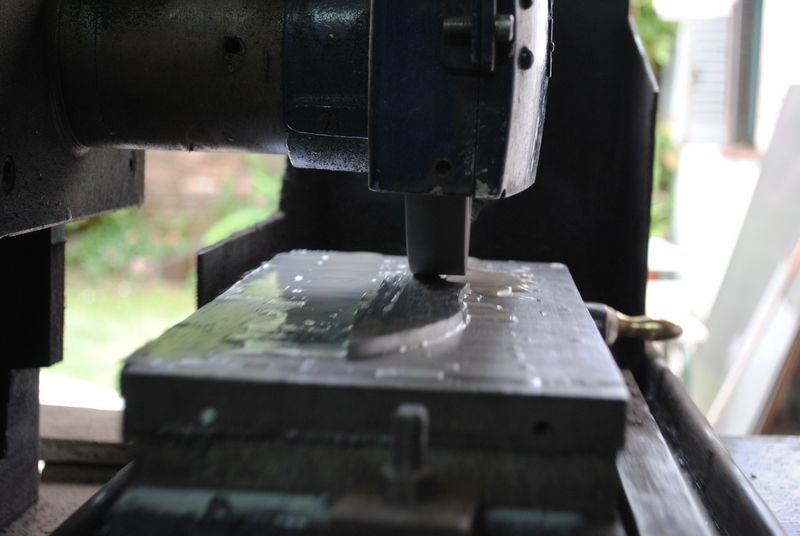
Something I noticed... It looks like he is using the file guide as a vice and to maintain the proper angle of the guard. for the surface grinder on the tang flats?
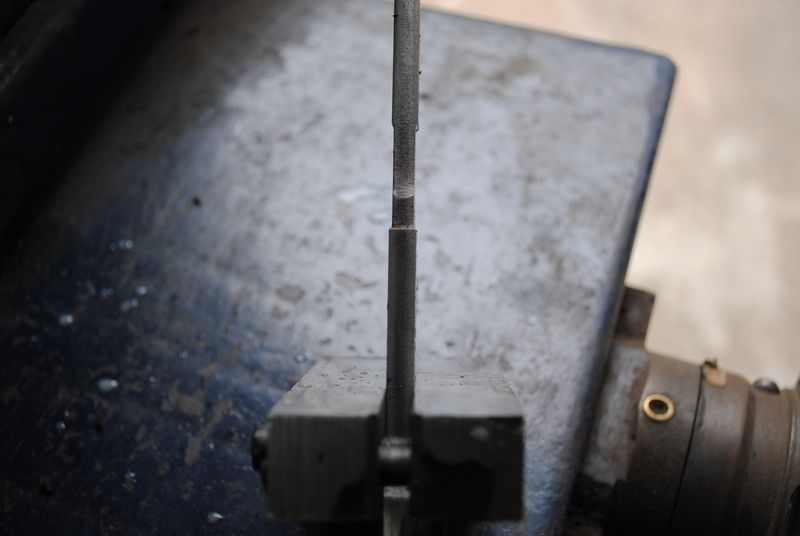
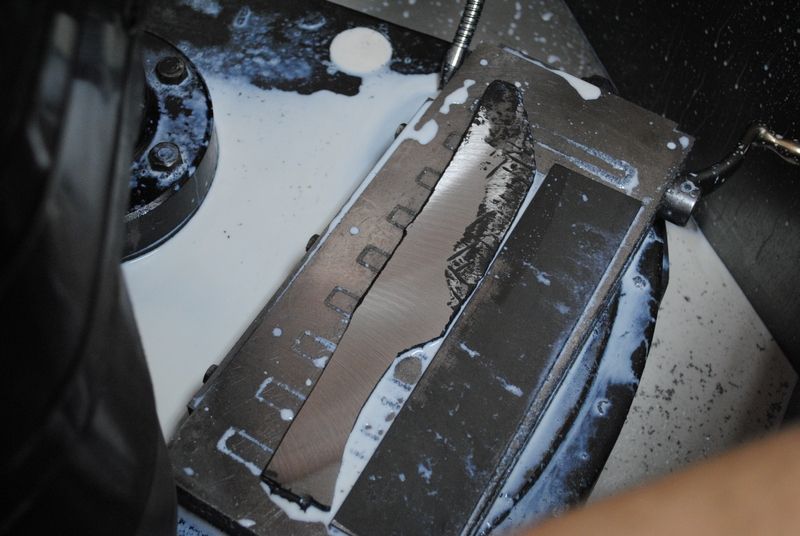
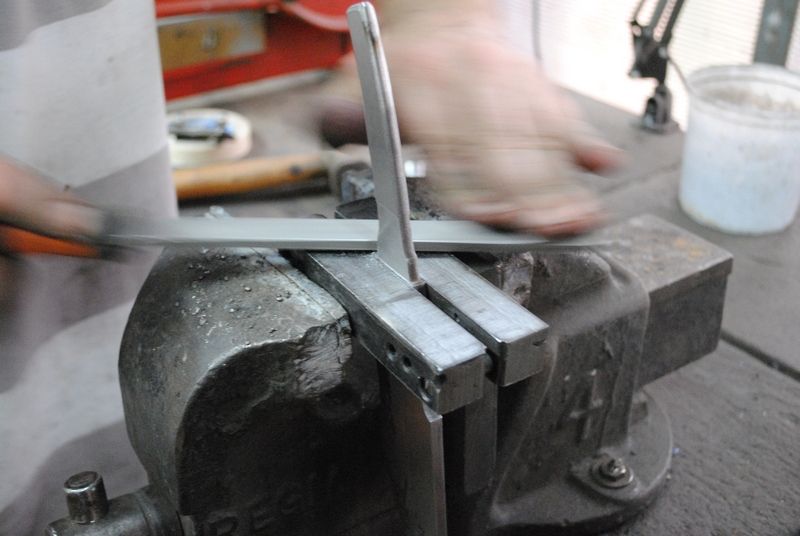
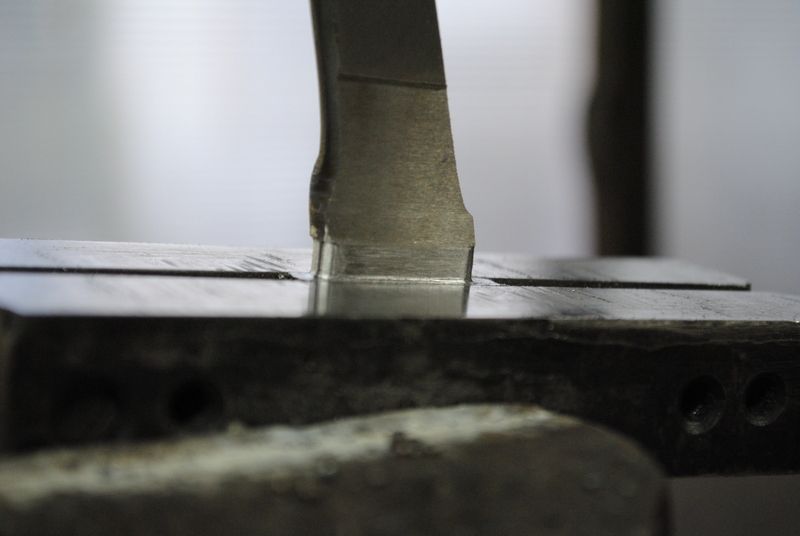
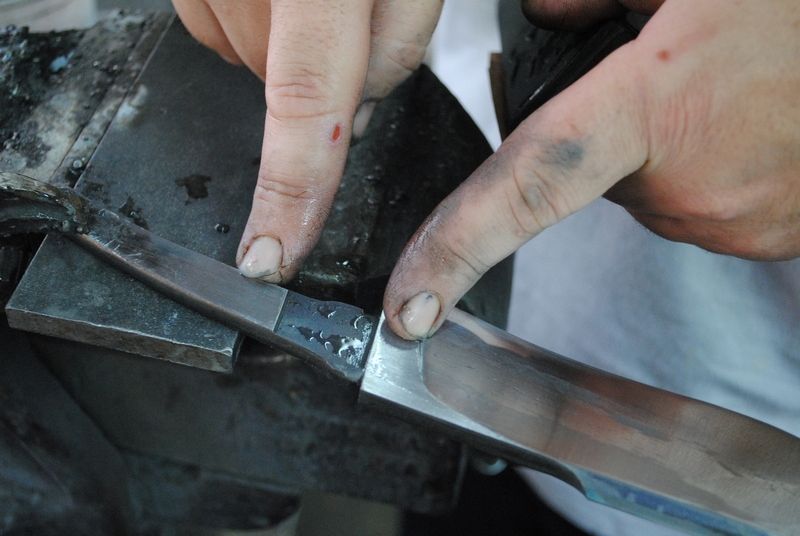
Now he has moved the file guide even with the shoulders he just made and works on the top and bottom shoulders with a file.

I got an update from Claudio, He has been in a rush to get jobs finished before he went on vacation. Luckily for us he had a little time to work on the collaboration knife.
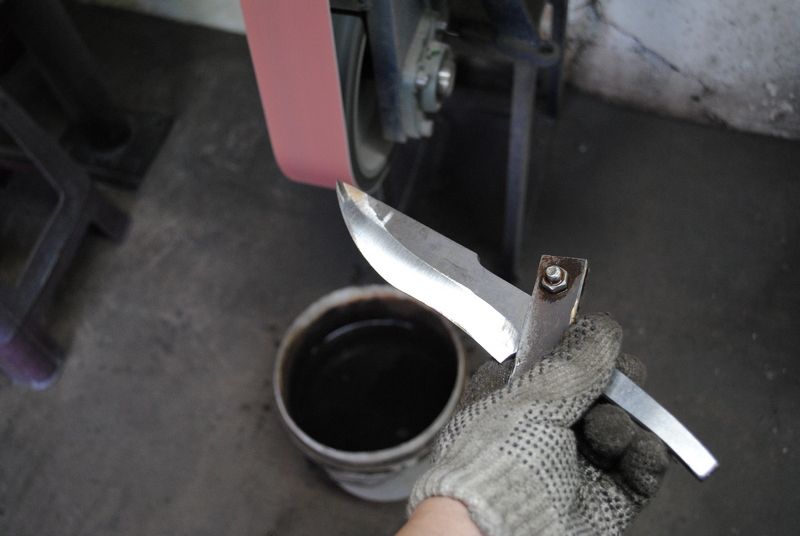
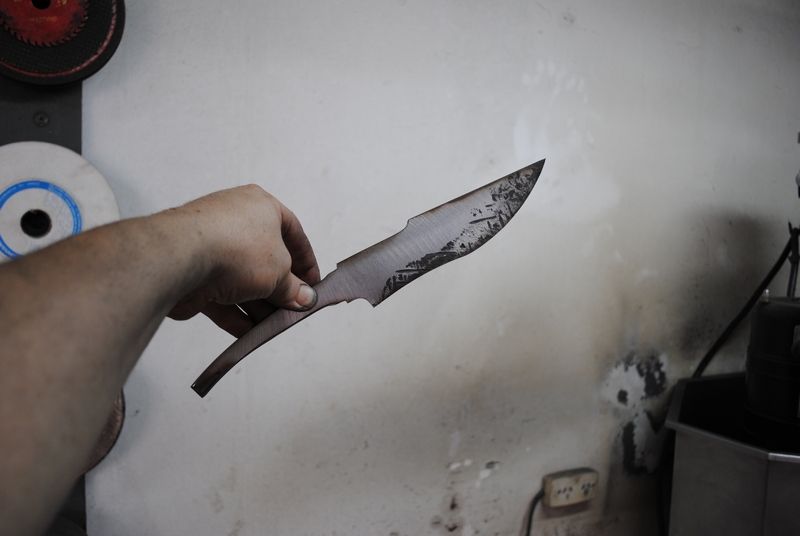
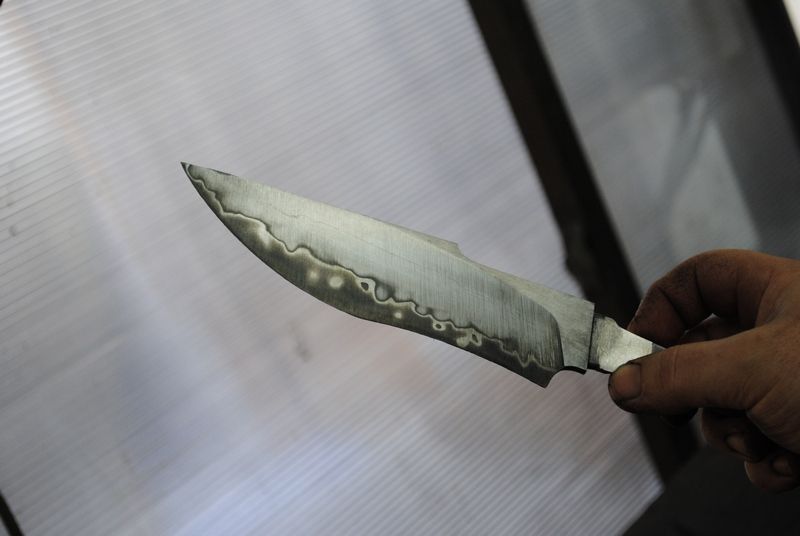
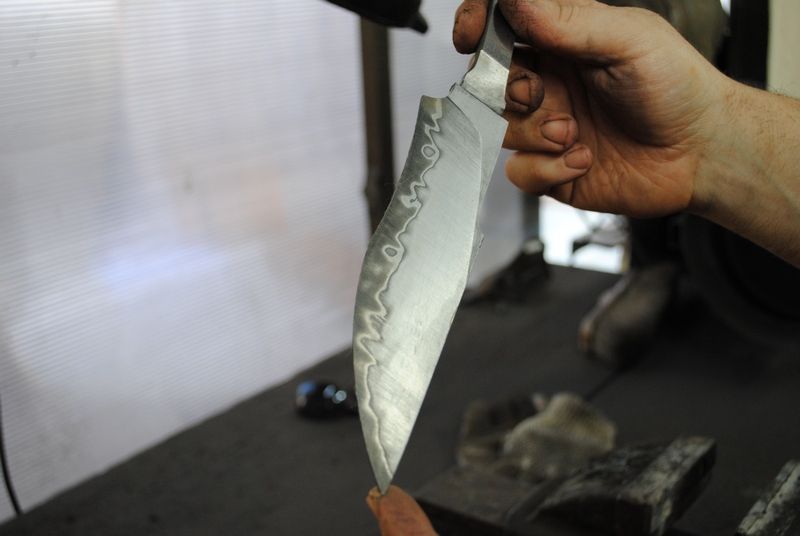
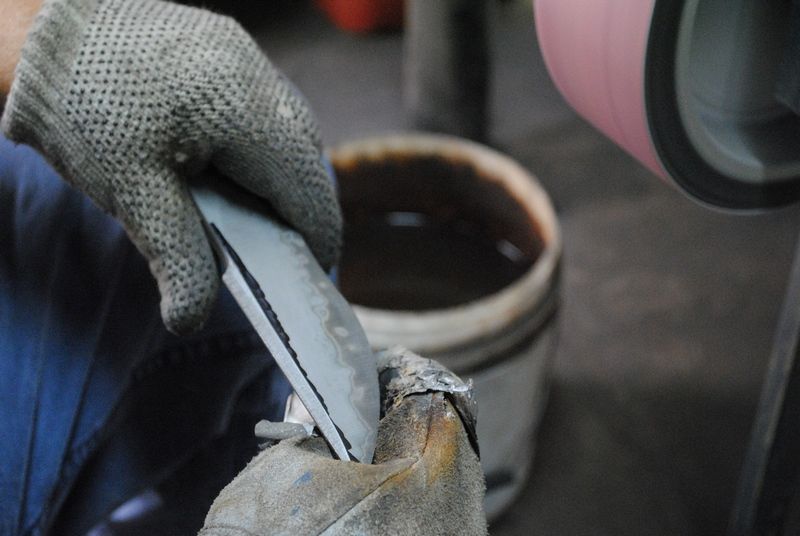
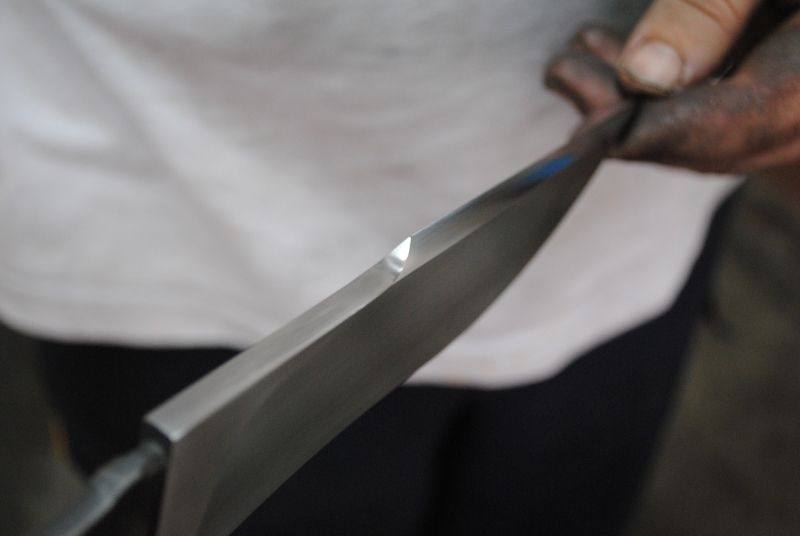
This is the teaser photo... As a maker myself this is one of the most exciting parts of working with SanMai and Hamon's, you get a peek at the patterns with every pass on the grinder!
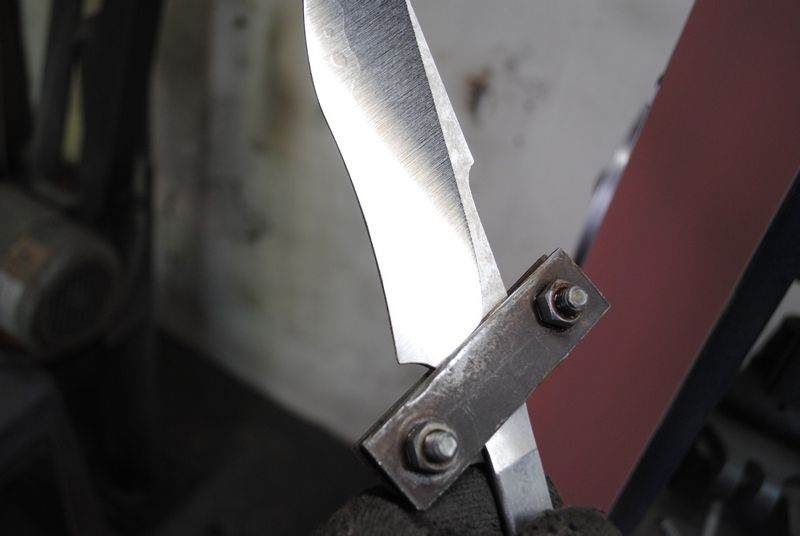
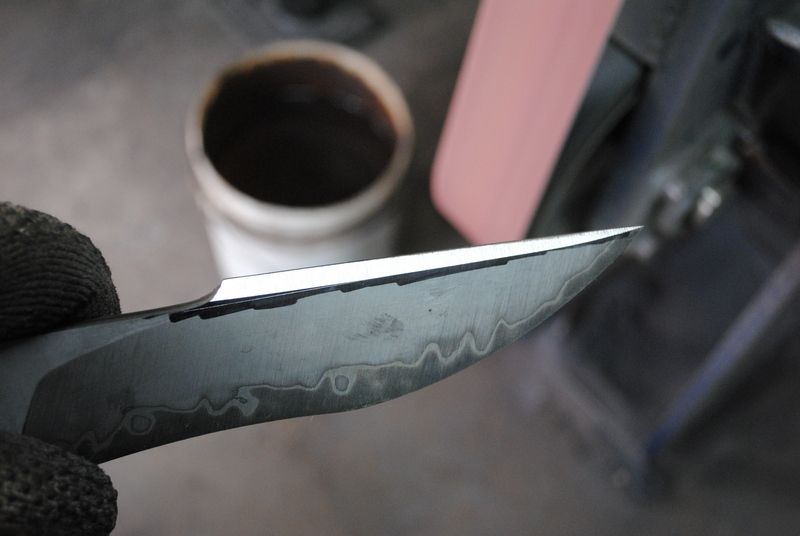
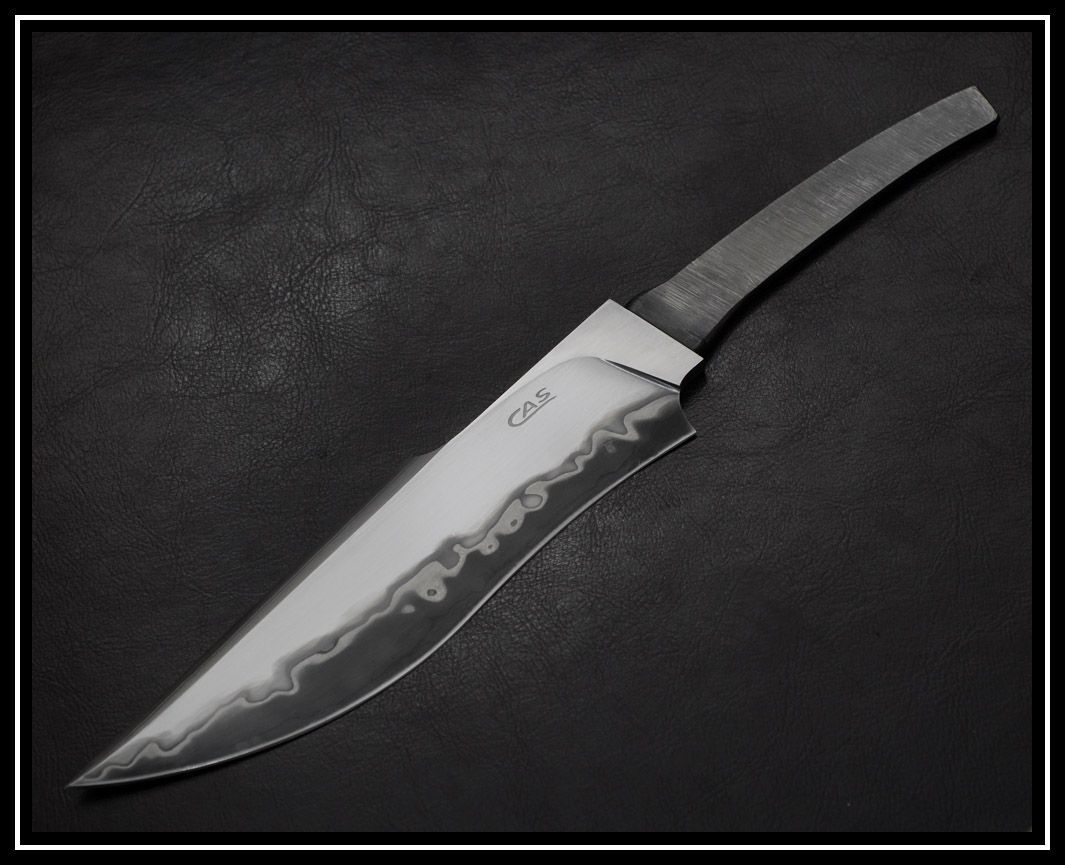
A quick dip in the etchant to bring out the Pattern! I think we have a WINNER! Classic CAS Blade...
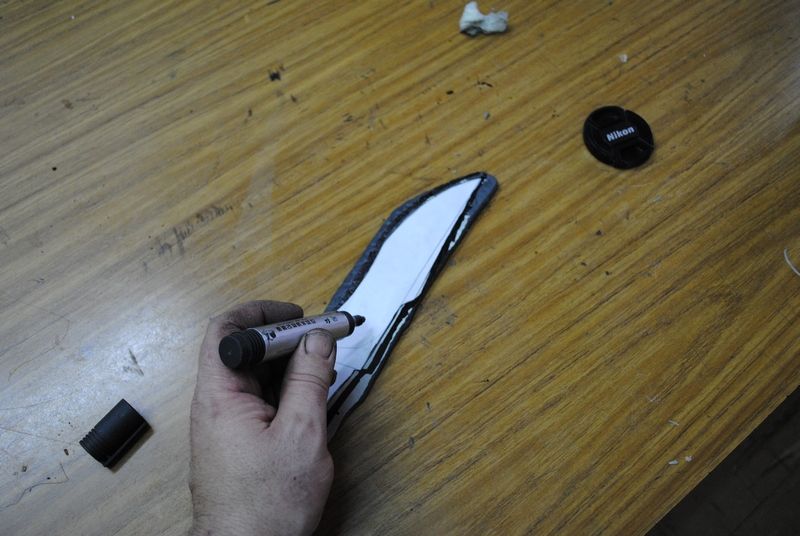
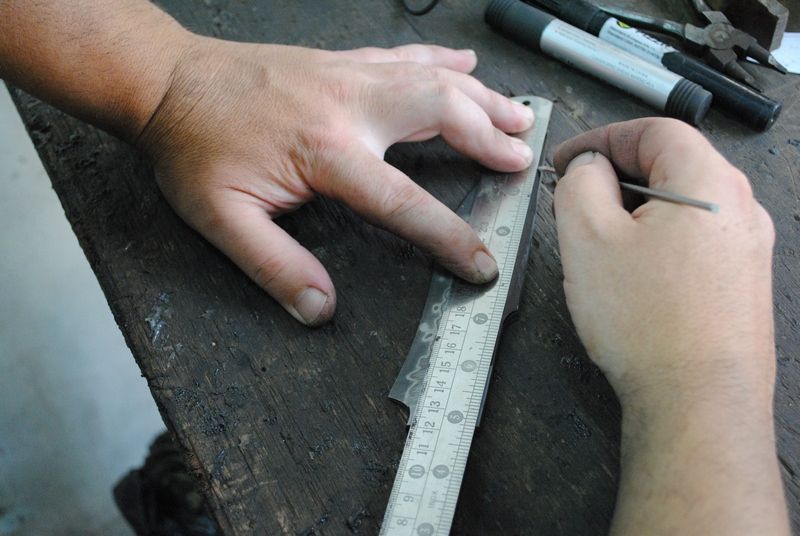
Here Claudio is using black marker so that he can scribe the Grind line for the Clip

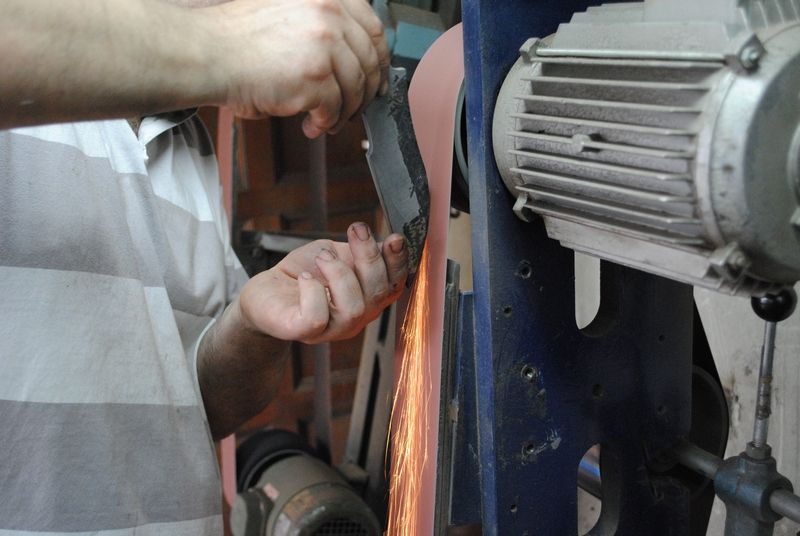
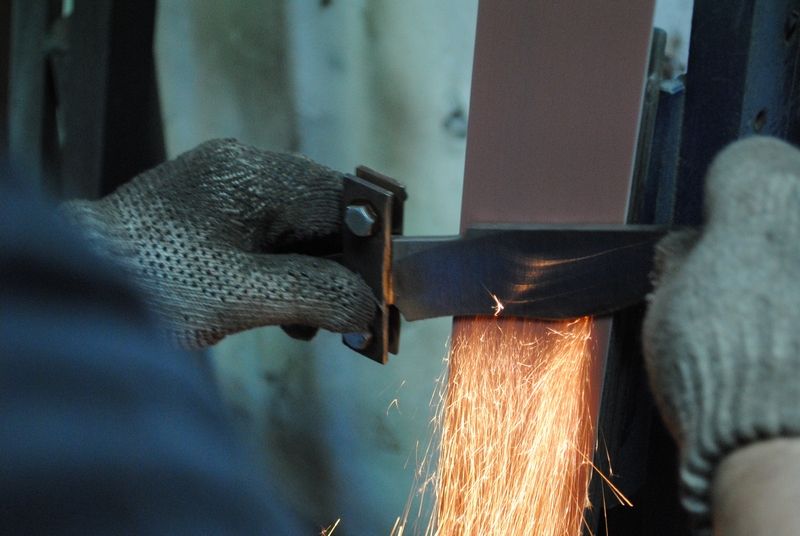
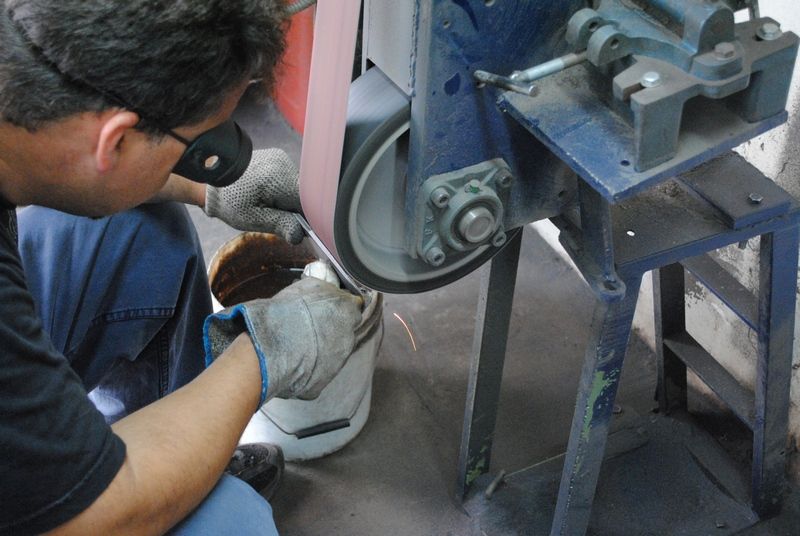
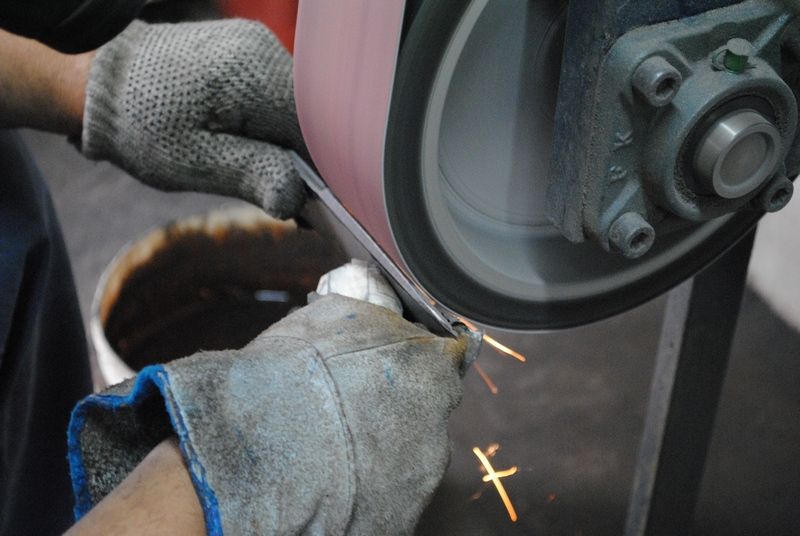
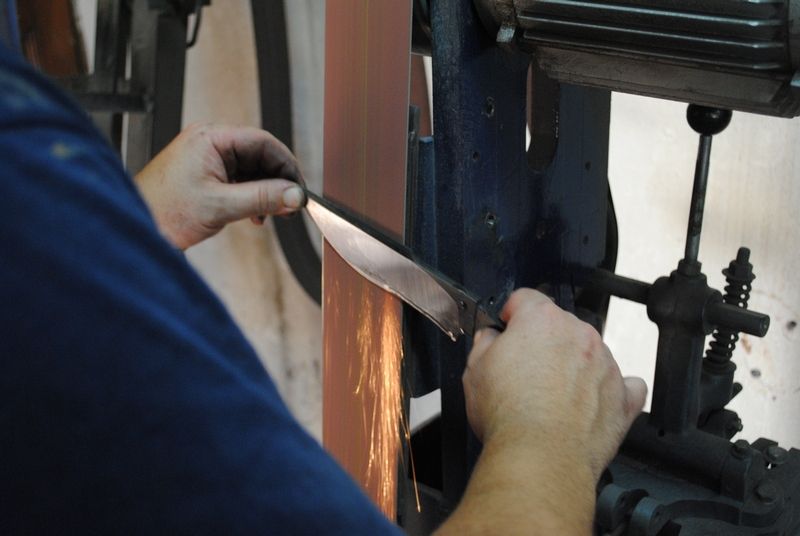
Using a wheel he hollow grinds the clip on both sides until they are even
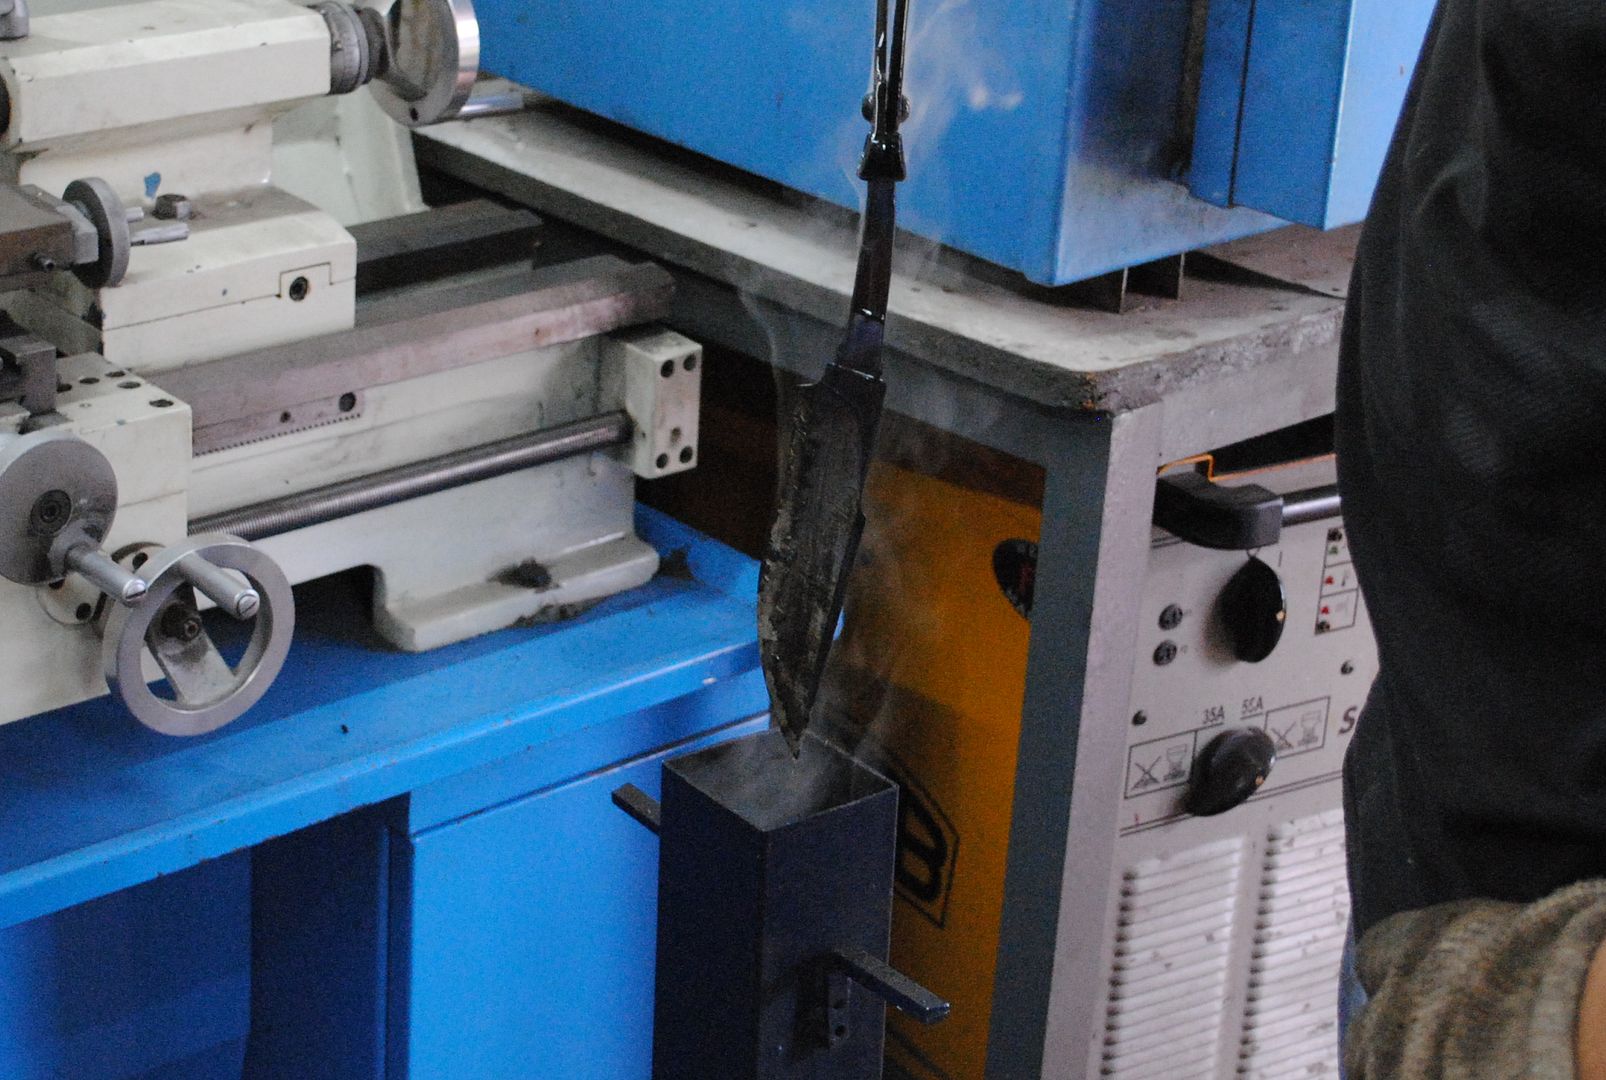
After he is happy with the grinds, The blade goes in for the final Heat Treat.
Claudio Cleaning up the Plunge
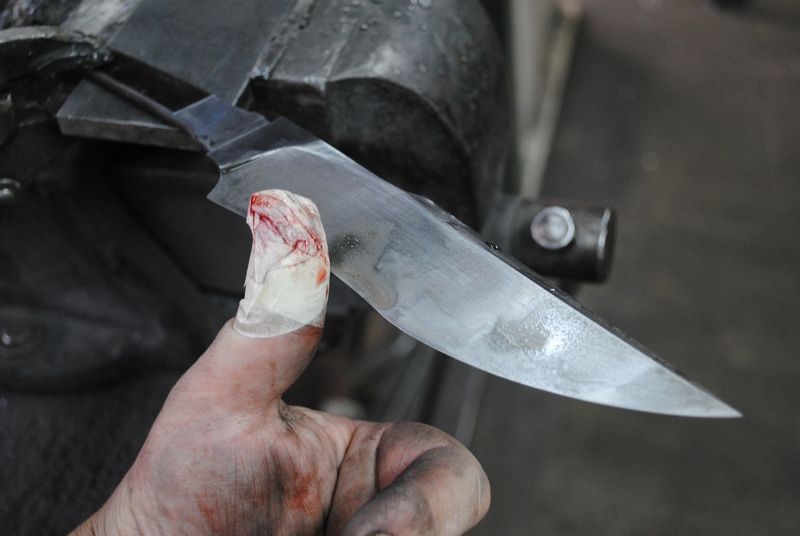
GOT BIT!! The blade has the taste of blood, I am nervous to start working on it! It was also nice to see they carry my brand of Band Aids in Argentina!

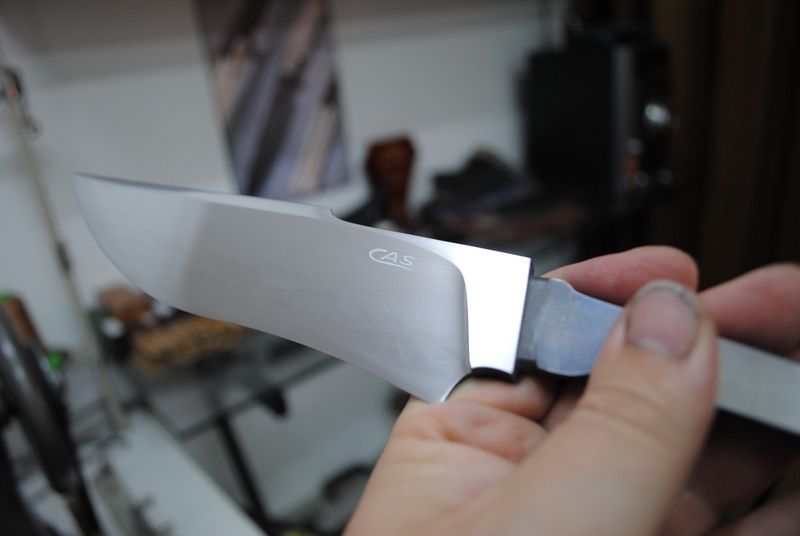
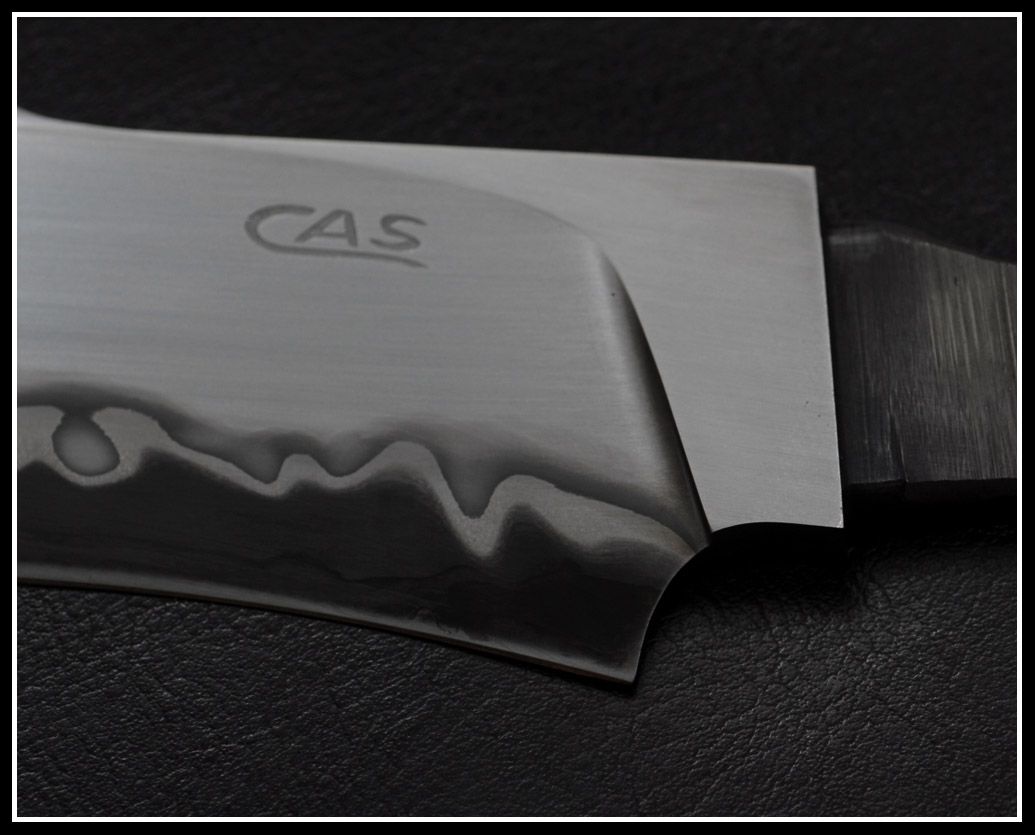
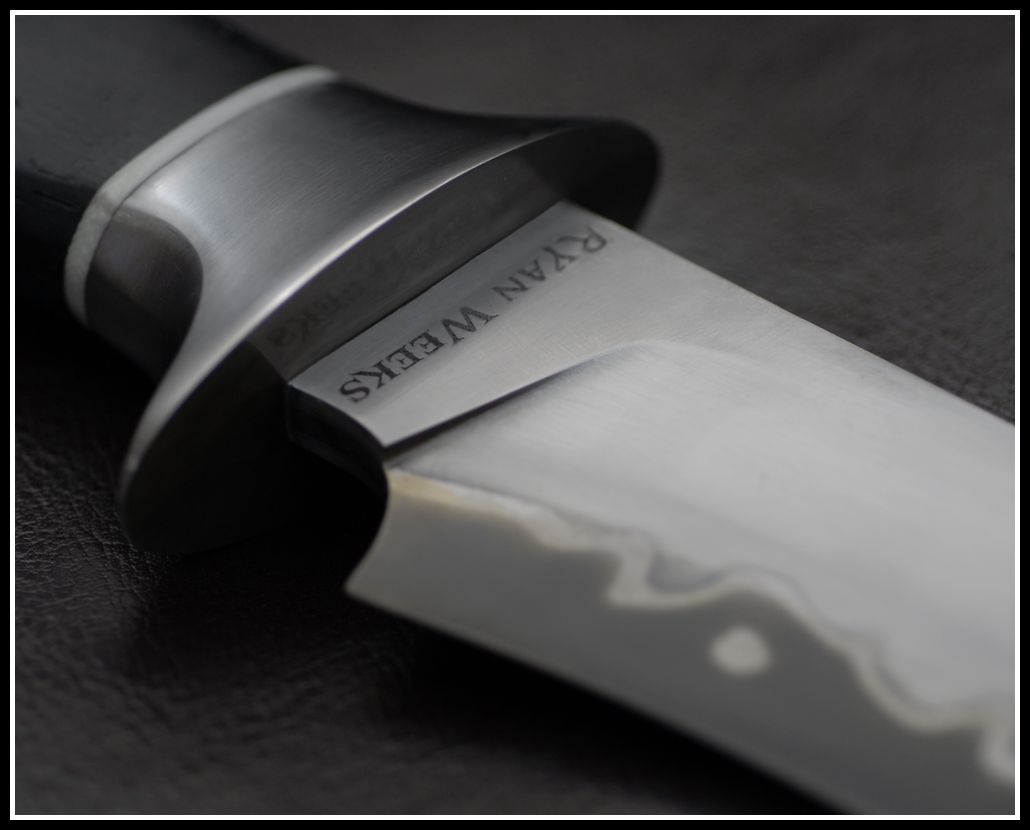
Claudio Etches his Makers Mark "CAS" onto the blade
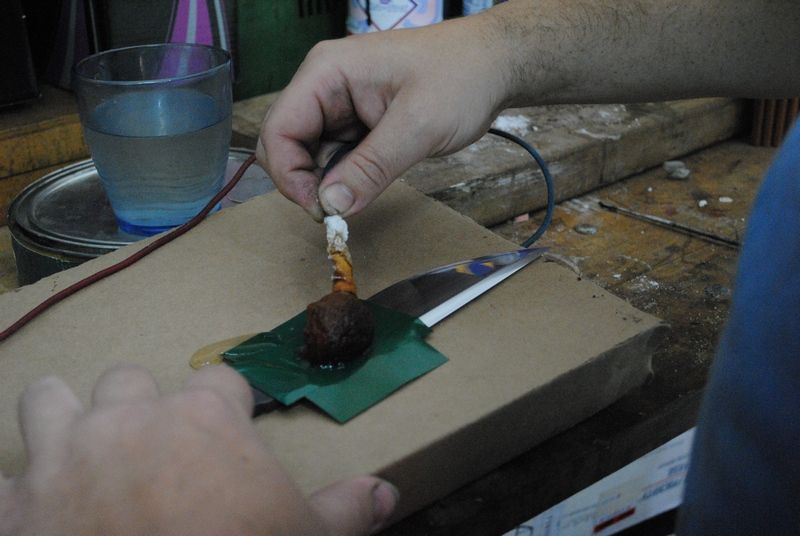
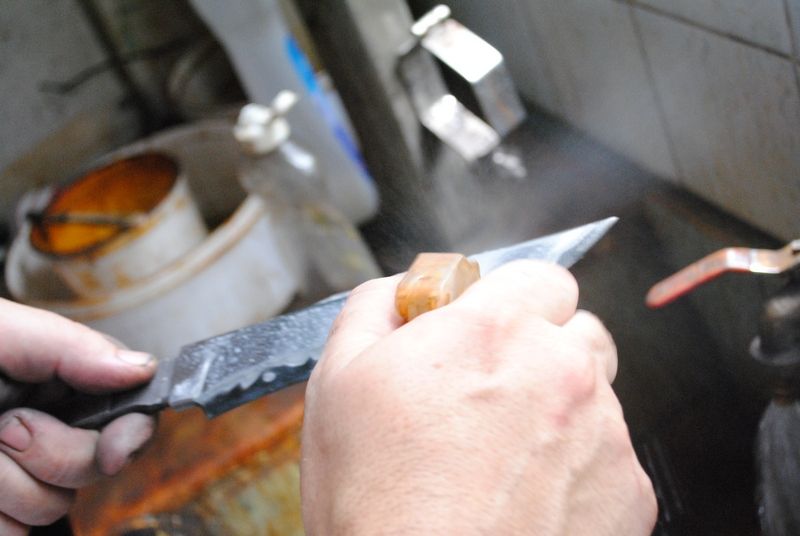
Etching the blade With Ferric Chloride (FC)
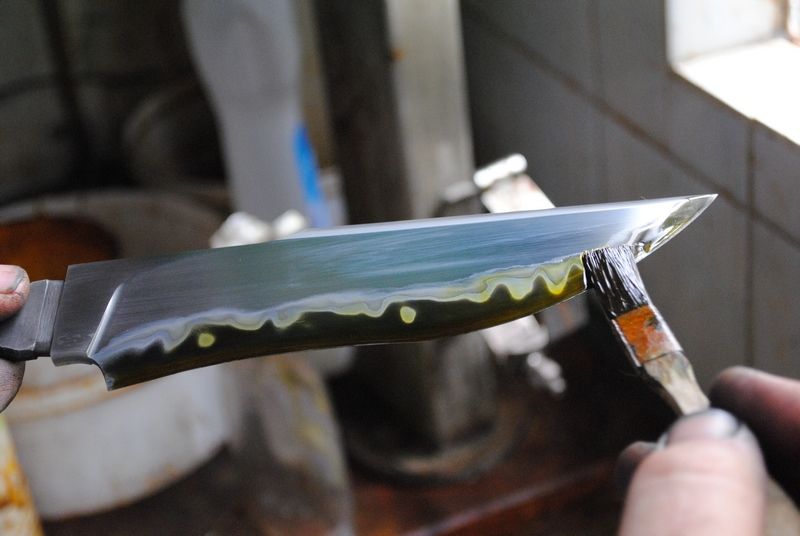
Neutralizing the FC with Ammonia to prevent rust.
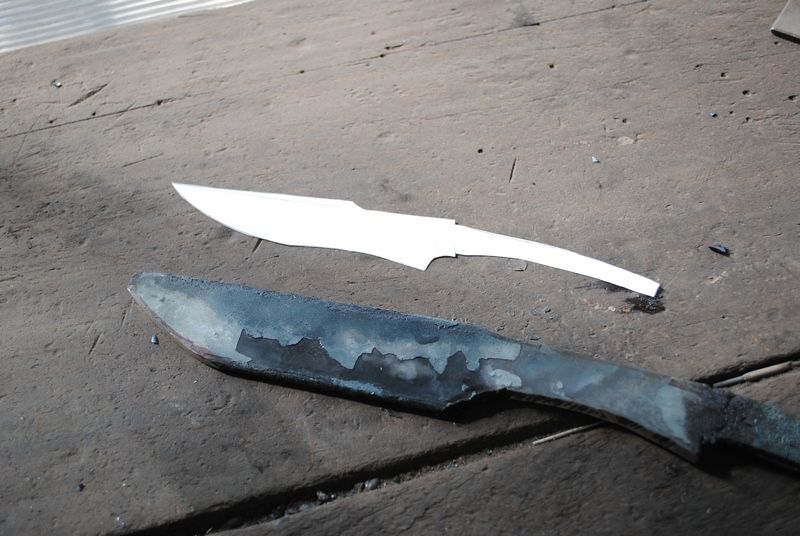
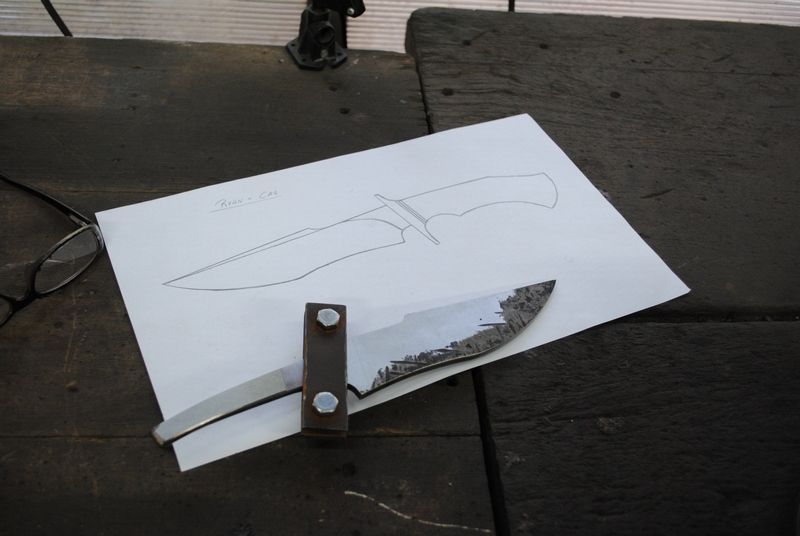
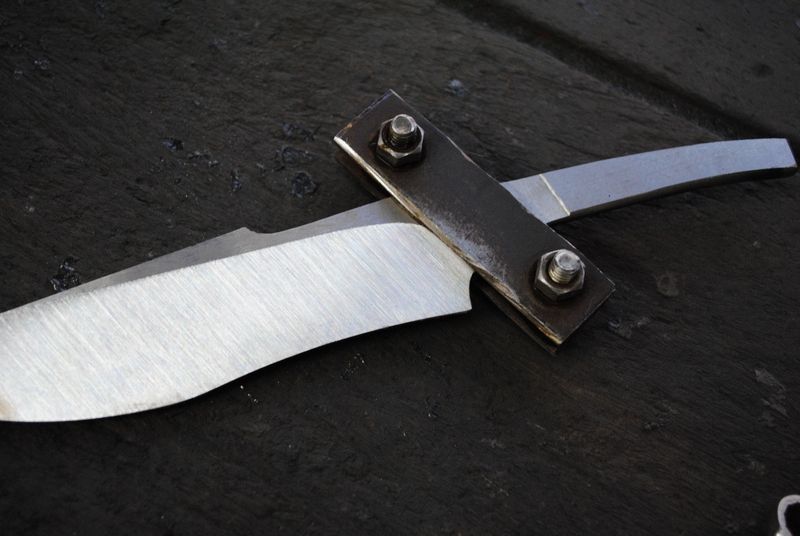
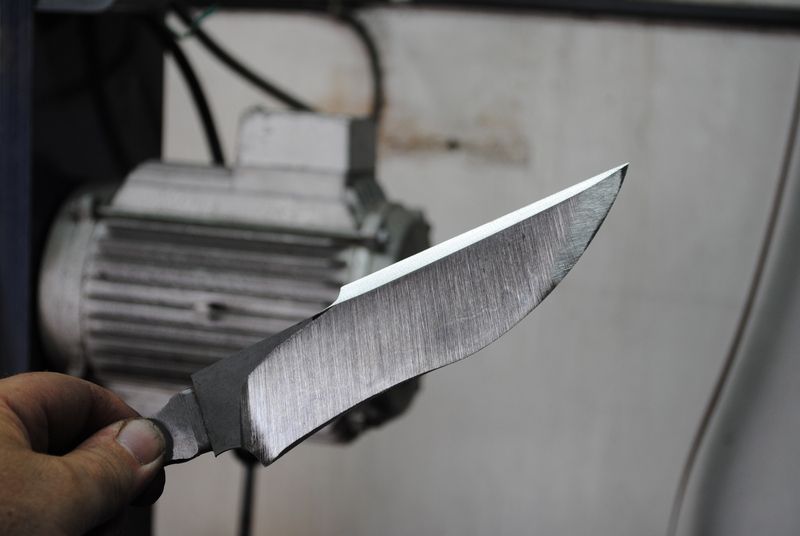
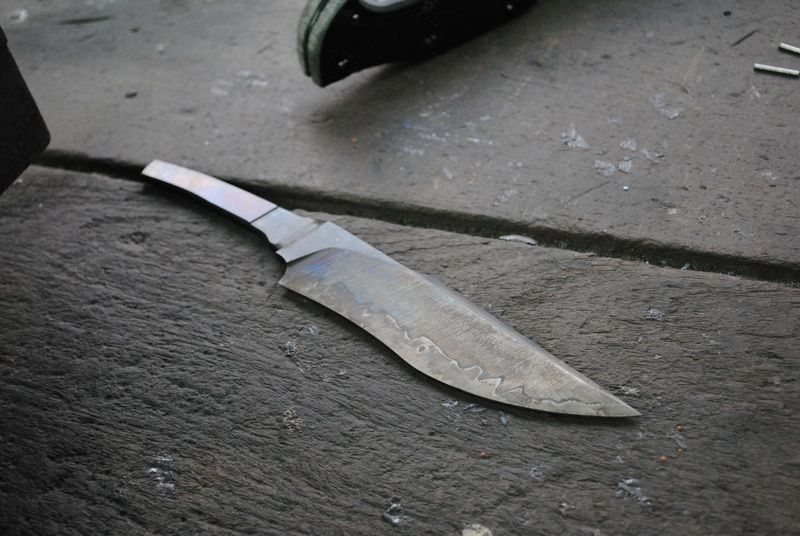
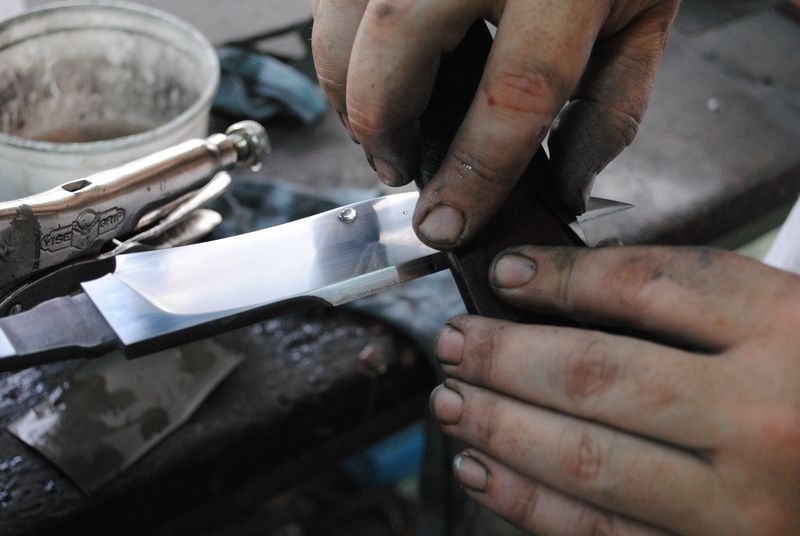
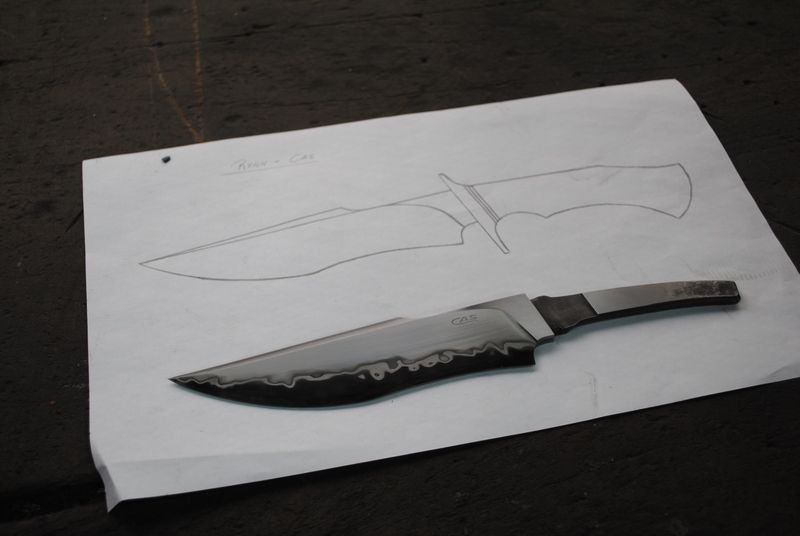
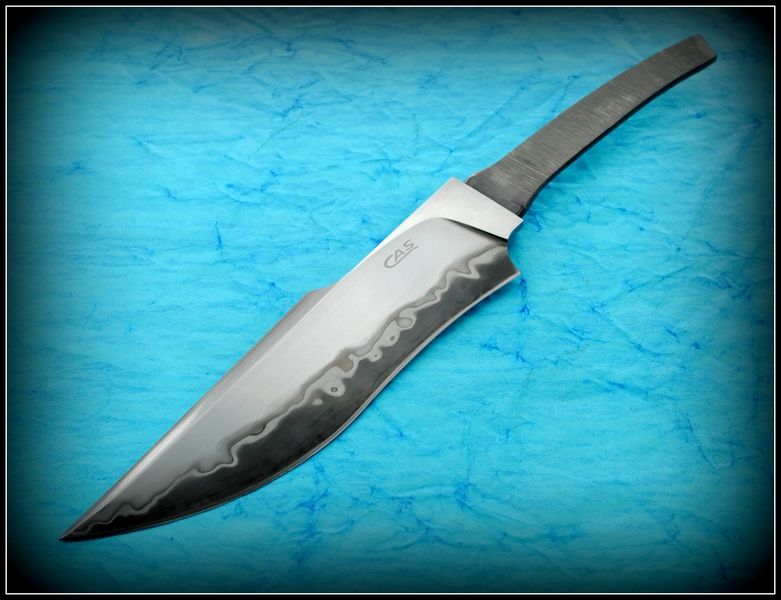
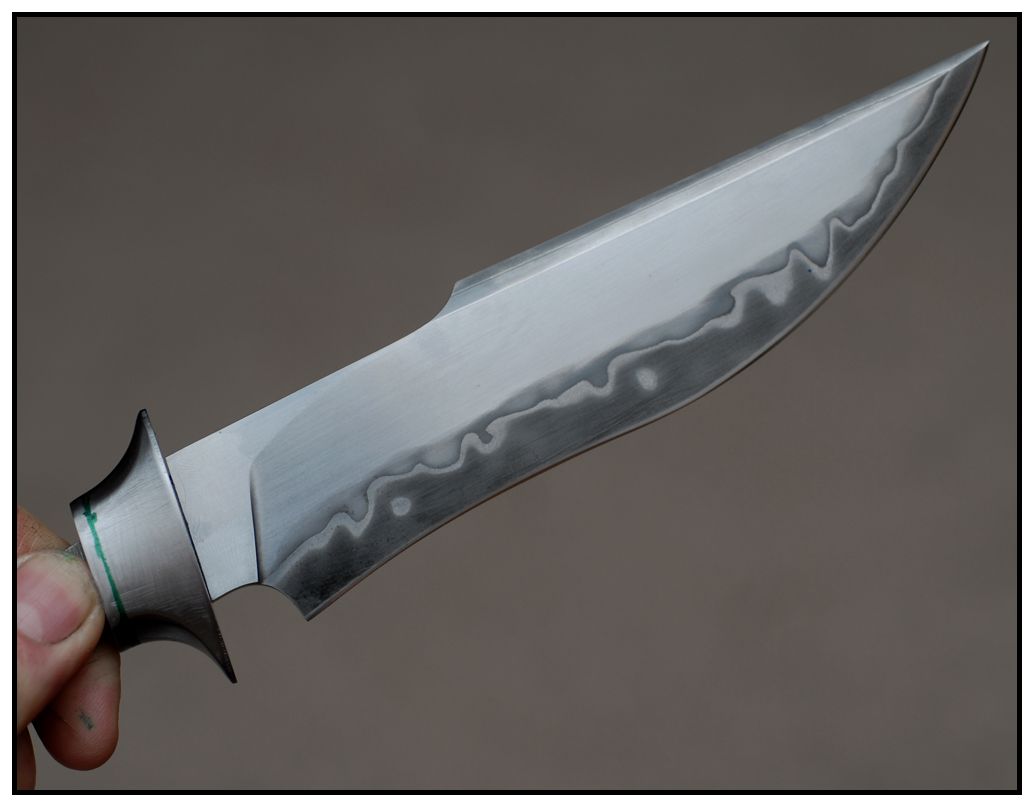
The finished blade compared to the design I sent him! PERFECT!
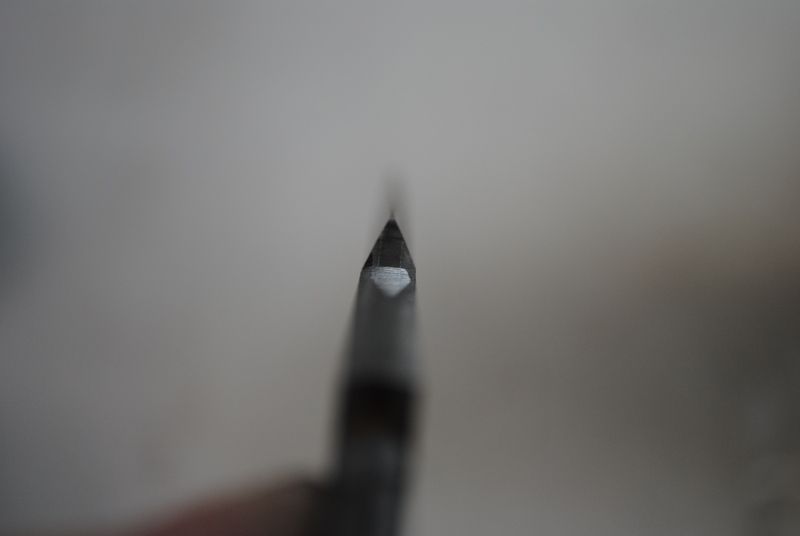
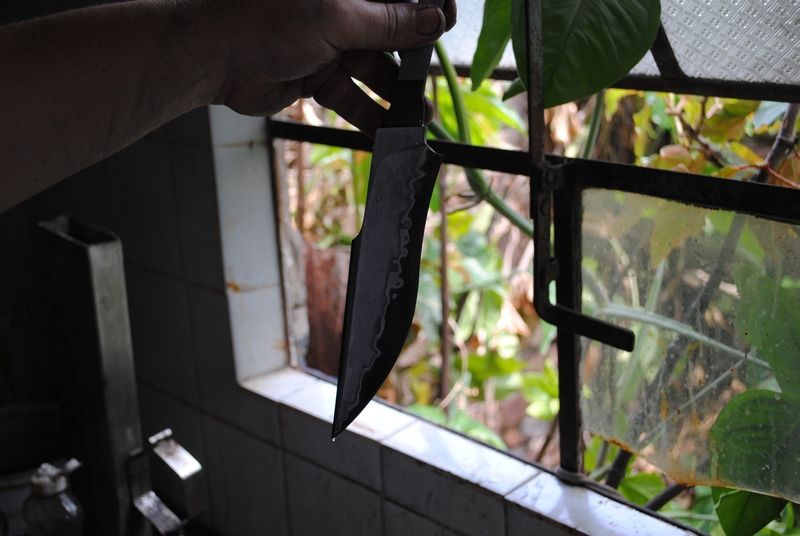
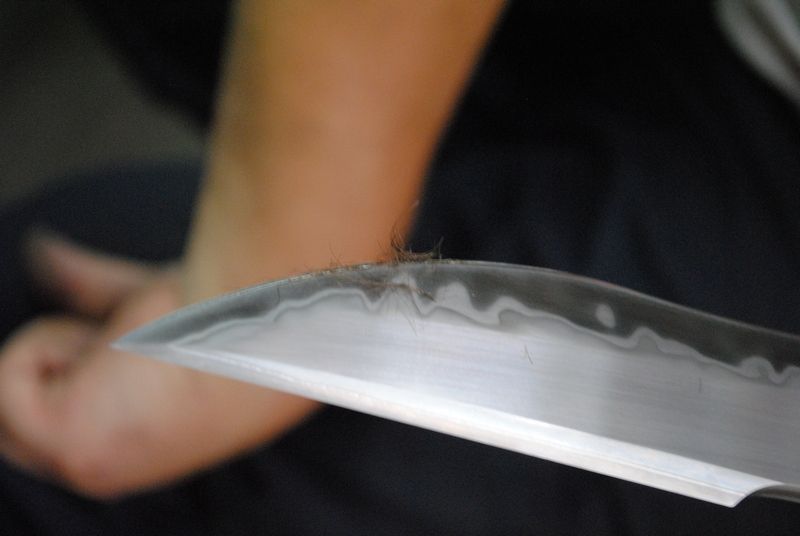
Yep it is sharp, that should make my end of the knife interesting

It has been packaged up and is on the way to me! I cant wait to get my hands on it.
Claudio I greatly appreciate this opportunity to do this collaboration with you. I will do my best to make the finished knife something we can both be proud of.
**NOW THE HANDLE WORK BY Ryan W. Knives (Ryan Weeks)**
Claudio, no un increíble trabajo mi amigo! Gracias por darme la oportunidad de participar en este proyecto.
02/24/13
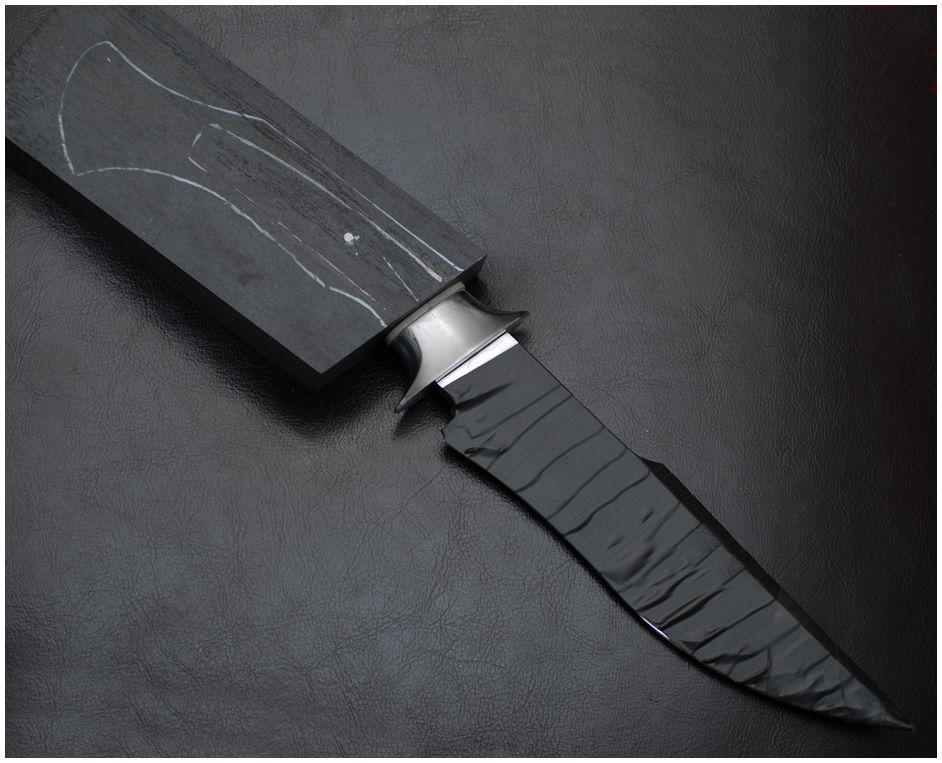
After I got the knife in the mail I decided to re-visit the previous design. I really feel that you have to have the item in your hands to know what it needs along the way. I did make a few subtle changes, and as always I try to keep an open mind as the knife evolves.
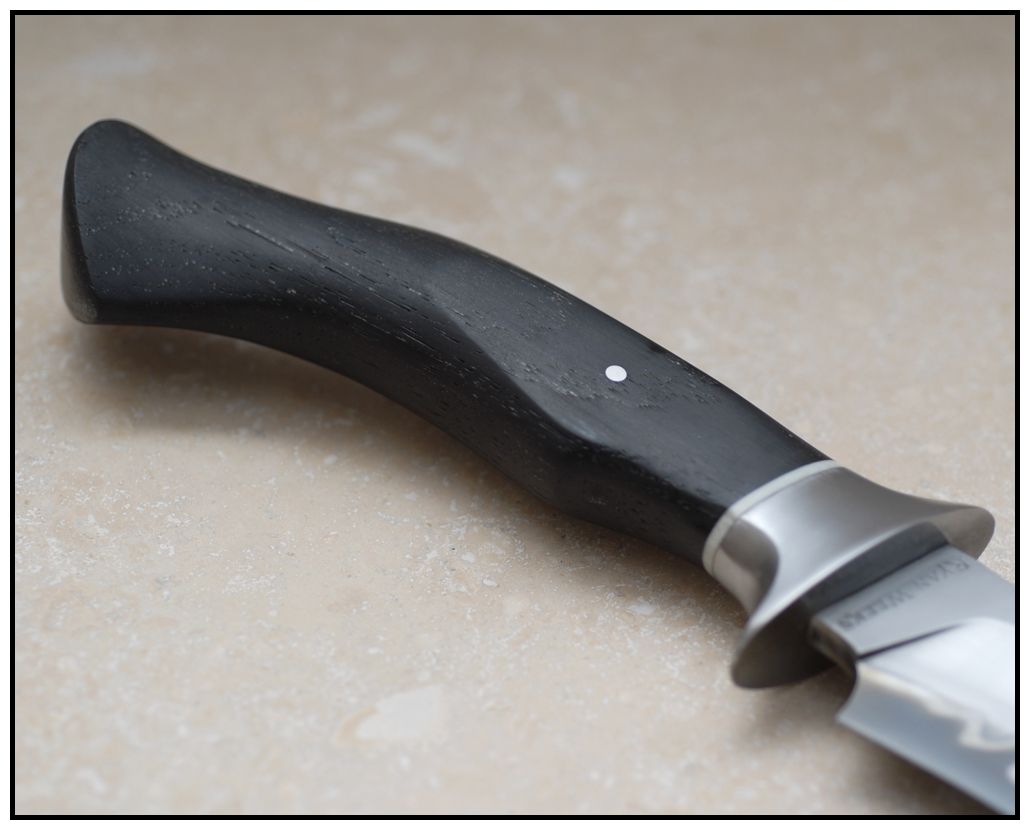
I want the handle to have the CAS look and feel but still be something that would come out of my shop. I fought tooth and nail on the lines / angles of the butt of the knife and still feel it could be improved upon. Claudio's handles always have that nice curved pinky well and sculpted lines on the side of the handles! Mine will hint at those features but be a bit more subdued.
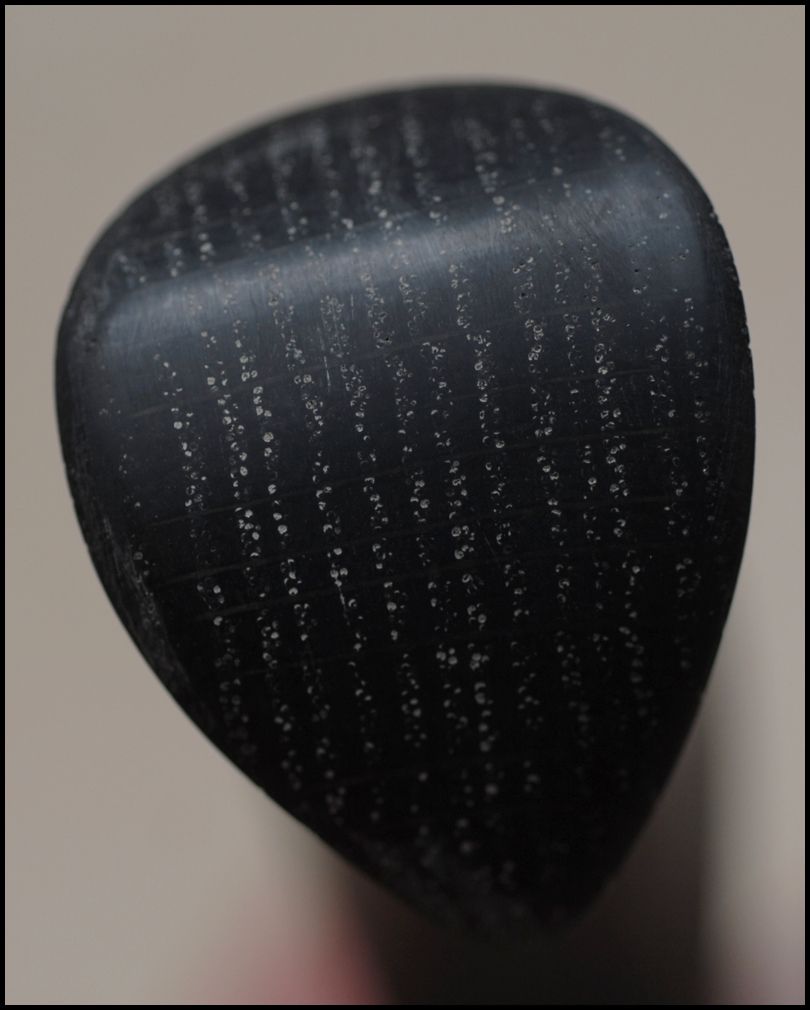
The guard will be from Nickel Silver, I will have some spacers to add some depth. Bog Oak is in the lead for the handle material at this time, It will definitely be Dark Stabilized wood!
03/02/13
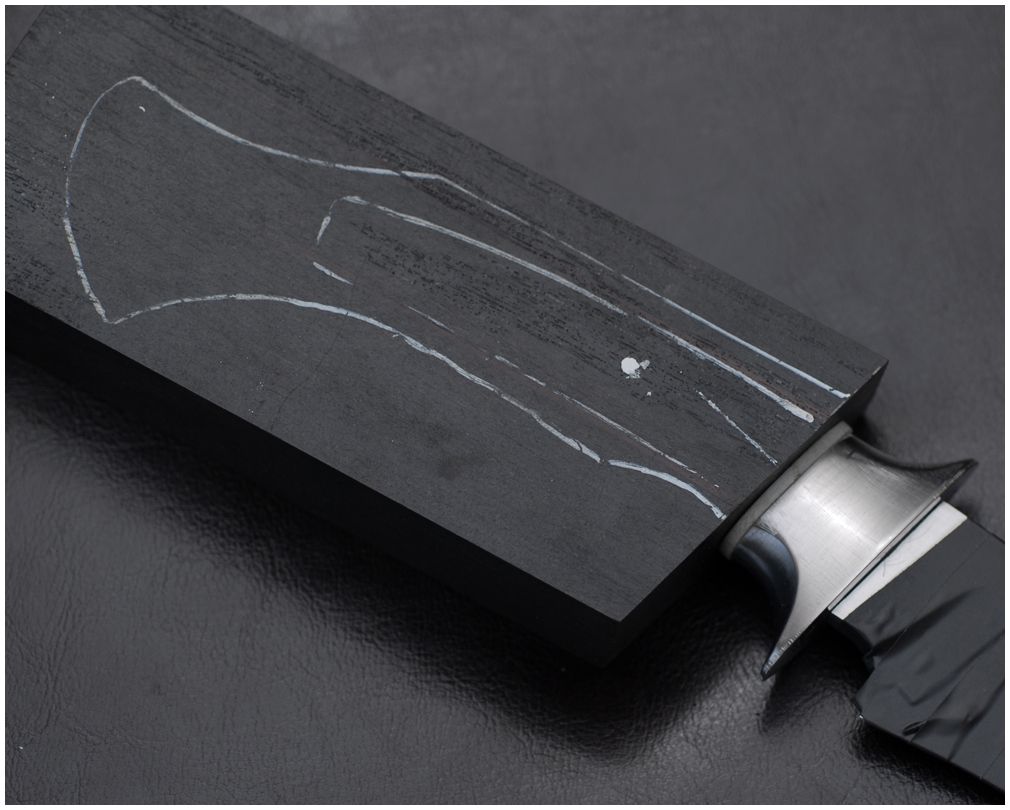
Here is the final design, I want it to have the CAS look so I based most of the handle design on his version with a few personal preferences.
03/04/13
I was in the shop most of today and got a lot done on other projects, I had a little time so I bit the bullet. I didn't get any progress pics but it was pretty self explanatory.
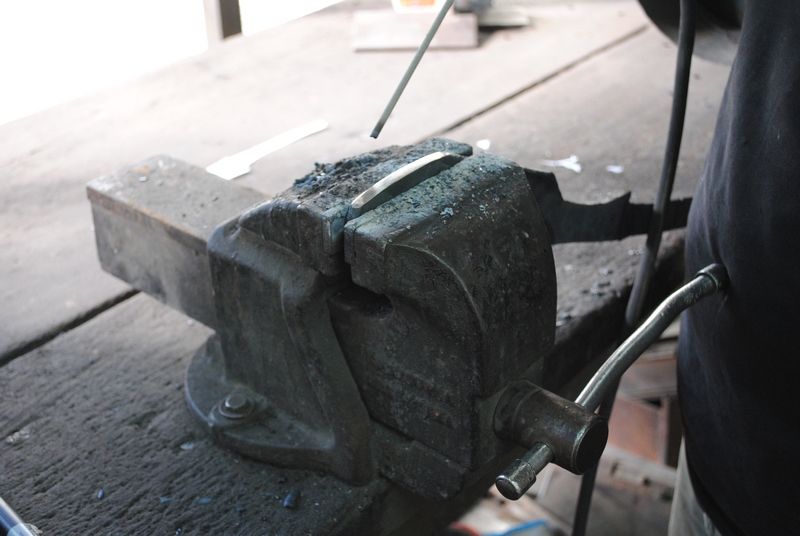
- Cut of an appropriate size (1/2" x 1" x 2") nickel stock and square it up
- Dykem the face
- Mark the center line
- Scribe the start dimensions of the tang,
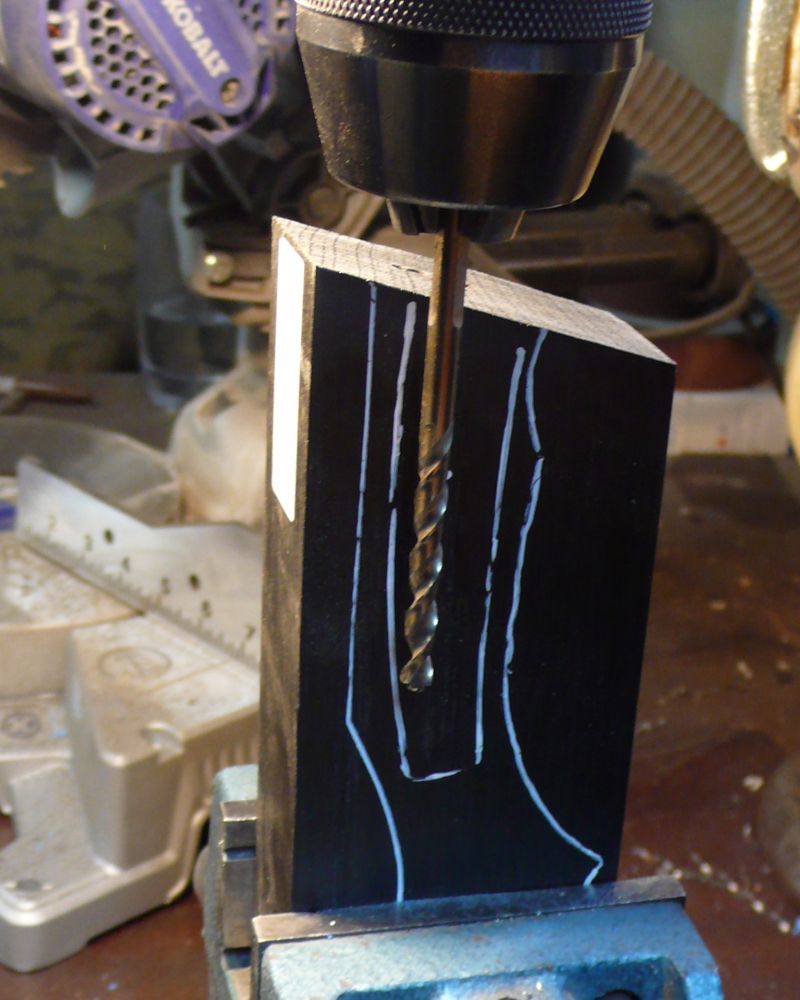
- Drill down the center line
- Attach Bruce Bump Custom File Guide
- File
- File
- File...
I apologize for the lack of photos, I will make sure to get more the rest of the way. I stopped here because this is where I tend to move to fast. I did have to shorten the guard height from the original a little bit so I could fit it between the screws on my Bump file guide.
I thought about using Stainless 416 stock that I ordered with the Nickel from Sheffield knife maker's Supply. When the box arrived via USPS there was a big hole in the side and the Stainless bar was missing... After filling out the USPS "Domestic or International Claim" form, Nickel it was.
03/30/13
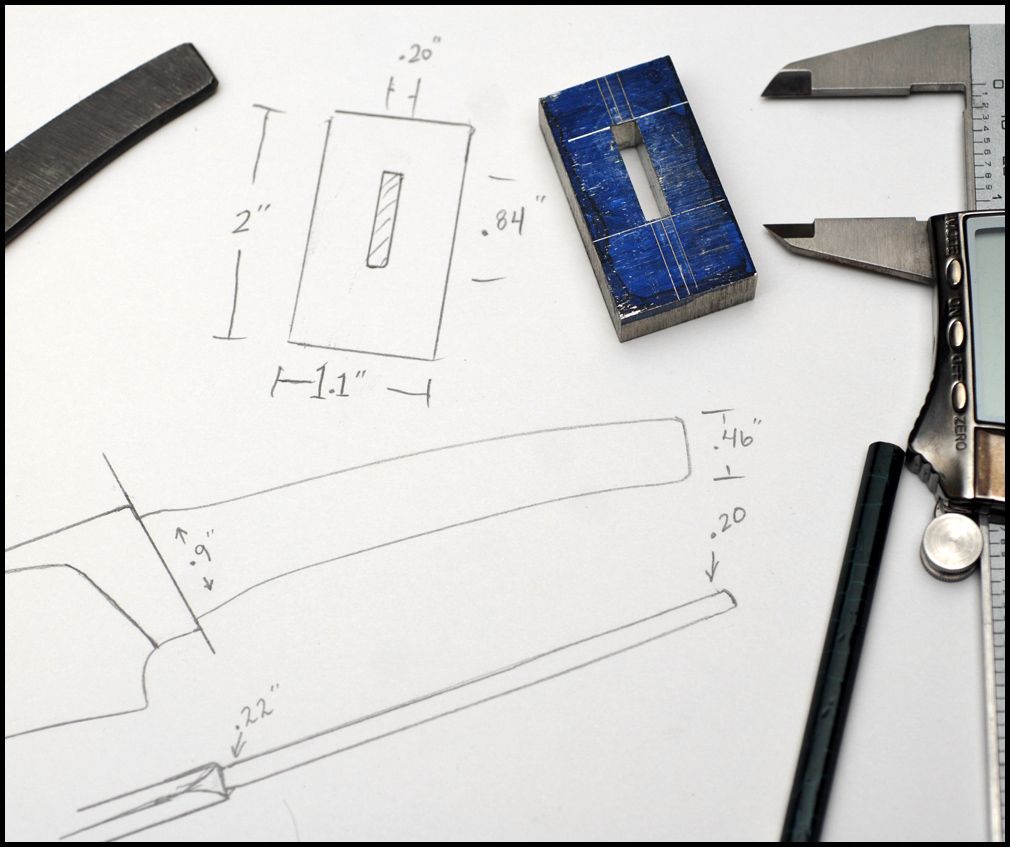
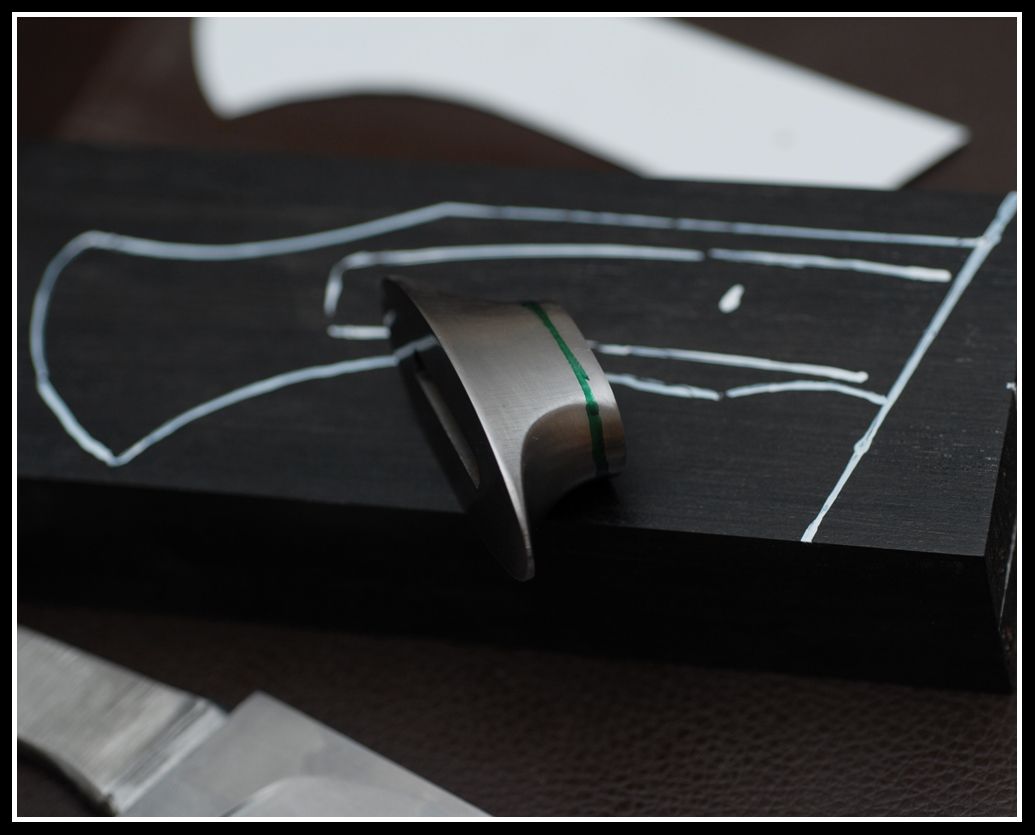
I originally was going to go with a nickel guard (Seen in the above photo) due to the ease of drilling and hand filing the tang hole. After some thought I felt it it would be wrong to put anything "Yellow-ish" on this beautiful Stainless San Mai blade! I had some 1.25" x .75" Precision Ground O1 Bar stock on hand so I decided to bite the bullet and use that.
I reached out to a good friend that has a local machine shop. He suggested that he take the part to his friend and EDM (Electrical Discharge Machining) the hole. I had heard of EDM before but had no Idea how amazing this process was. I was not there for that unfortunately, so I do not have any photos or video to share! ... Thanks Dusty!
Here is a video (Not Mine) that gives you an idea of the endless capabilities:
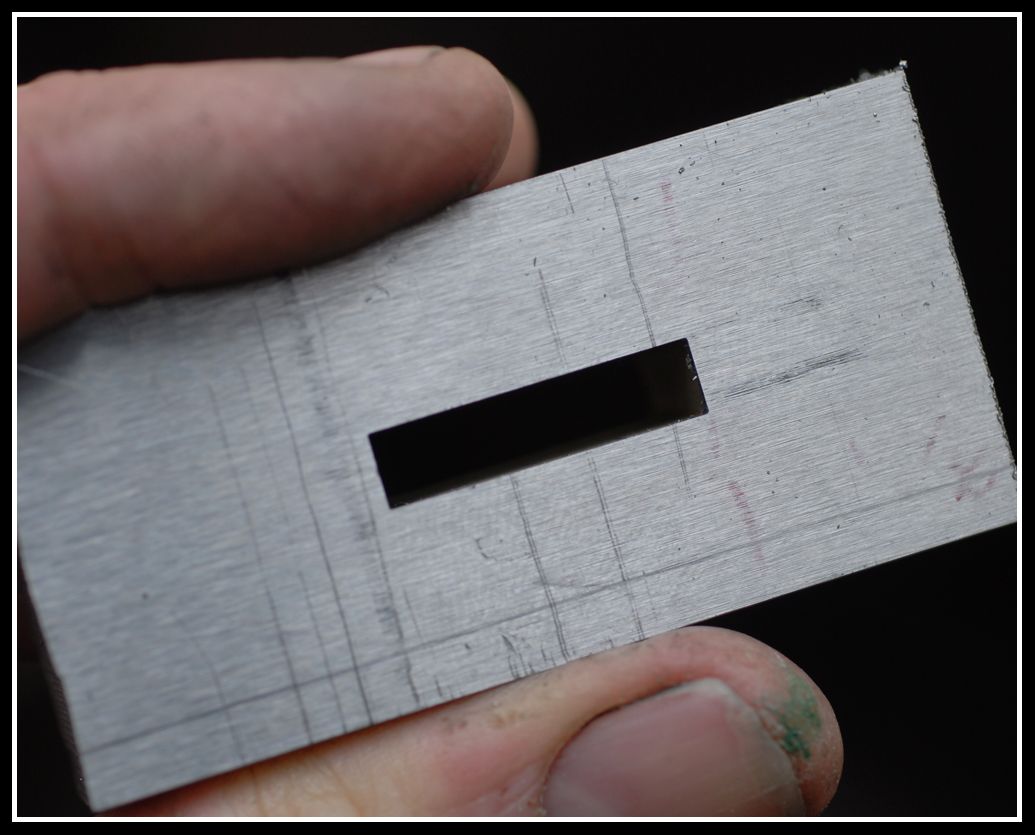
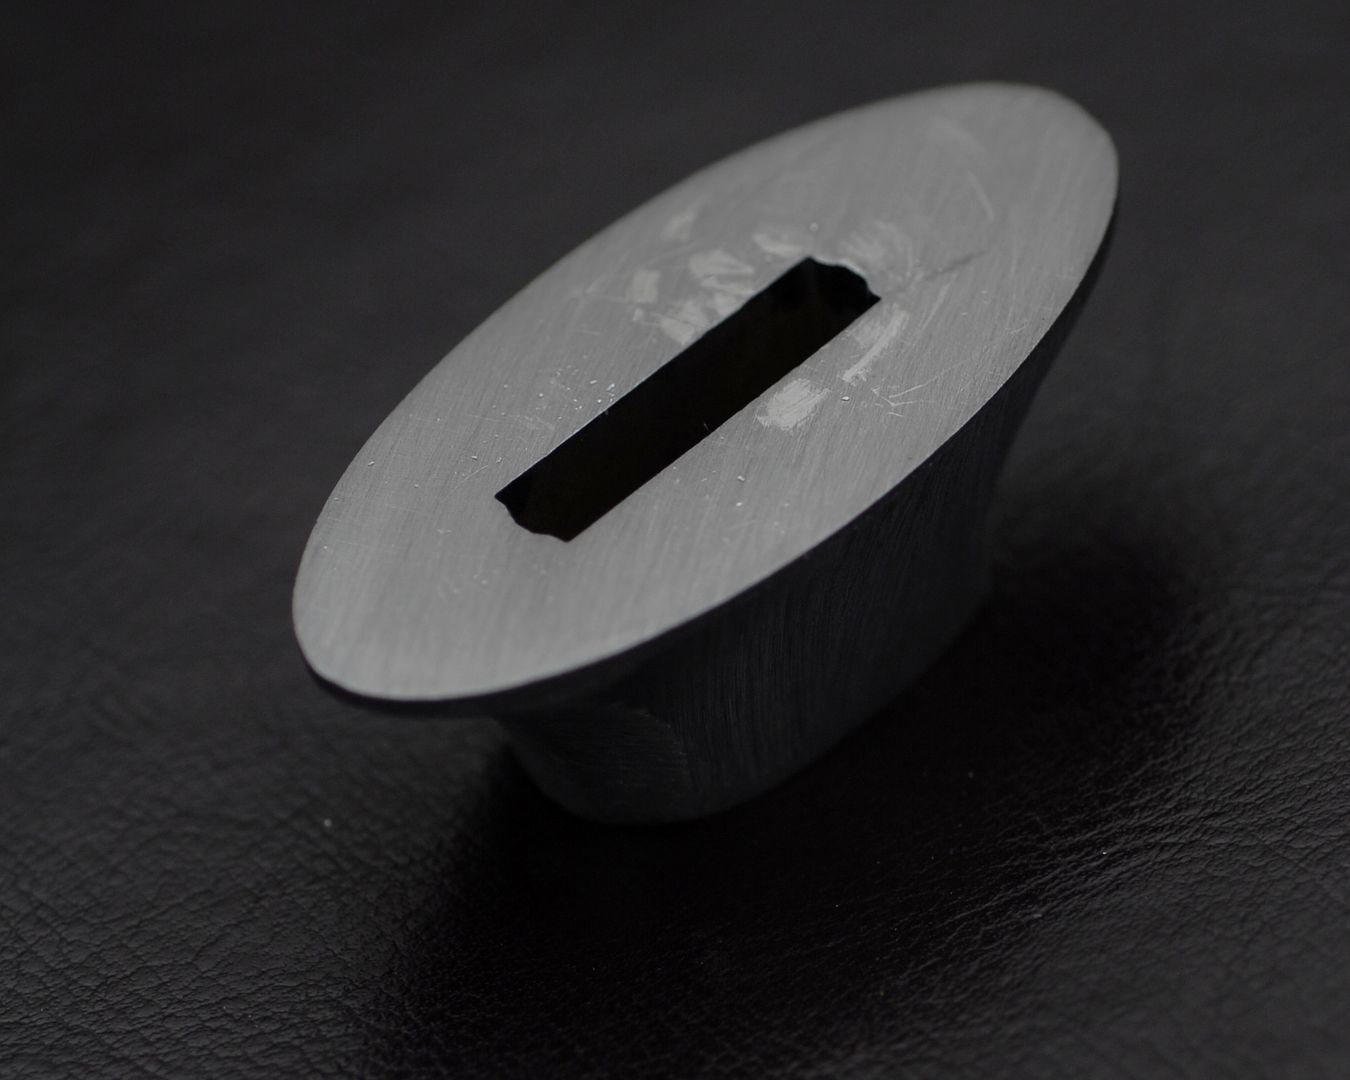
As you can see the EDM part is nice and clean with crisp corners, I was debating whether to have them radius the corners but knew the shoulders would cover the corners.
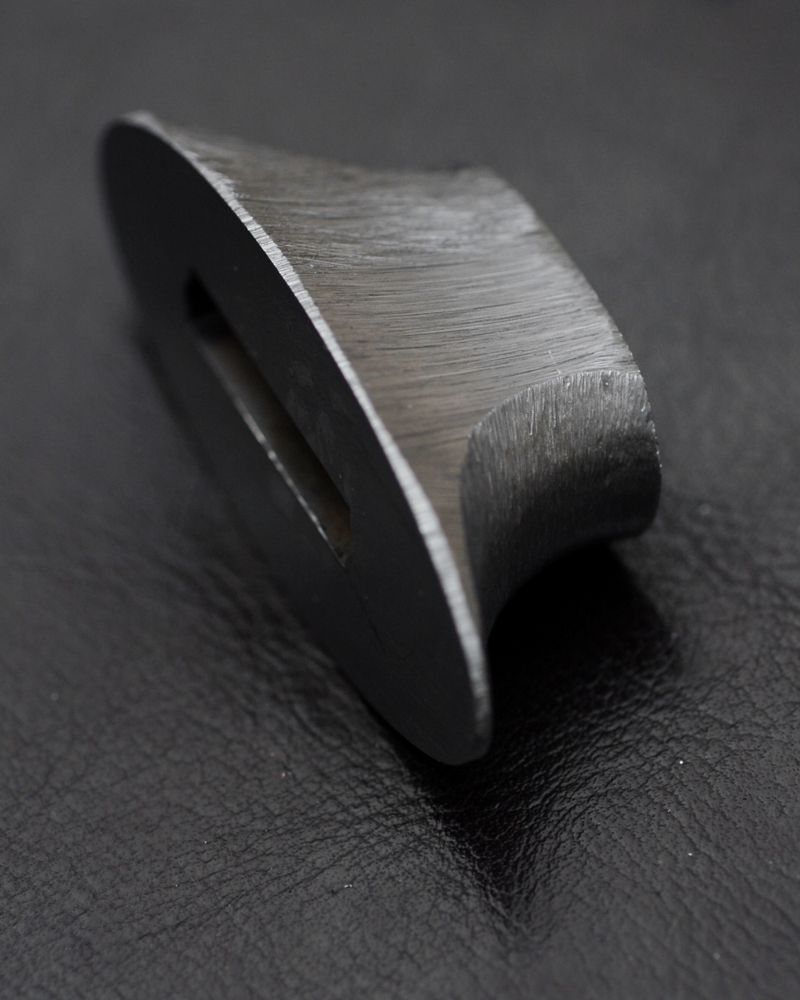
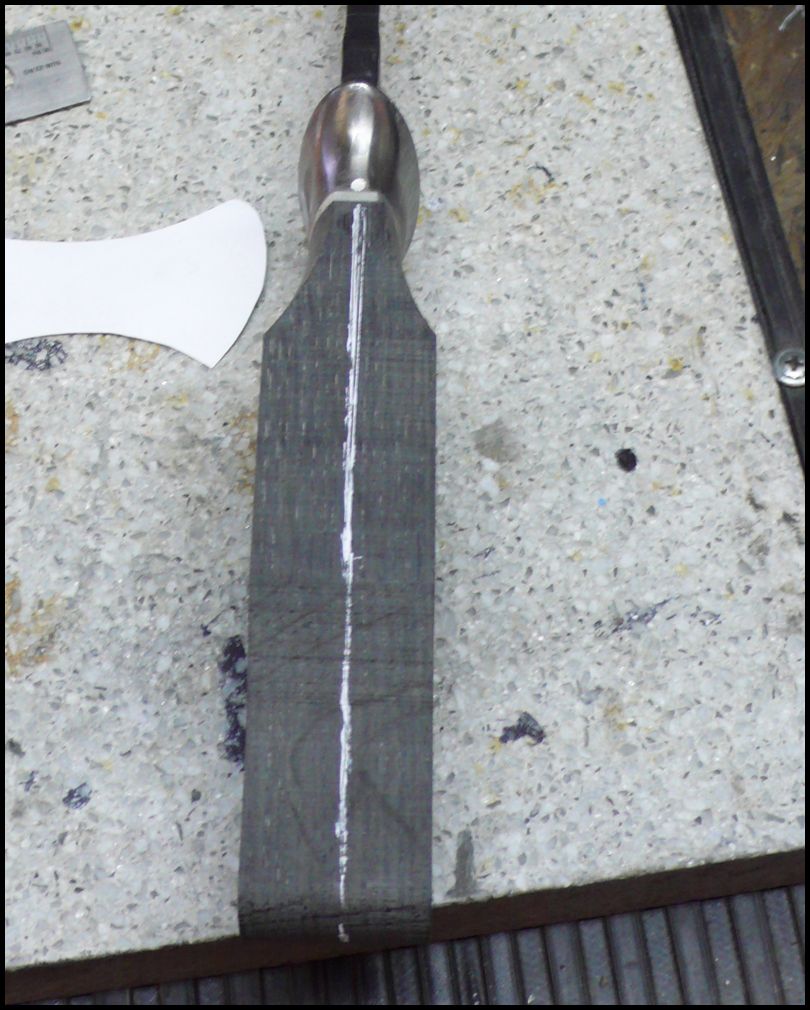
Here is the rough outline
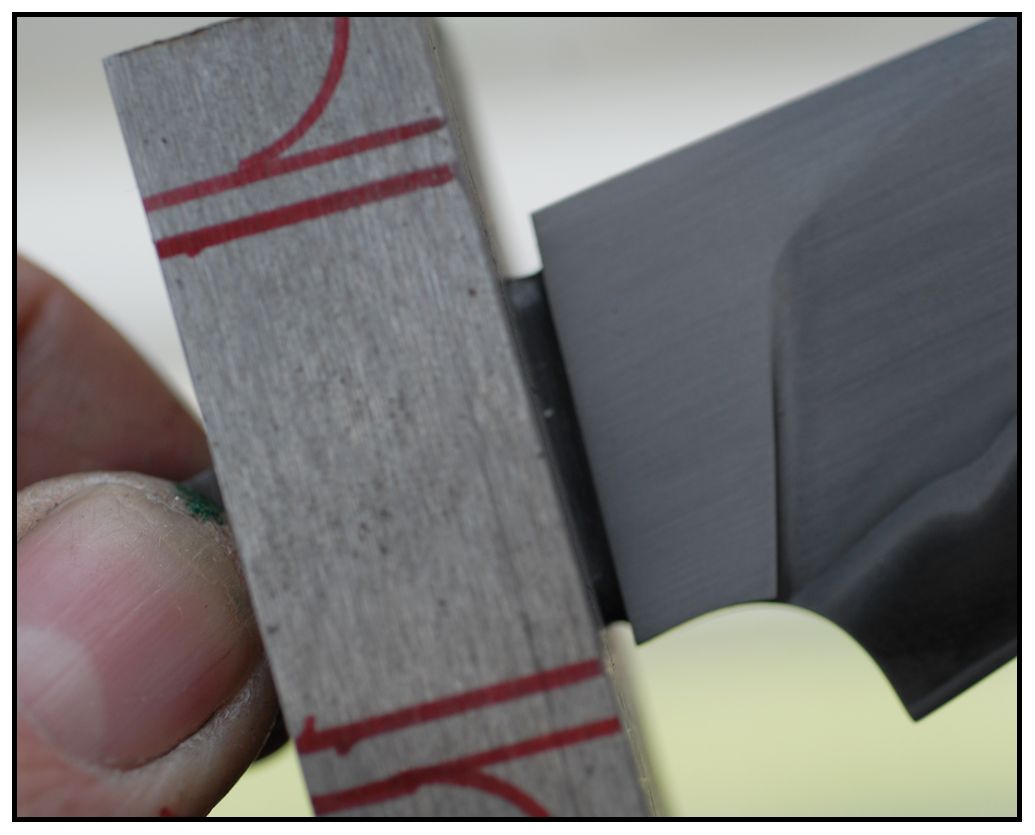
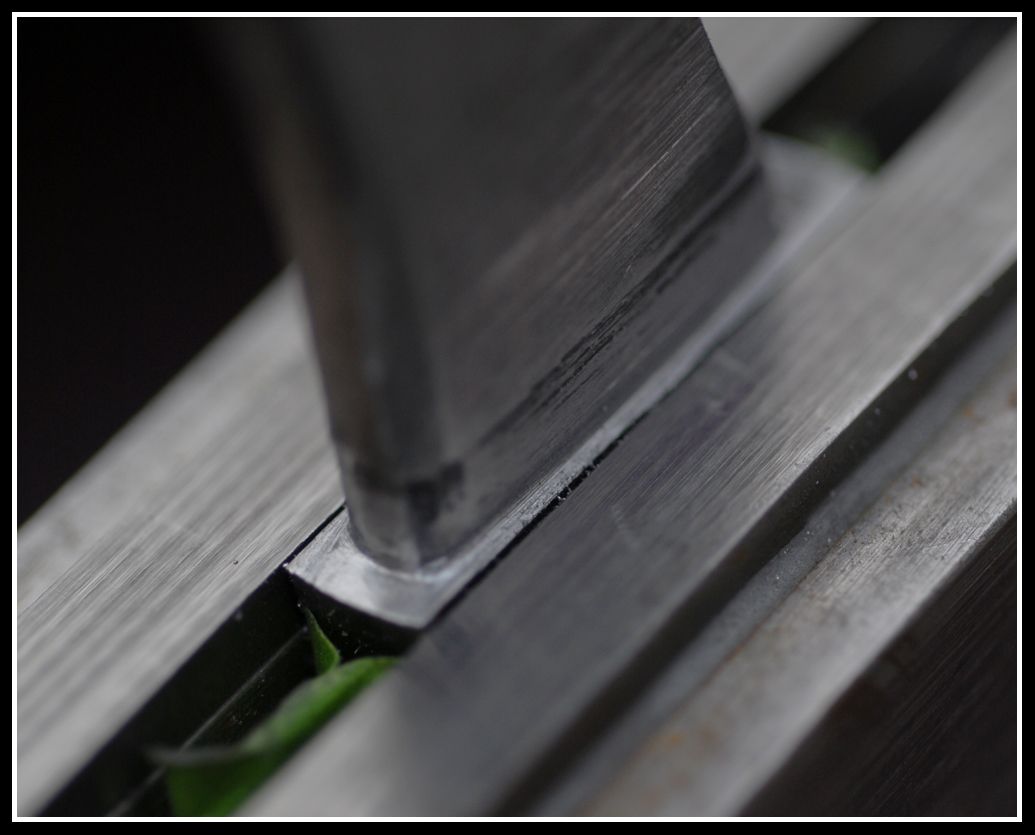
Here you can see where the EDM part slides to on the tang. Just perfect for a press fit (More on that later)
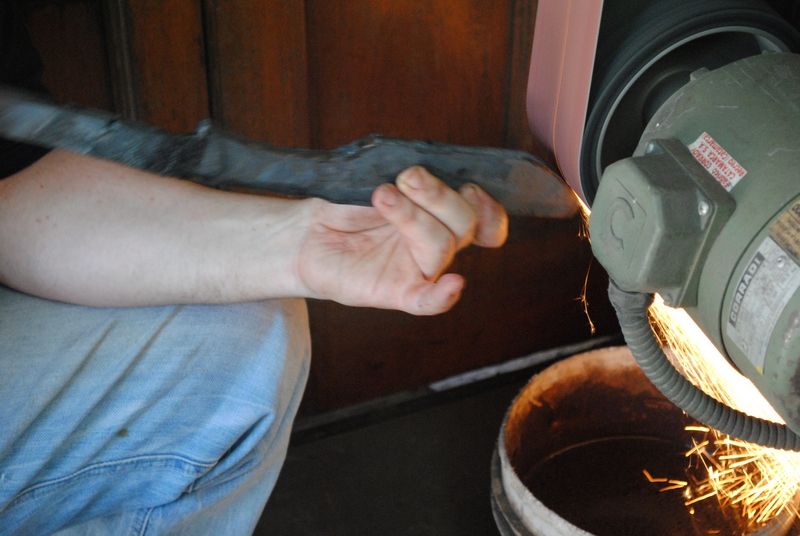
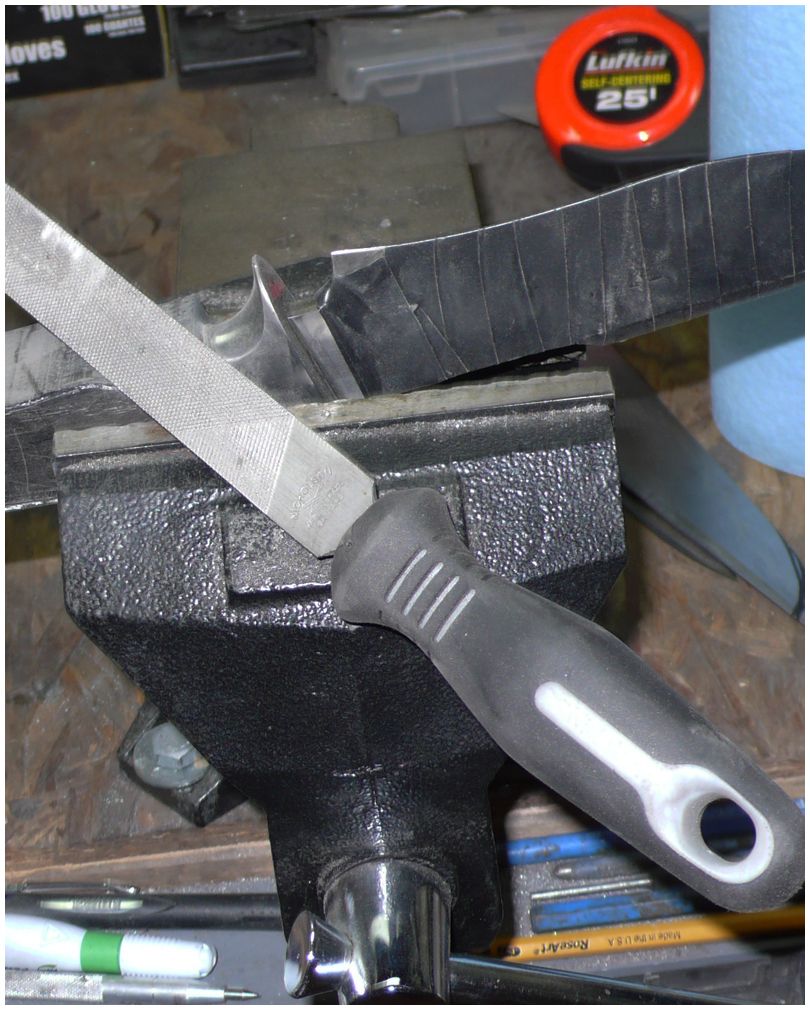
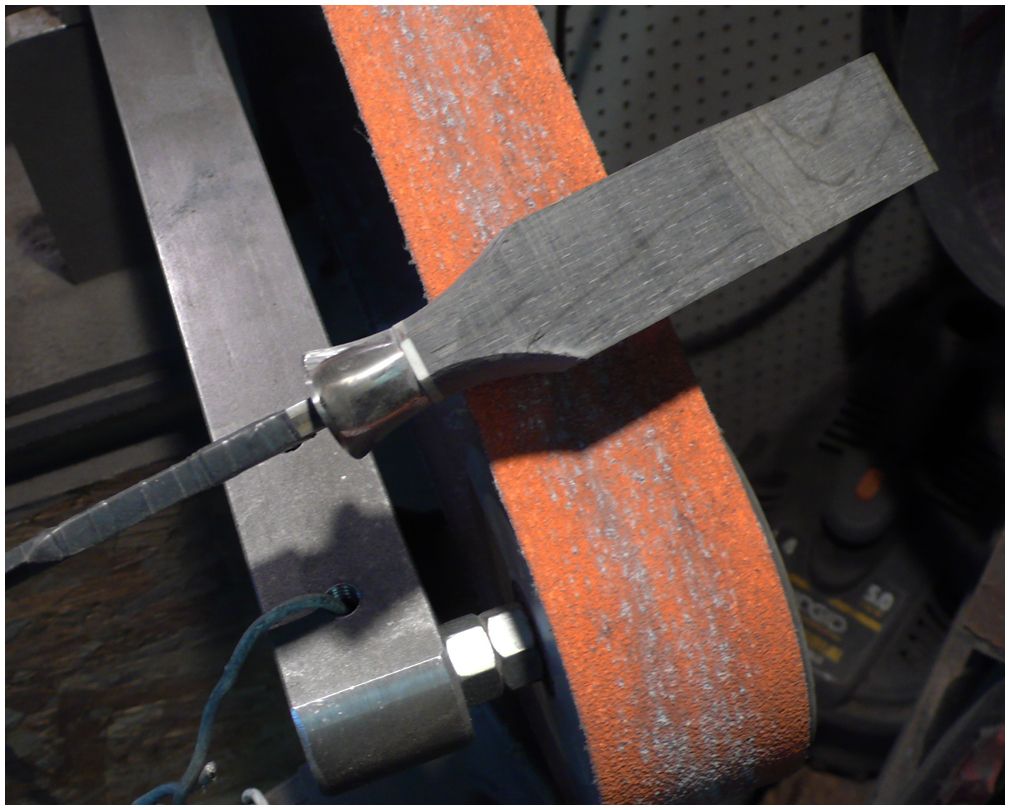
I used the .75" Small wheel attachment to remove some of the material from the top and bottom sides of the guard.
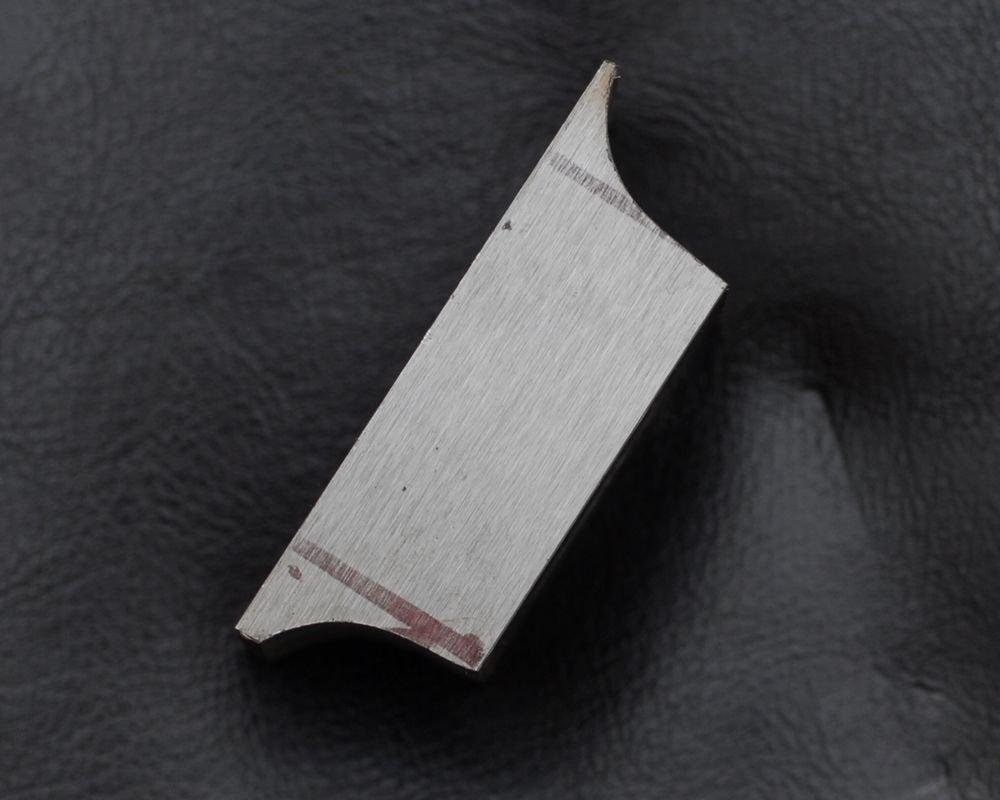
I then used the 4" wheel to radius both sides to the desired thickness where the guard meets the wood
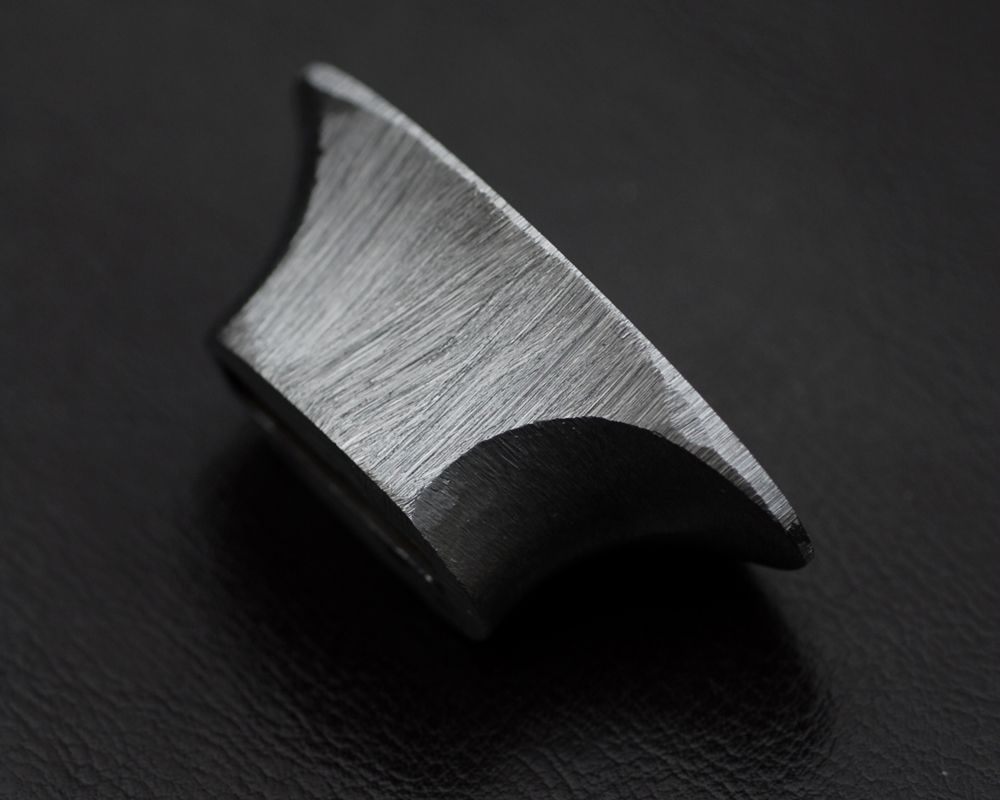
I then took the hand files and went to work! I really enjoyed using the files to remove remaining material.
When I press fit the guard after it was rough finished it rolled some of the tang walls down into the side wall shoulders. This caused some issues with the guard siting flush. I had to pull out my Bruce Bump Custom File guide to clean up the shoulders Claudio made so pretty! Luckily my files were able to clean them up.
03/31/13
I have been cleaning up the guard a little bit. Since press fitting isn't an option, I will be using Epoxy, Soldering or possibly JB Weld to hold it in place when the time comes.
I have decided to shorten the guard a little, it looks overpowering and a little heavy to me. I will also be adding a black spacer to compliment the SanMai blade.
The handle will be Ancient Bog Oak - sticking with the "Black and Silver" Theme.
04/02/13
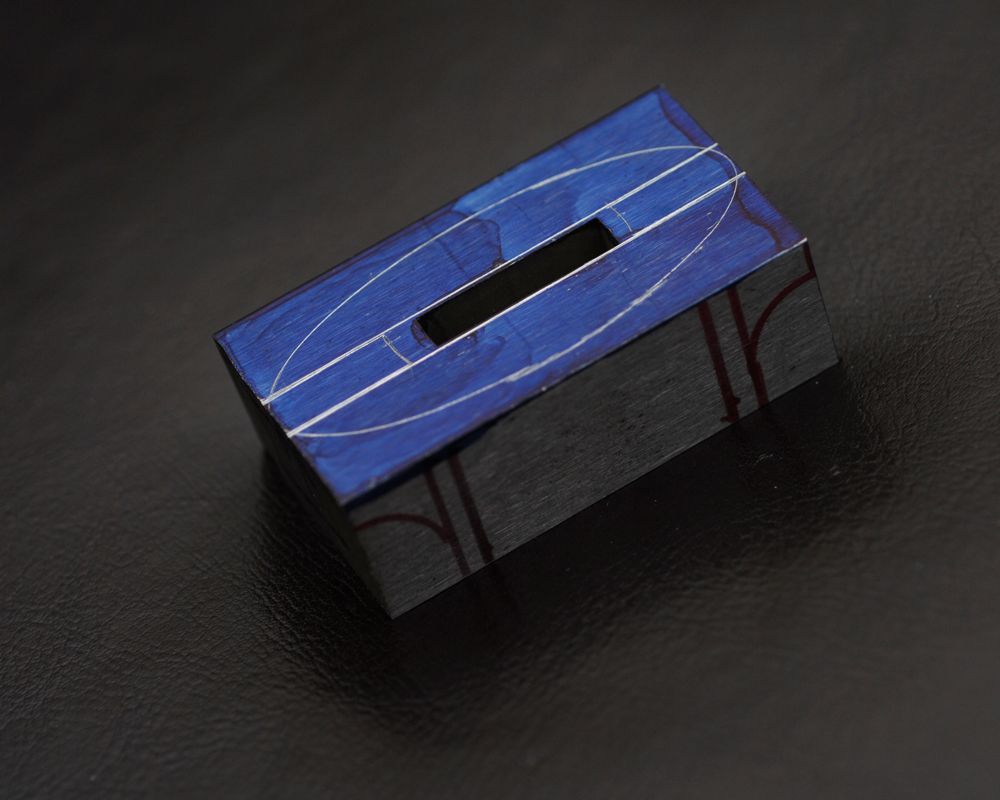
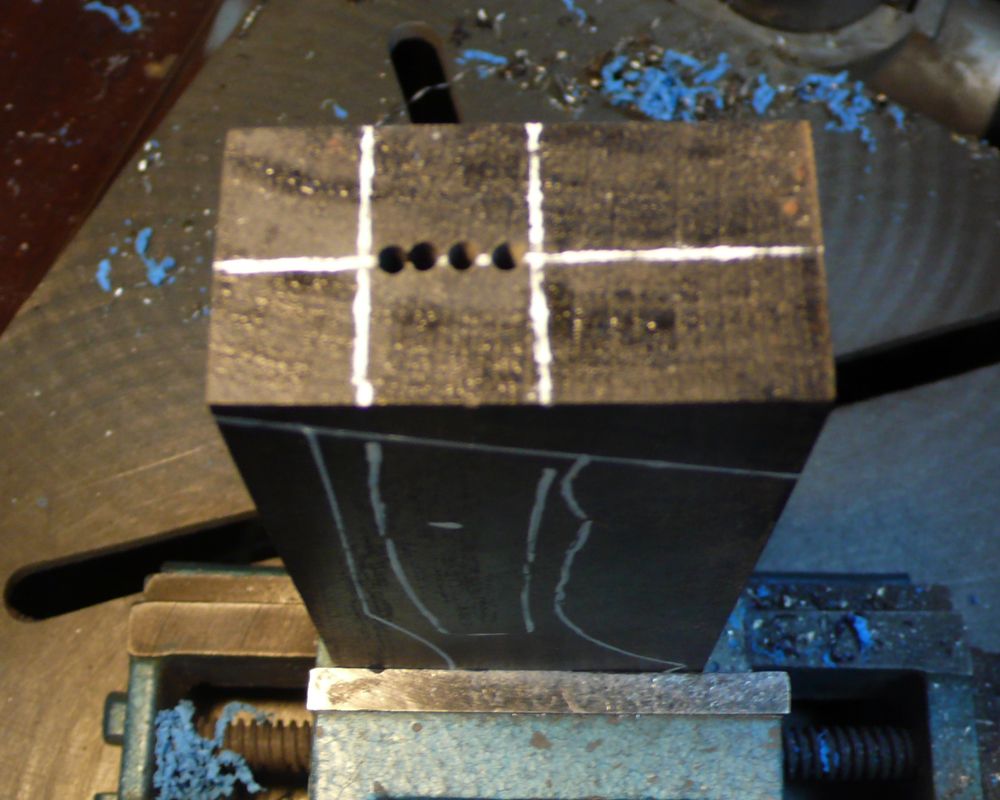
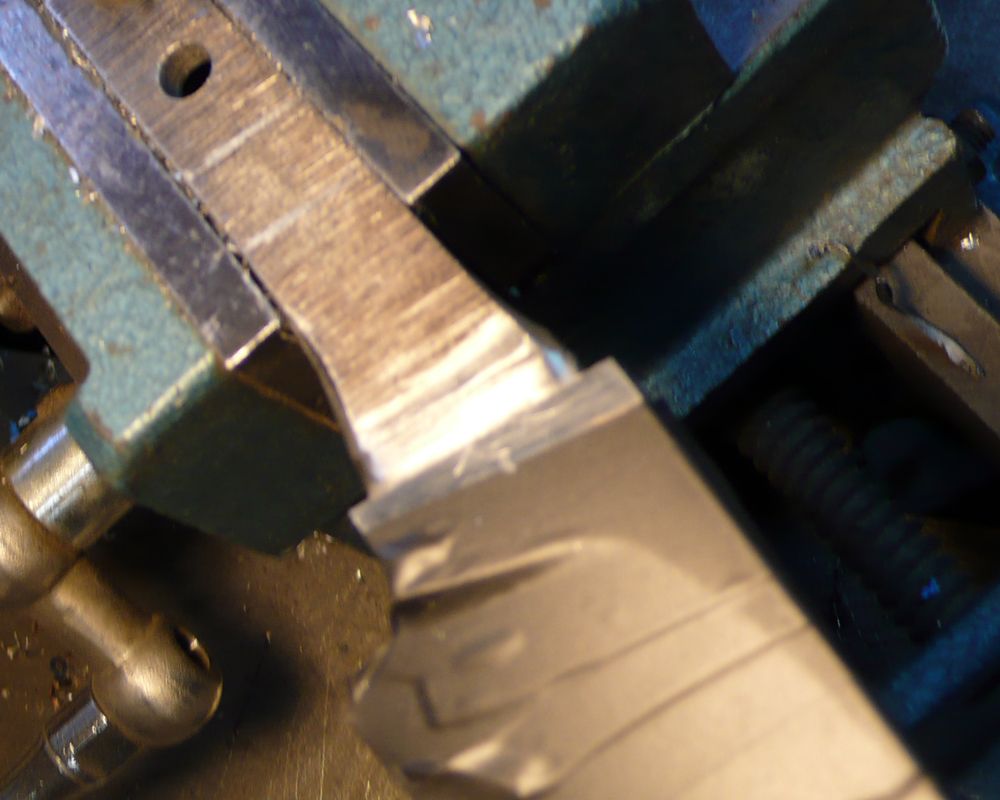
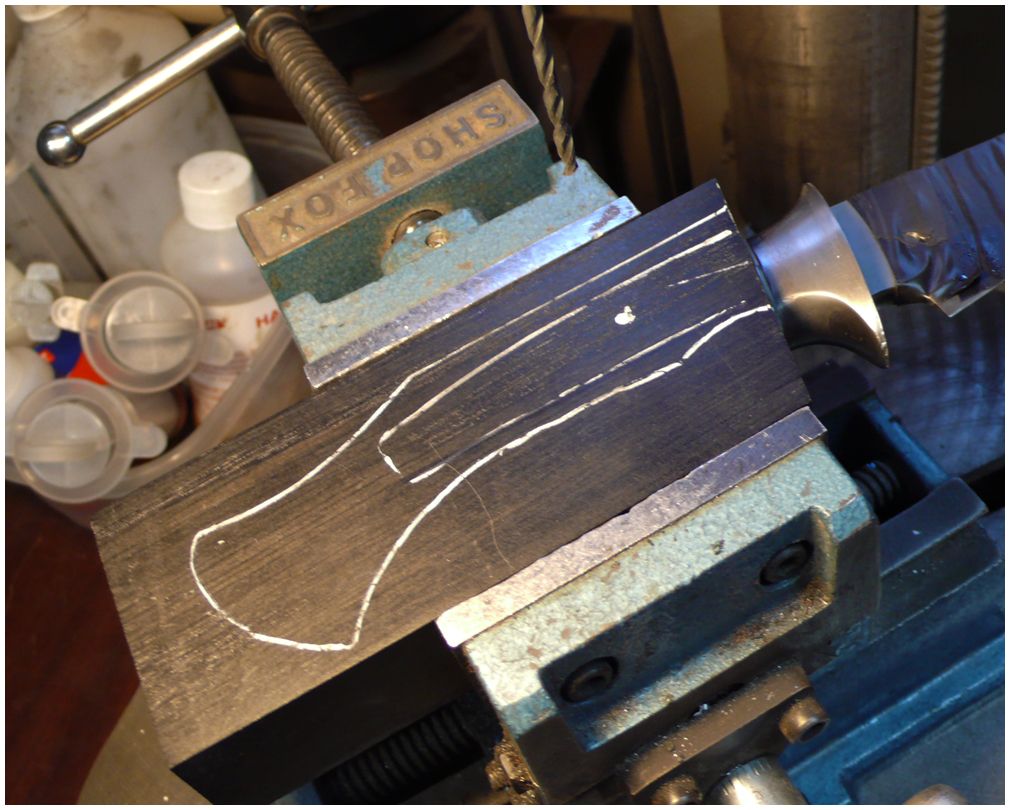
I first drill pilot holes while I still have a square end to start with, I find it much easier than starting holes when the material is cut to the appropriate angle (16 Degrees in this case)
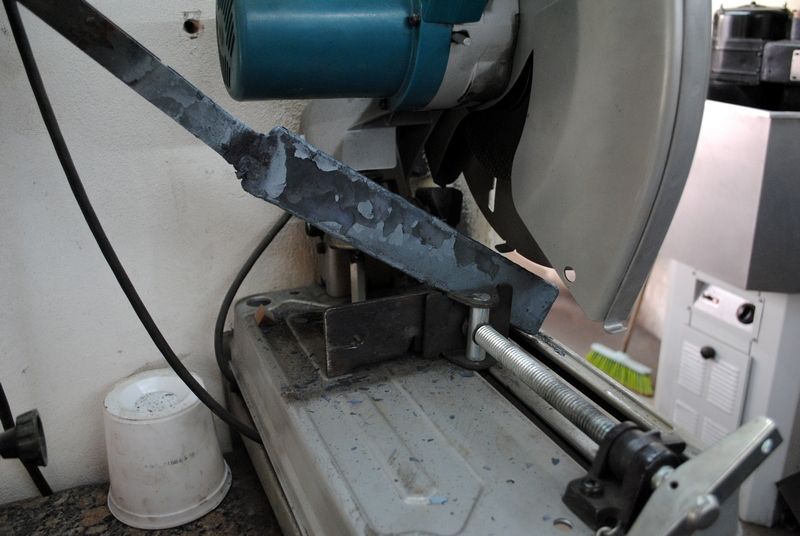
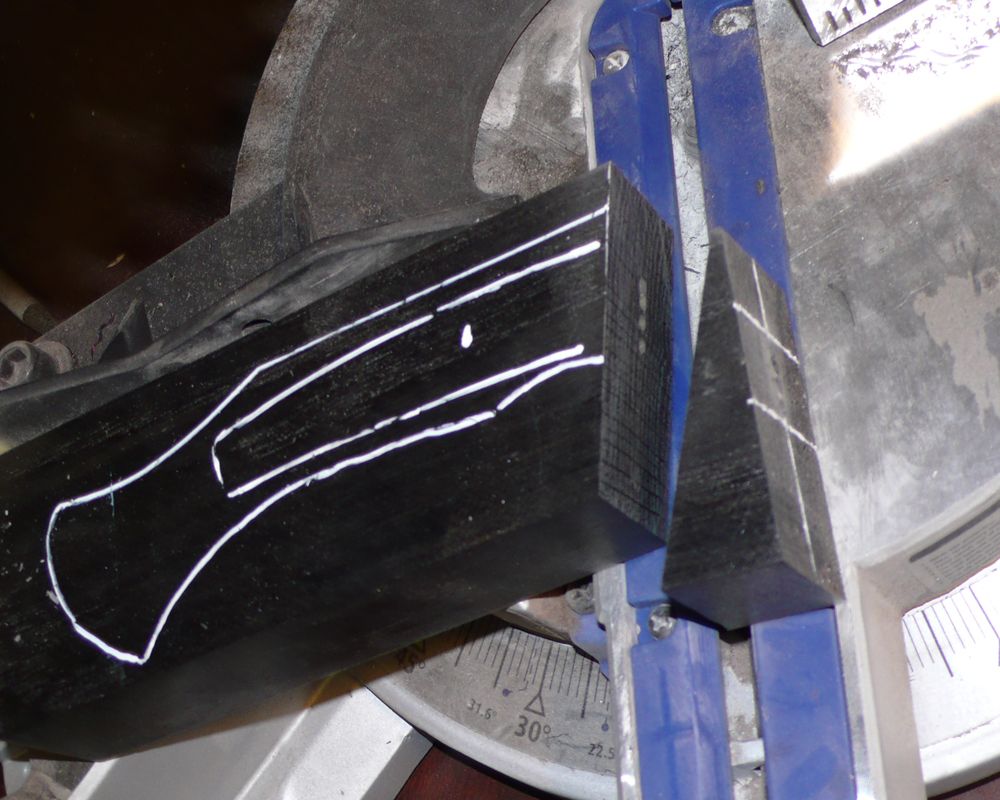
I then set the saw to the proper angle and Cut
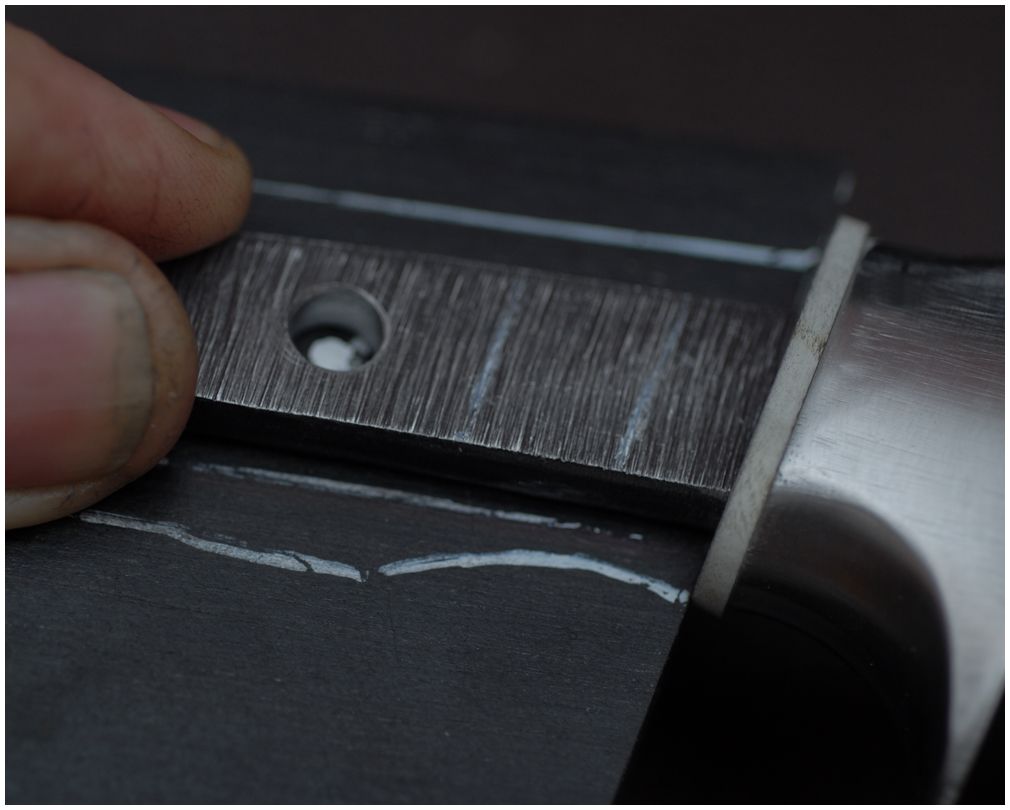
I then align the block with the appropriate drill bit to make sure I don't drill too deep or too wide. Cleaning out the material by moving the bit as I drill.
I then use files and small chisels to work the tang into the handle. I make marks on the tang to track my progress. I can usually tell by wiggling the blade where the tang is binding up inside. I also use black marker to look for rub marks when removed.
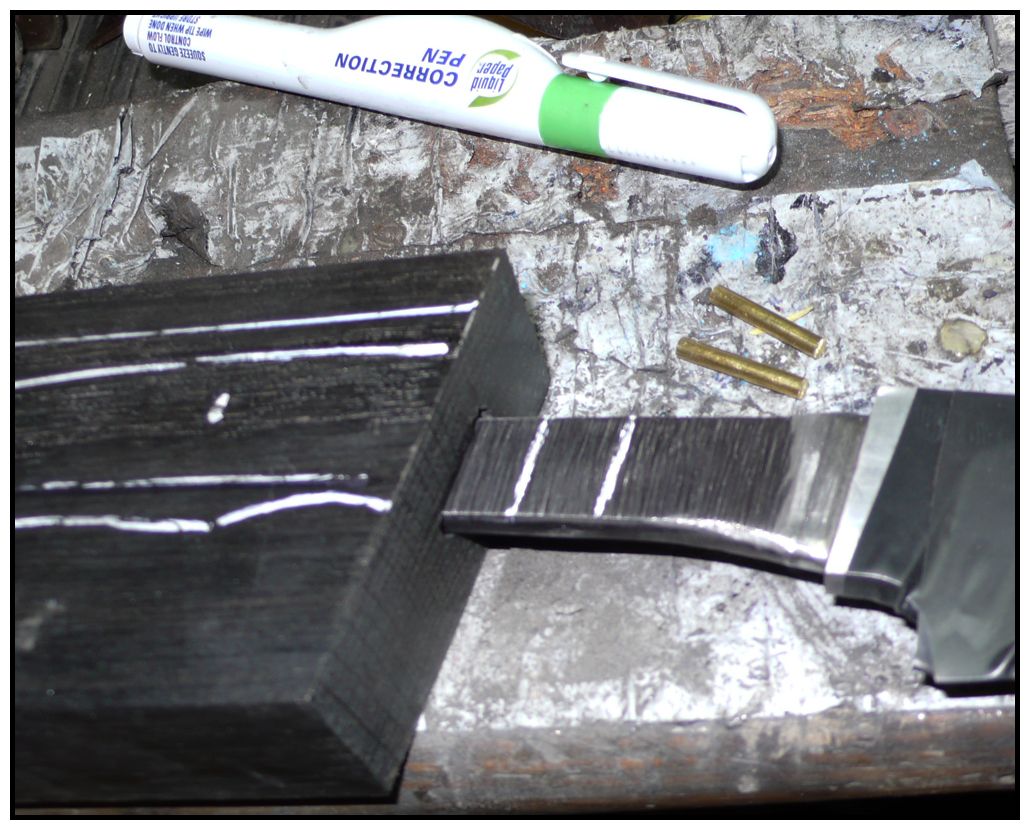
I then Mark the tang where I want the through hole and drill. I am using a .25" Bit but the pin will be smaller.
I then mark the Hole on the Handle material which I will drill through after the entire handle has been Epoxied up
Here everything is roughly assembled
04/03/13
Because I was unable to press fit the guard I decided to Solder it on, a little bit old school but I have a bit of experience with soldering and felt pretty good going into it
") I used Low temp solder and Liquid Flux
I used Low temp solder and Liquid Flux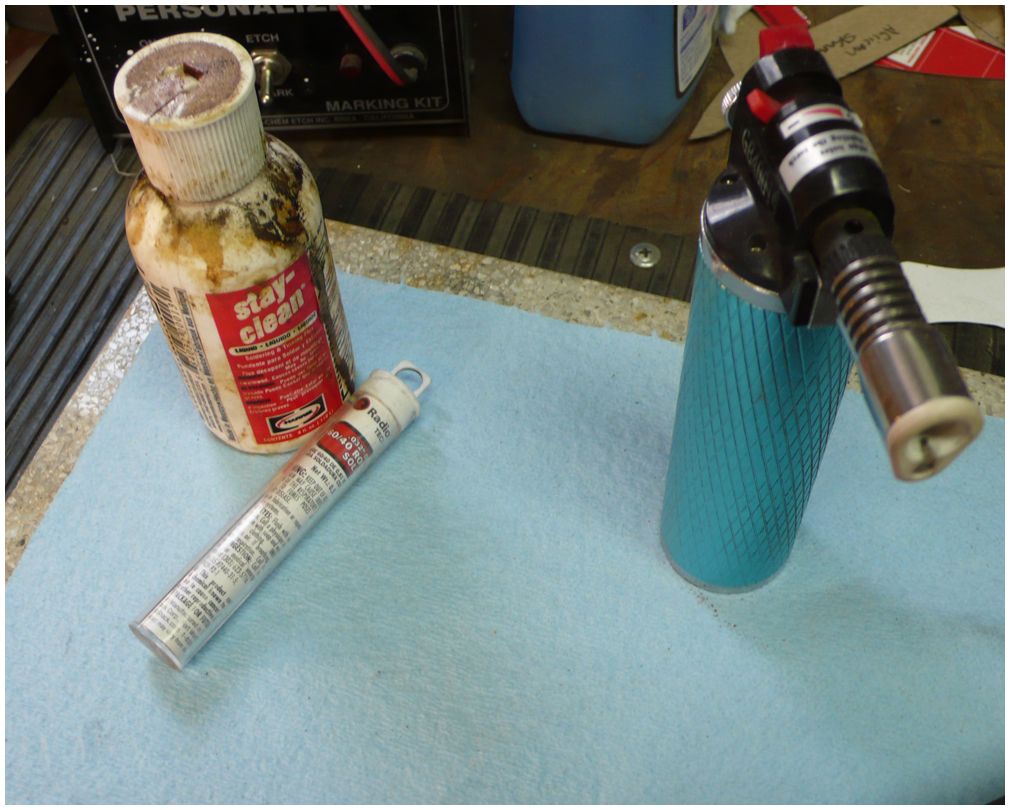
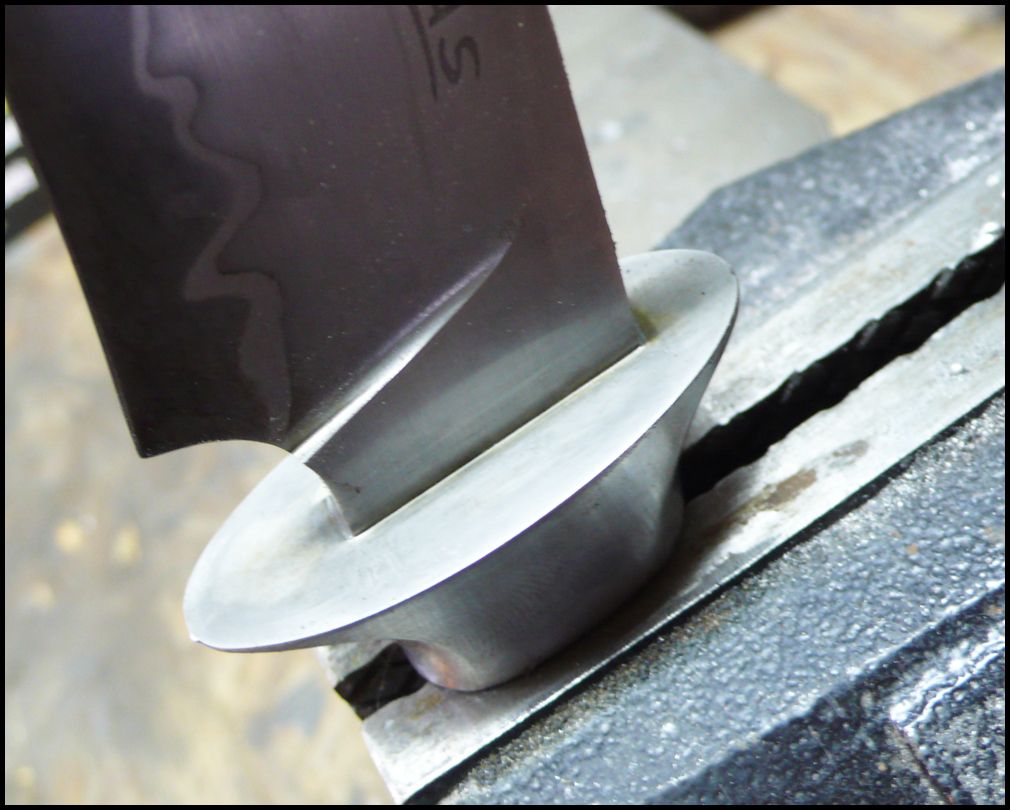
It didn't take long to get up to temp, and Came out pretty clean IMO, nice and solid.
After it cooled I boiled up some baking soda and let the tang and guard neutralize to prevent rust from the flux. I was ready to Epoxy the White G10 Spacer and handle up using Acraglas. I spread epoxy between the spacer and then guard, and between the spacer and the Bog oak.
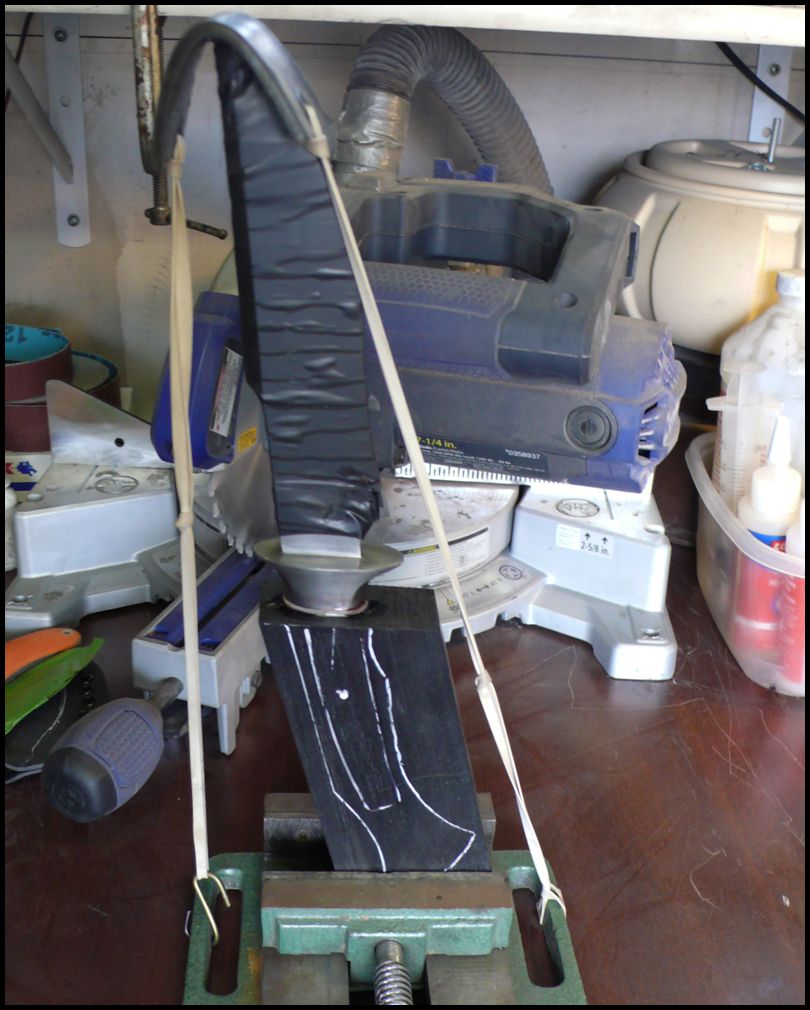
Filling the tang hole with epoxy and slowly pressing the tang into the block I assembled the parts. Then using my Fancy hidden tang glue up De-Vise (Vise, Rubber bands & Leather) I applied the appropriate pressure to allow the epoxy to cure.
After 24 hr cure I am ready to get to work on the Bog Oak! first while I have a square block I drill the 1/8" pin hole
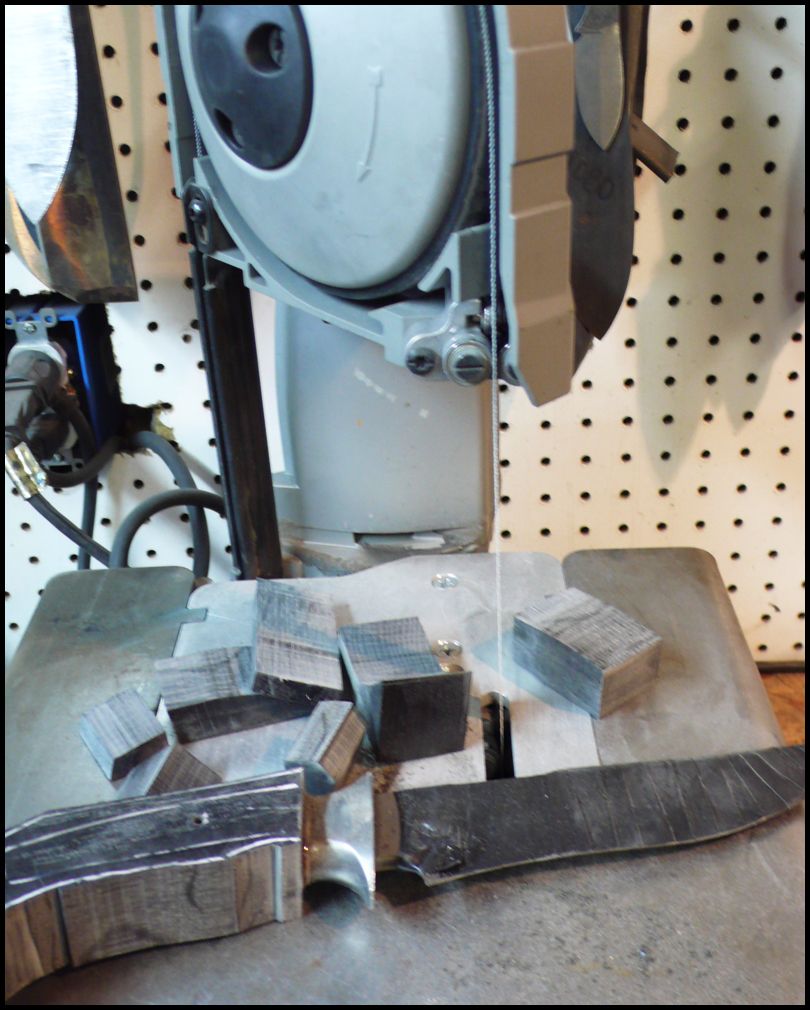
Then using the Band Saw I remove the excess material of the handle
Then using the grinder I clean up the edges to my lines
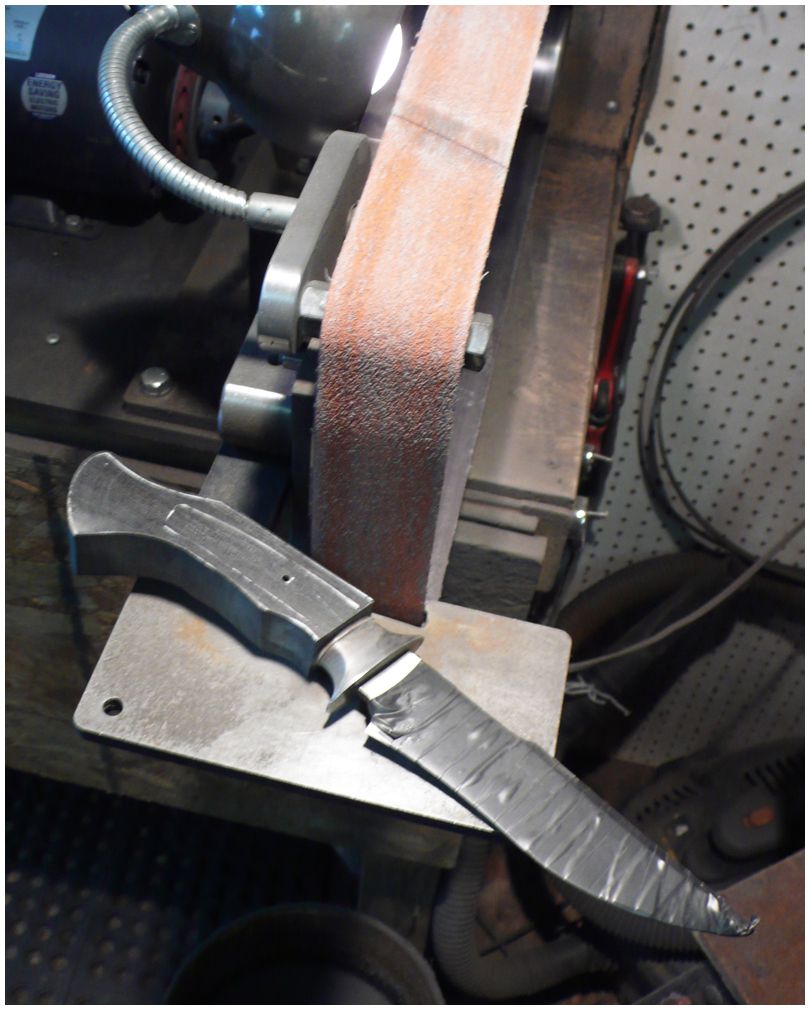
I then also use a file to shape the outer edges
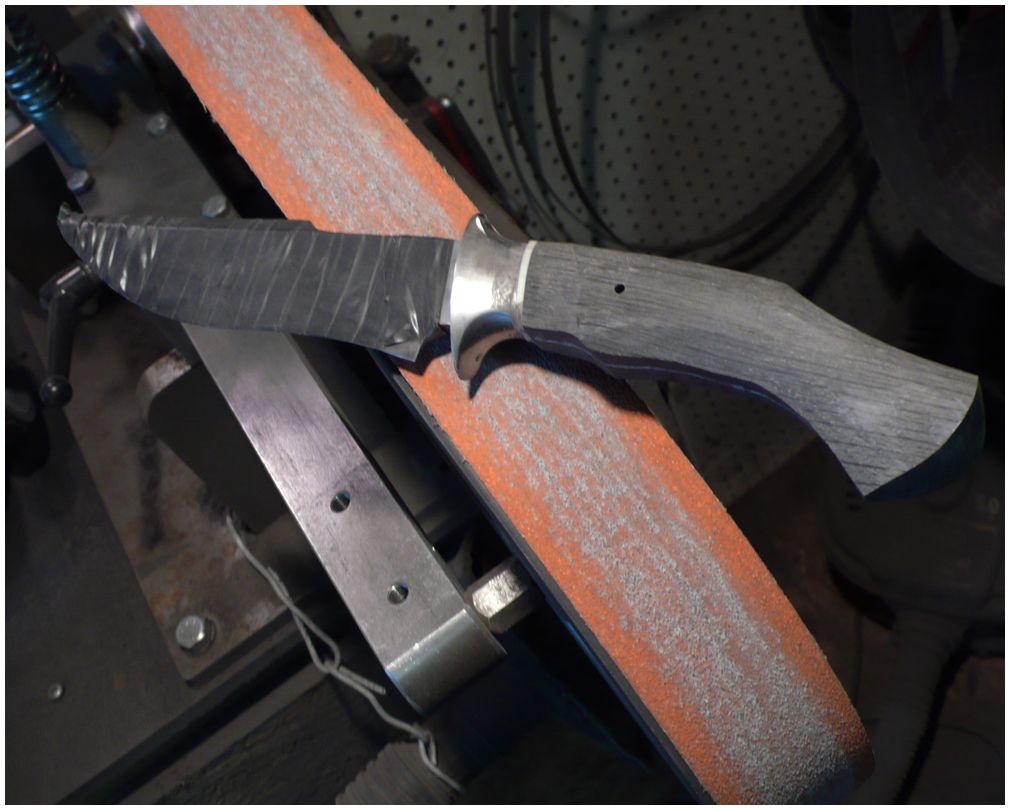
I then use the 4" wheel to match up the Handle with the guard contours
I also make sure to mark my center line so I dont lose it during the grinding and shaping process
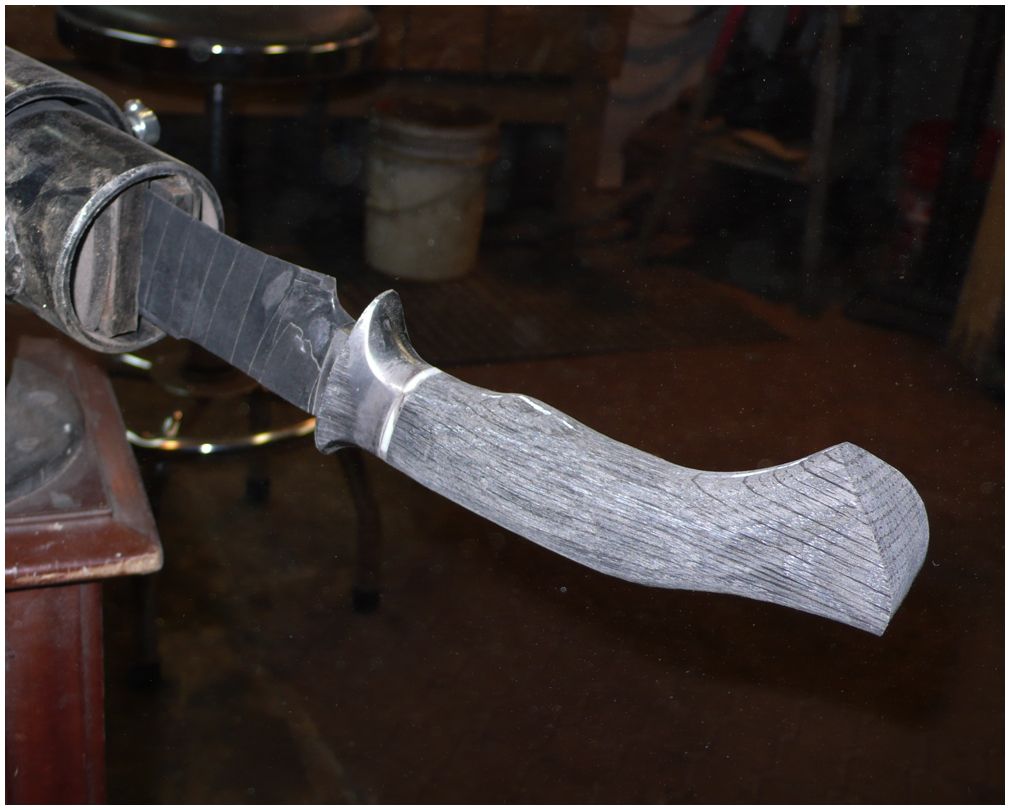
I then like to use the 10" wheel to rough shape the rest of the handle
Then the knife goes in my home made knife vise for some block sanding where special attention is placed where the Oak, Spacer and Guard meet. I only use blocks here to avoid dips and valleys
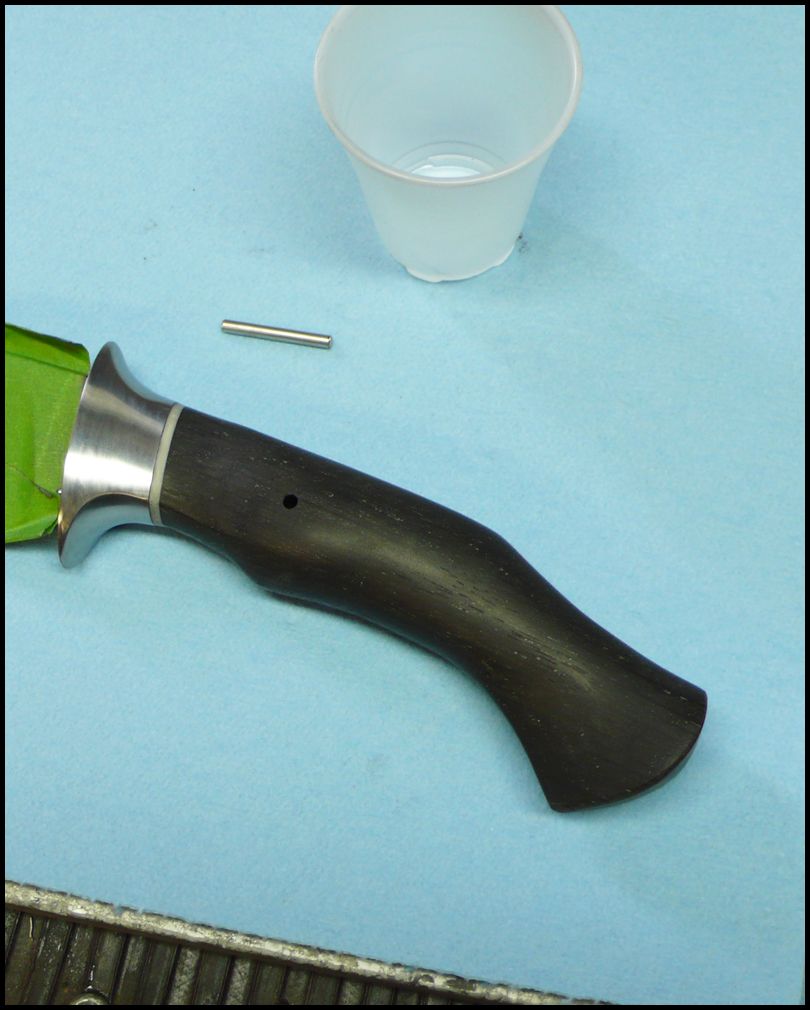
Time to epoxy the 1/8" Stainless pin in place.
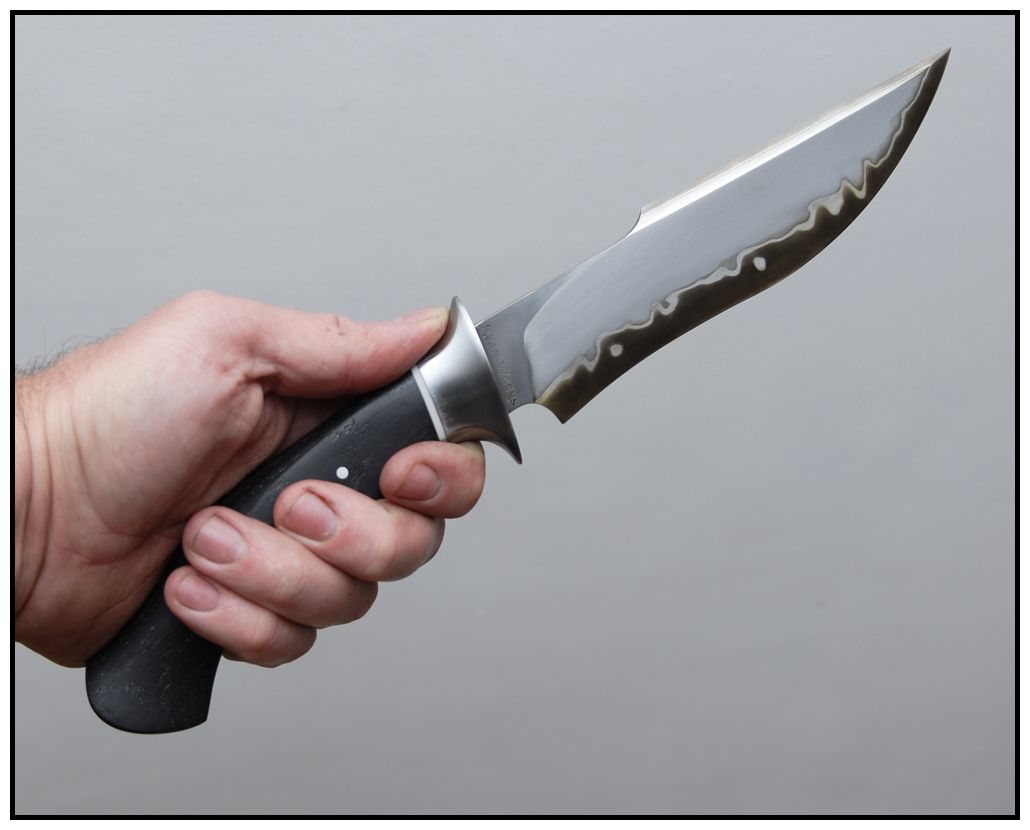
The knife is finished and ready for some Mike Stevenson sheath action.
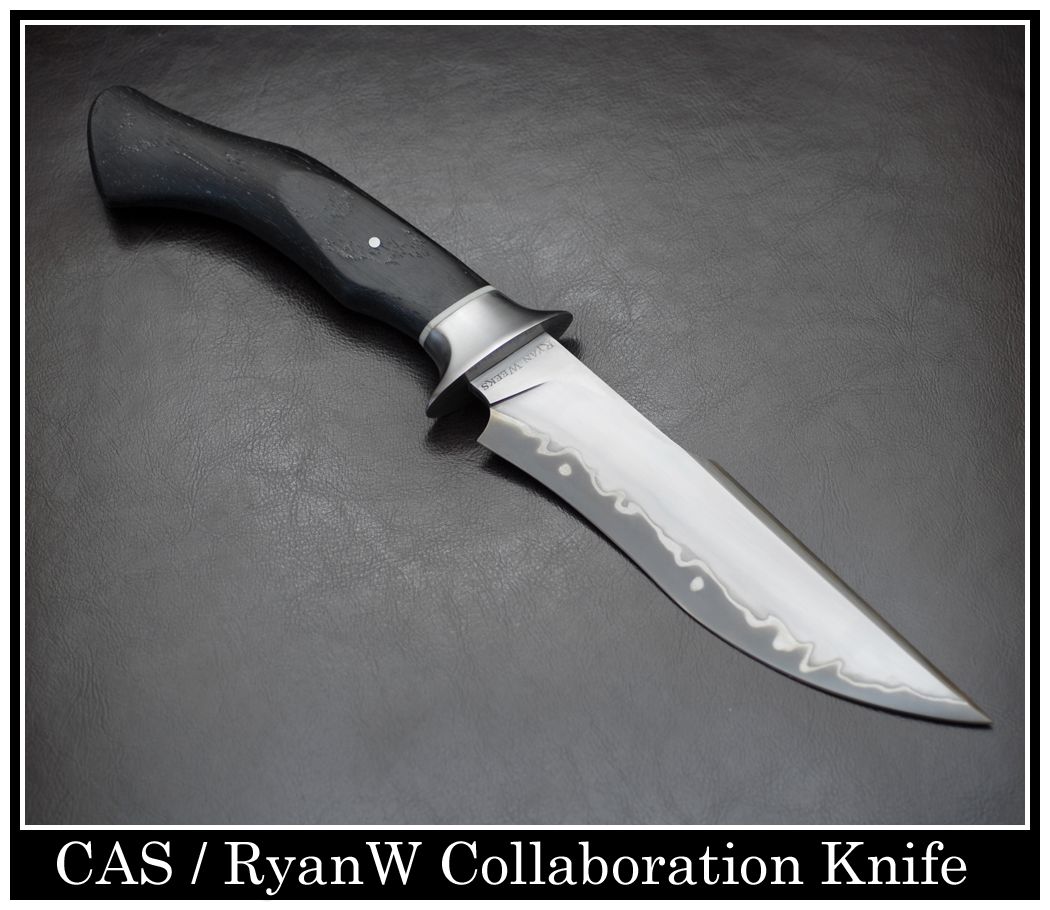


I want to thank Claudio for trusting me with this blade. I am a new maker trying very hard to get things right and make some cool stuff along the way! I really was out of my element and felt the pressure the entire way. It is no where near perfect but it feels good. Thank you my friend!
Thanks Doc, for reminding me this was here! I have just returned from the 2013 Atlanta Blade Show. Jim Cooper "Coop" took some amazing photos of it.

If you are looking to buy knives switchblades or any of these items, you should get in touch with online dealers, as there are numerous dealers available online
ReplyDeletethanks
stilettos knife
Amazing work. :) I really love the contrast in the blade achieved here, the simple and well coordinated colour scheme and the obviously well thought through shaping of the handle. beautiful :)
ReplyDeleteCongratulations! Great works from Claudio and yours. It's pleasantto see how you work together from different places in the world, and make such a magnificent knife. Greetings from Argentina. matiastorres@hotmail.com
ReplyDeleteЗдорово!
ReplyDeleteTo buy Zero Tolerance knives is to be able to not only make your own custom knives but to provide other knife makers with the very best materials and technology available. To get more detailed info on buy Zero Tolerance knives, visit on hyperlinked site.
ReplyDeleteOne of the best features of all the stand mixer is that you can easily control the temperature of the ingredients in your kitchen. It can also help you to mix several ingredients at the same time and save time. Find more interesting information about stand mixer buying guide here.
ReplyDeleteThe laguiole knives brand was originally developed as a high quality, traditionally Occitan cutlery utility knife, originally made in the village of Laguiole, near the River Loire in northern France.
ReplyDeleteSuper super super
ReplyDelete